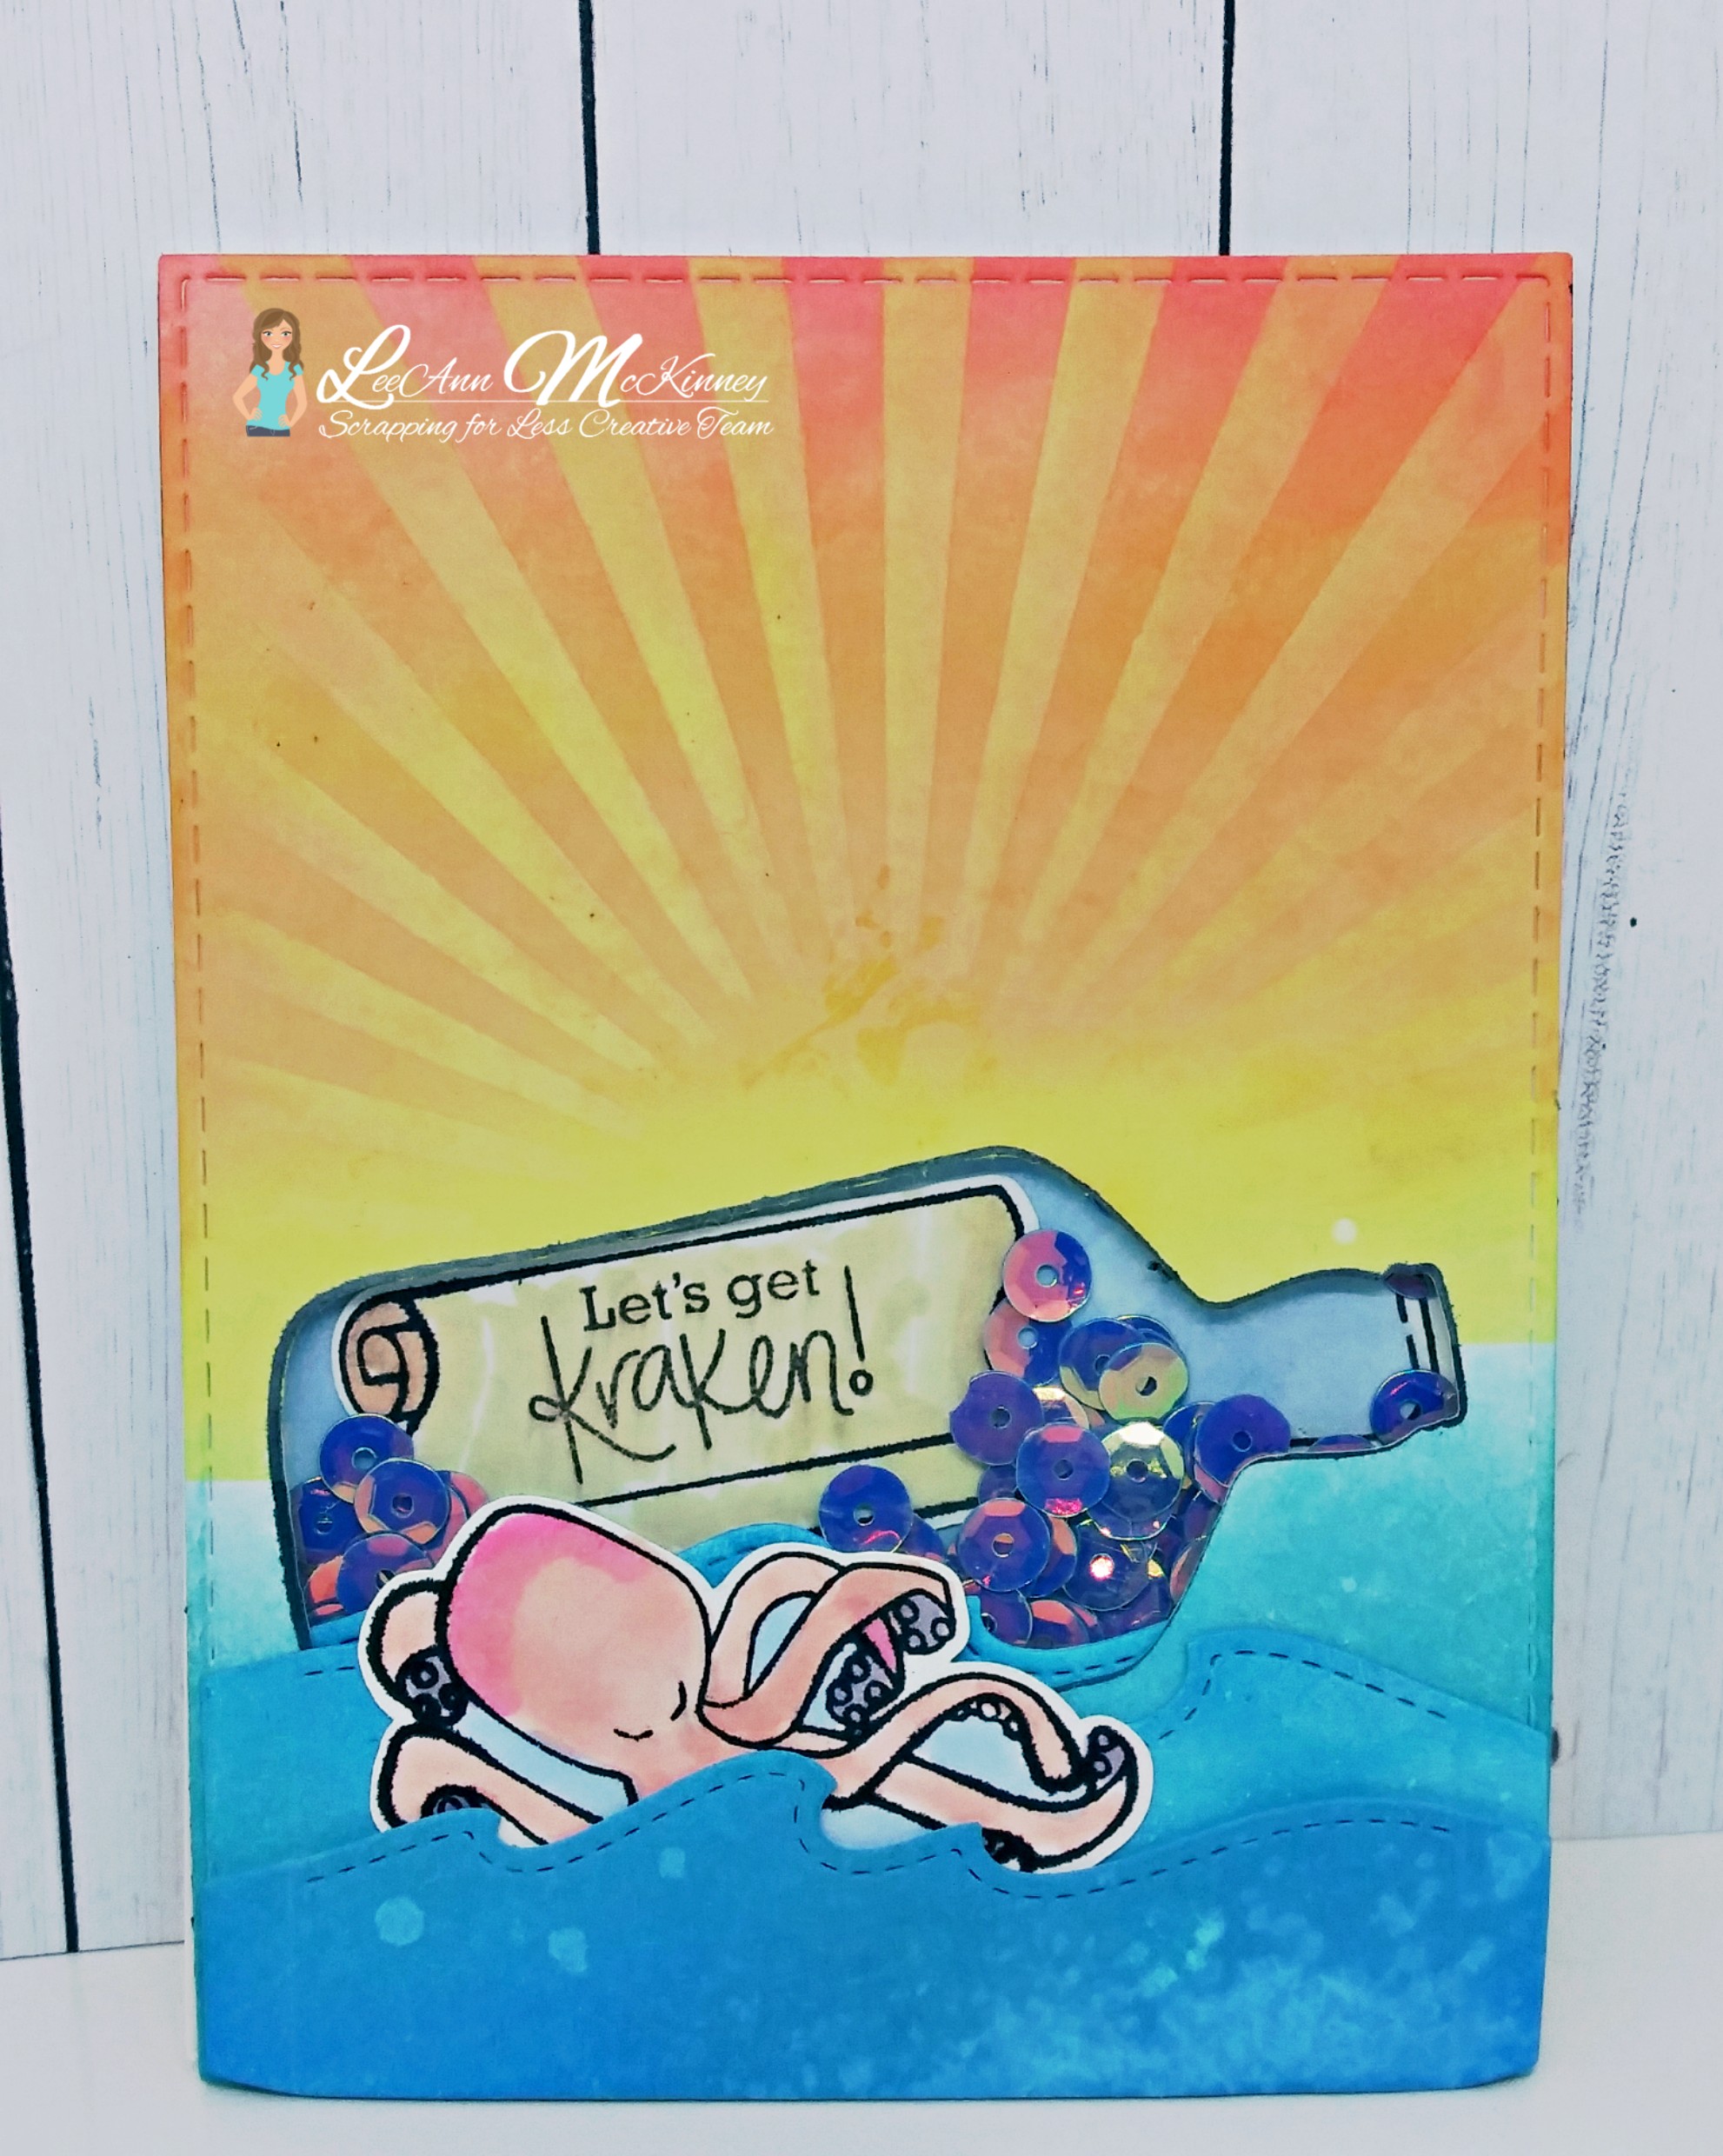
How I made this fun Magic Color Slider Card... without the die...
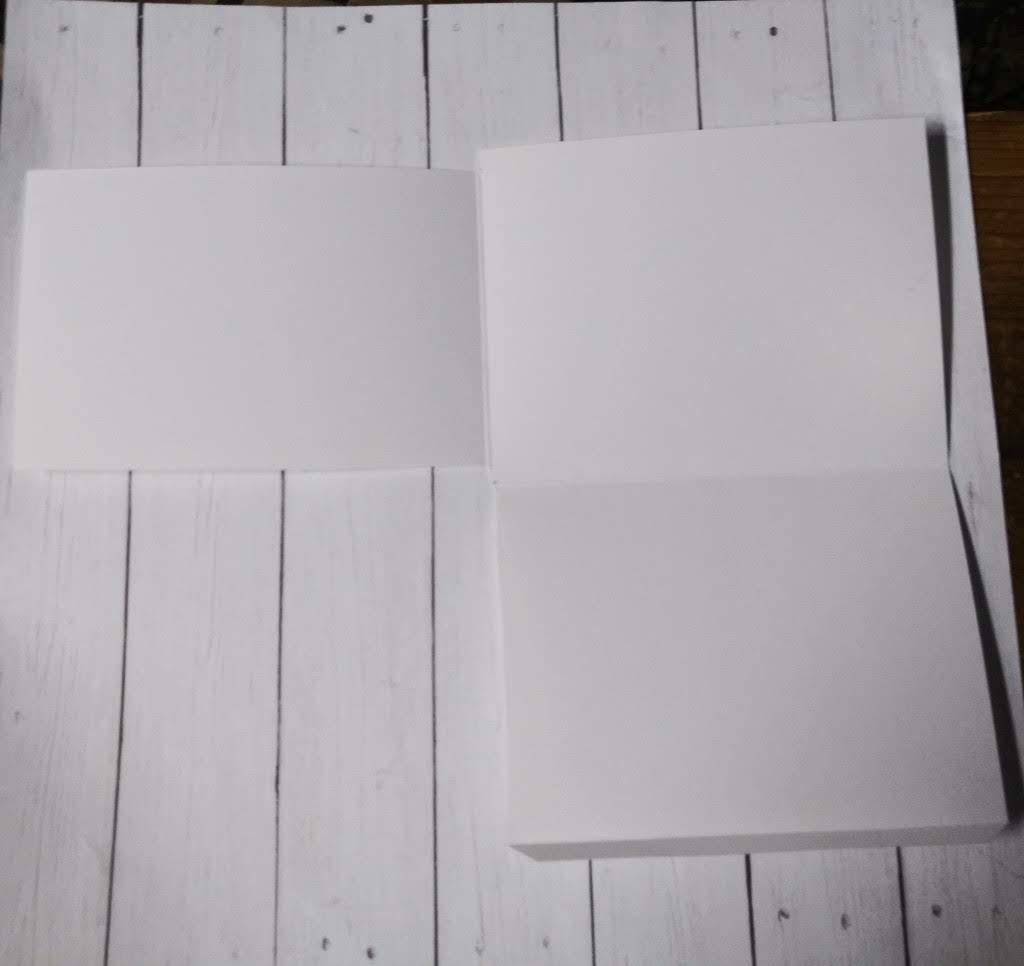
- Take an 8.5" x 11" sheet cardstock, score at 5.5" on the short and 4.25" on the long.

2. Cut away the top left panel as this will be used later for your slider.

3. If making your card portrait as I did, Cut .25" off along the outside of the right panels.
4. With the remaining lower left panel score in .25" and cut the top and bottom corners at an angle.
5. Decide if you want a Circle, Square, Rectangle or whatever hole for your window, I went with Rectangle using my stitched rectangle dies. I folded my panels so that the bottom left which is what would be the top panel would be cut with the die and ran it through my die cutter.
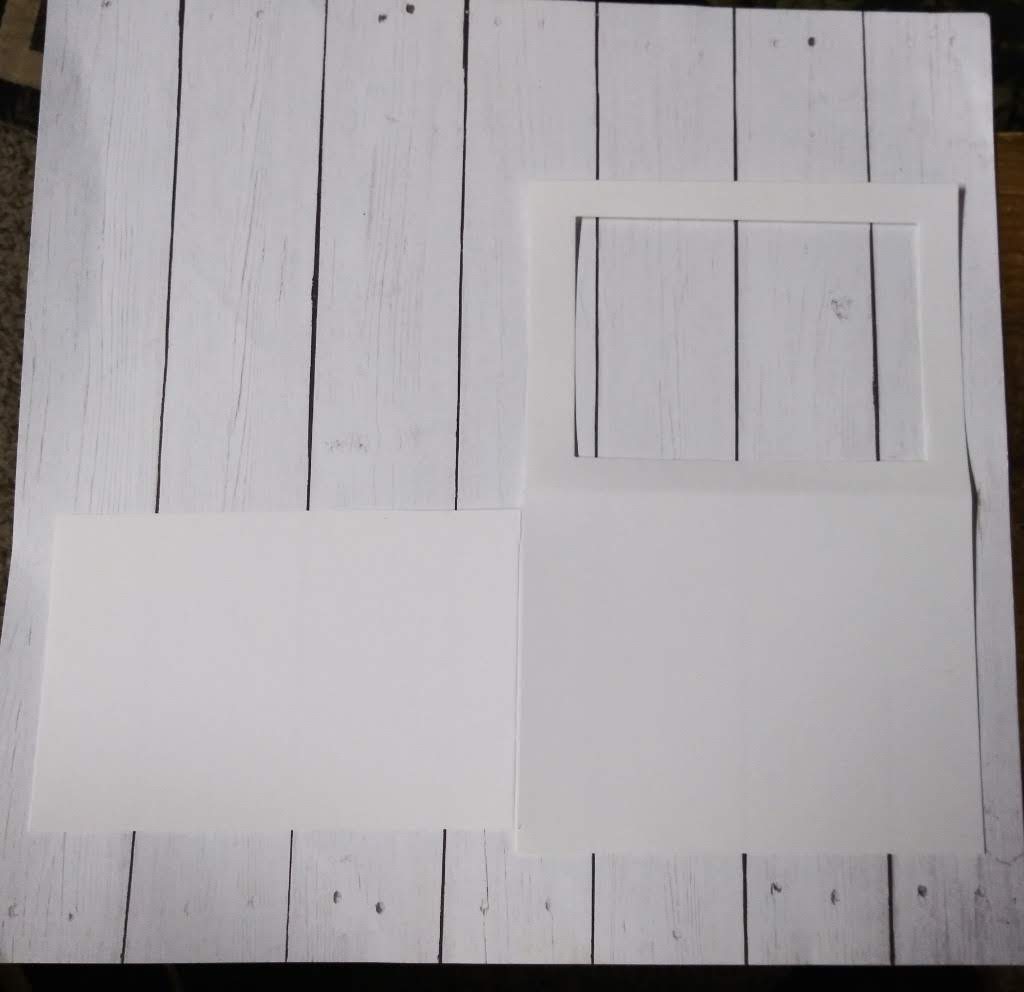
6. For me at this point I cut in .25 from each side on the top right so that it would say down easily.
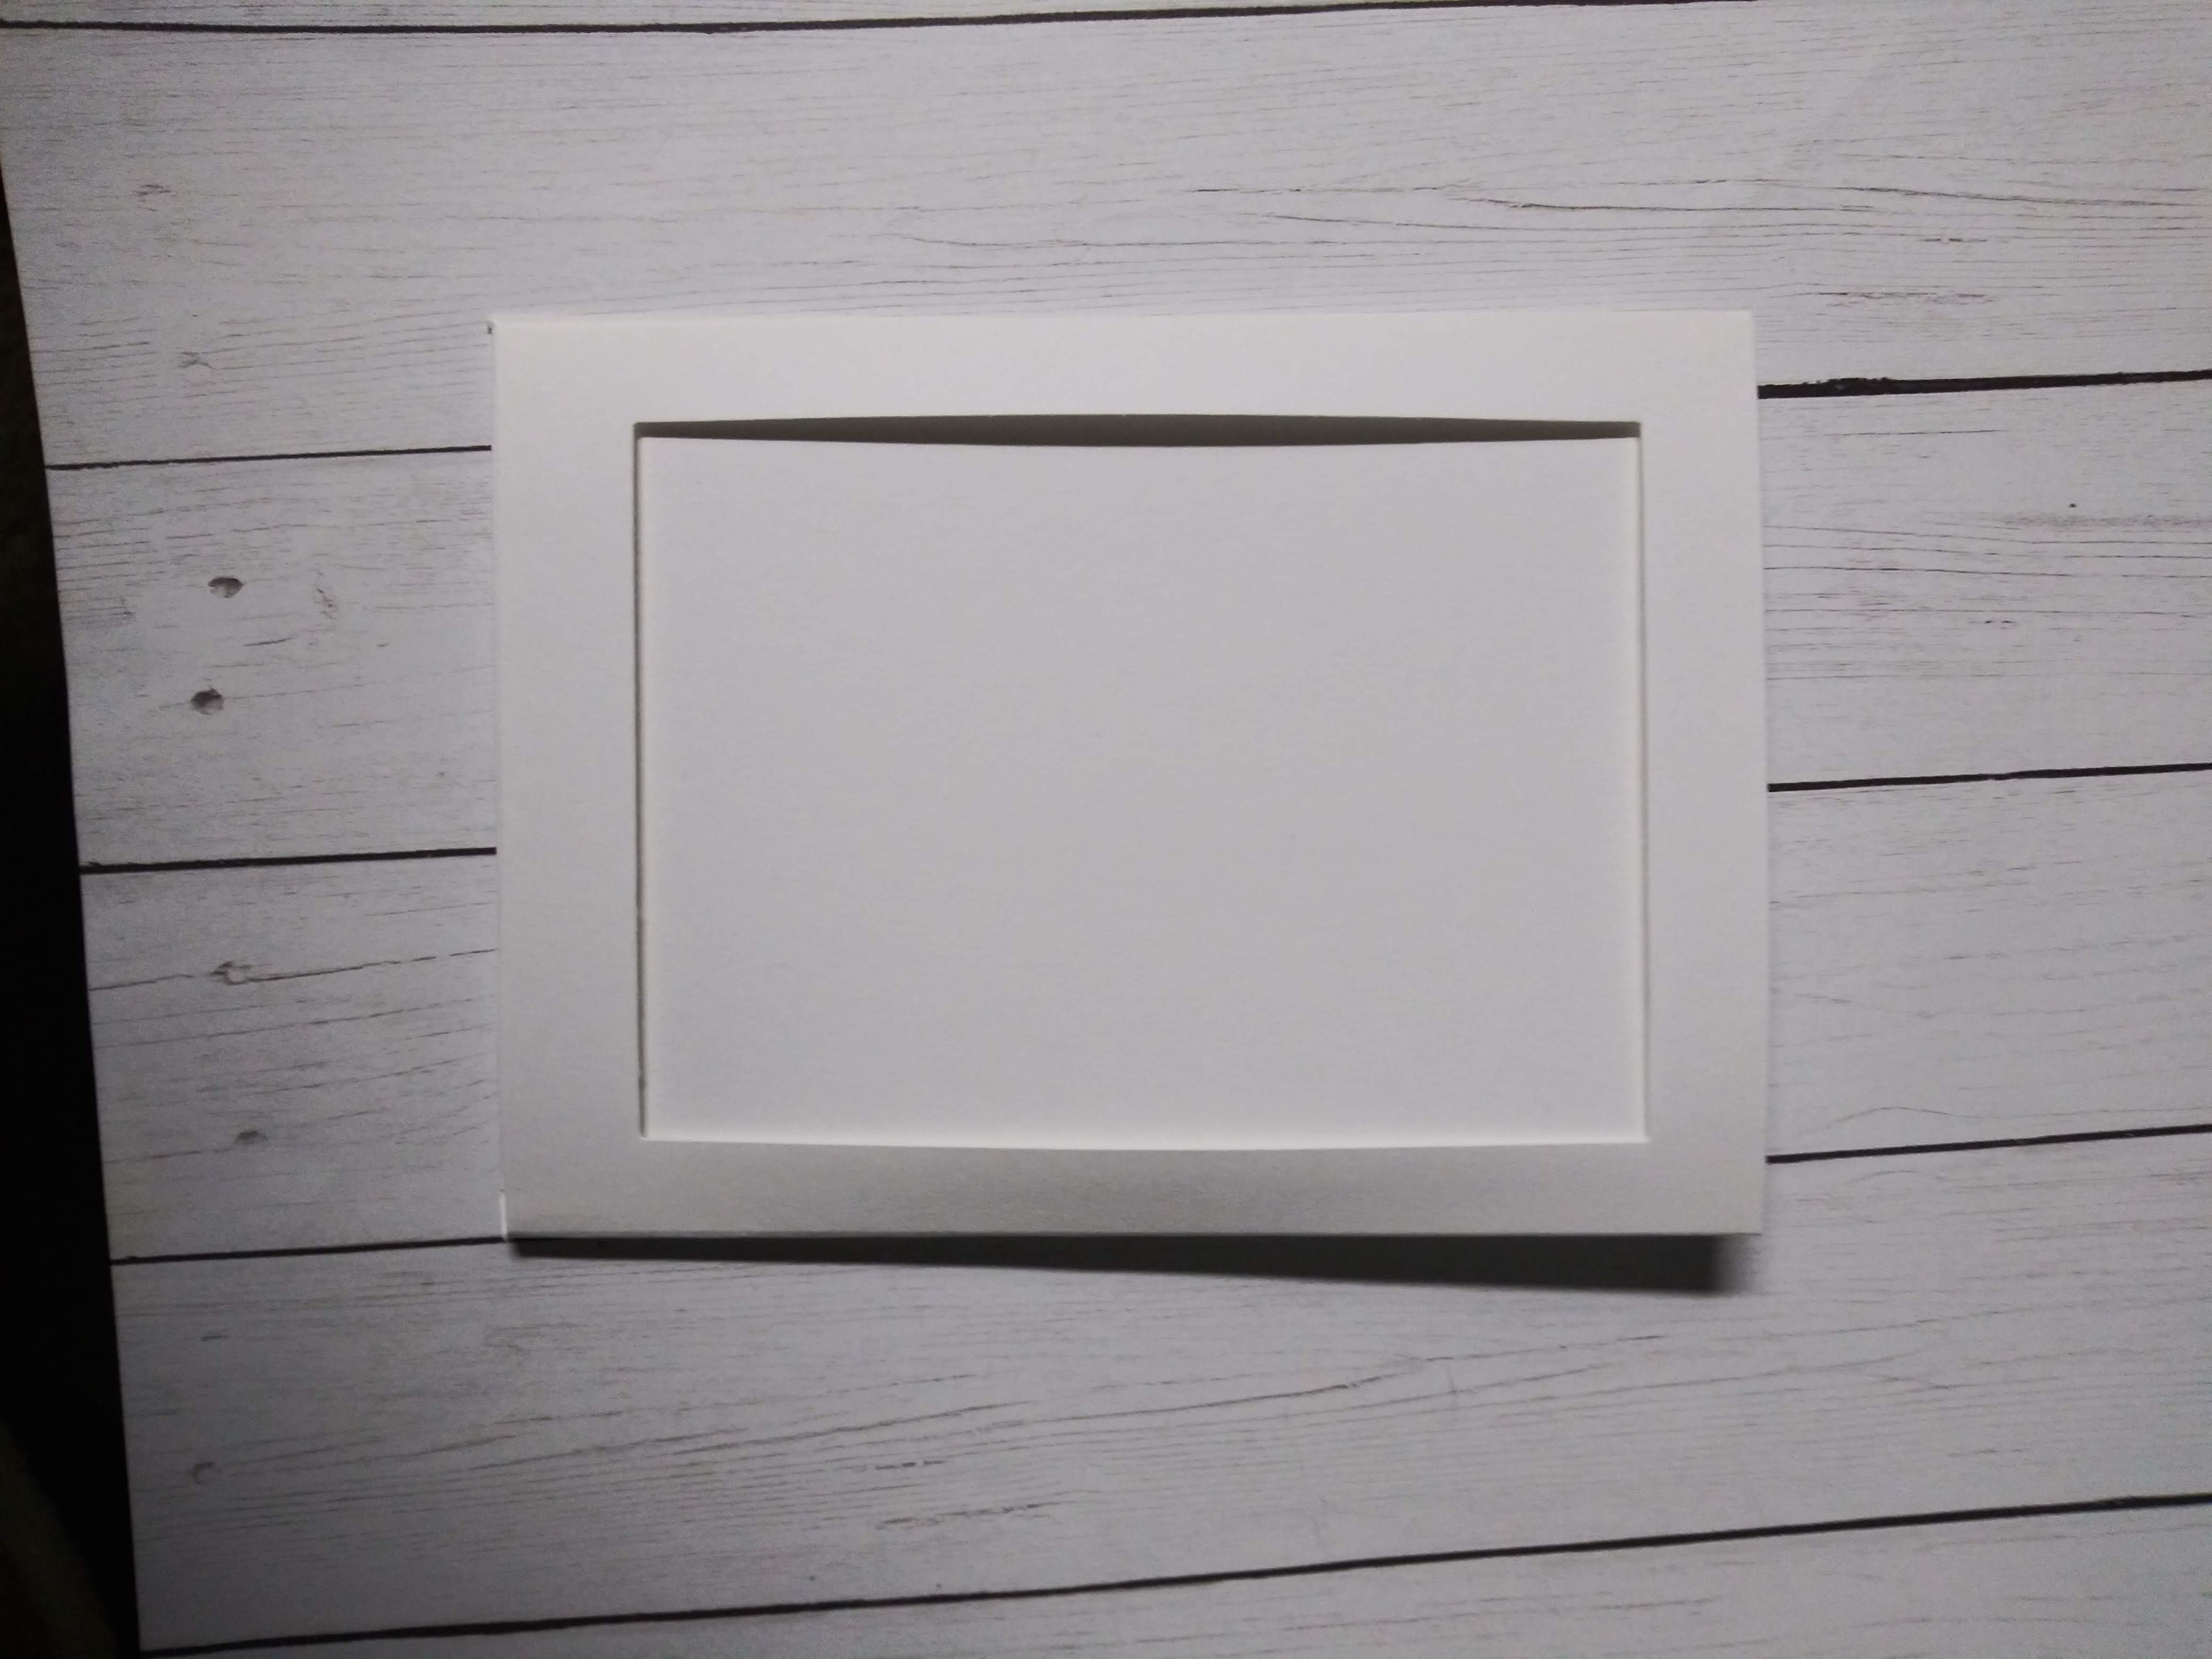
7. I then folded the upper right down over the upper left, and folded the lower left over to cover the same, to put the panel that was upper right in between the two.
8. Using score tape on the little flap I closed it up by tucking it into the back panel. making a big pocket with a panel in the middle.
9. Cut a piece of acetate to be 5.25" x 3.75" and using a piece of score tape attach to the center top of the panel we had cut away in step 2 which I cut to the same measurements.
10. Stamp the image on the acetate using Staz-On ink in the same place it will be on the inner panel. For I stamped on the acetate, then positioned the piece I had already cut and colored in the same spot so they lined up.

11. Using pattern paper out of the "Believe" paper pack I used my stitched rectangle dies to make frames for the front of my card and panels for the slider part as well.

12. Using a tab die from a Lawn Fawn set I made a pull tab and attached with score tape to the top of the slider panel and attached some bakers twine to that for a pull string.

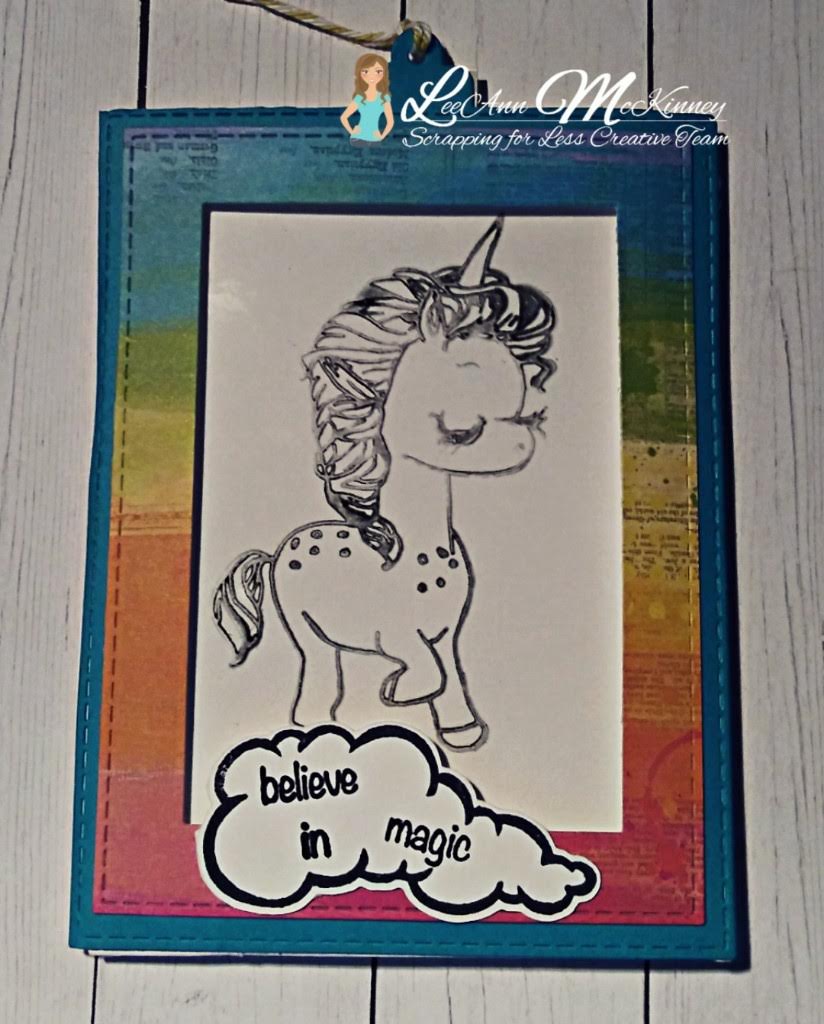


 Gnome One Like You Collection 4[/caption]
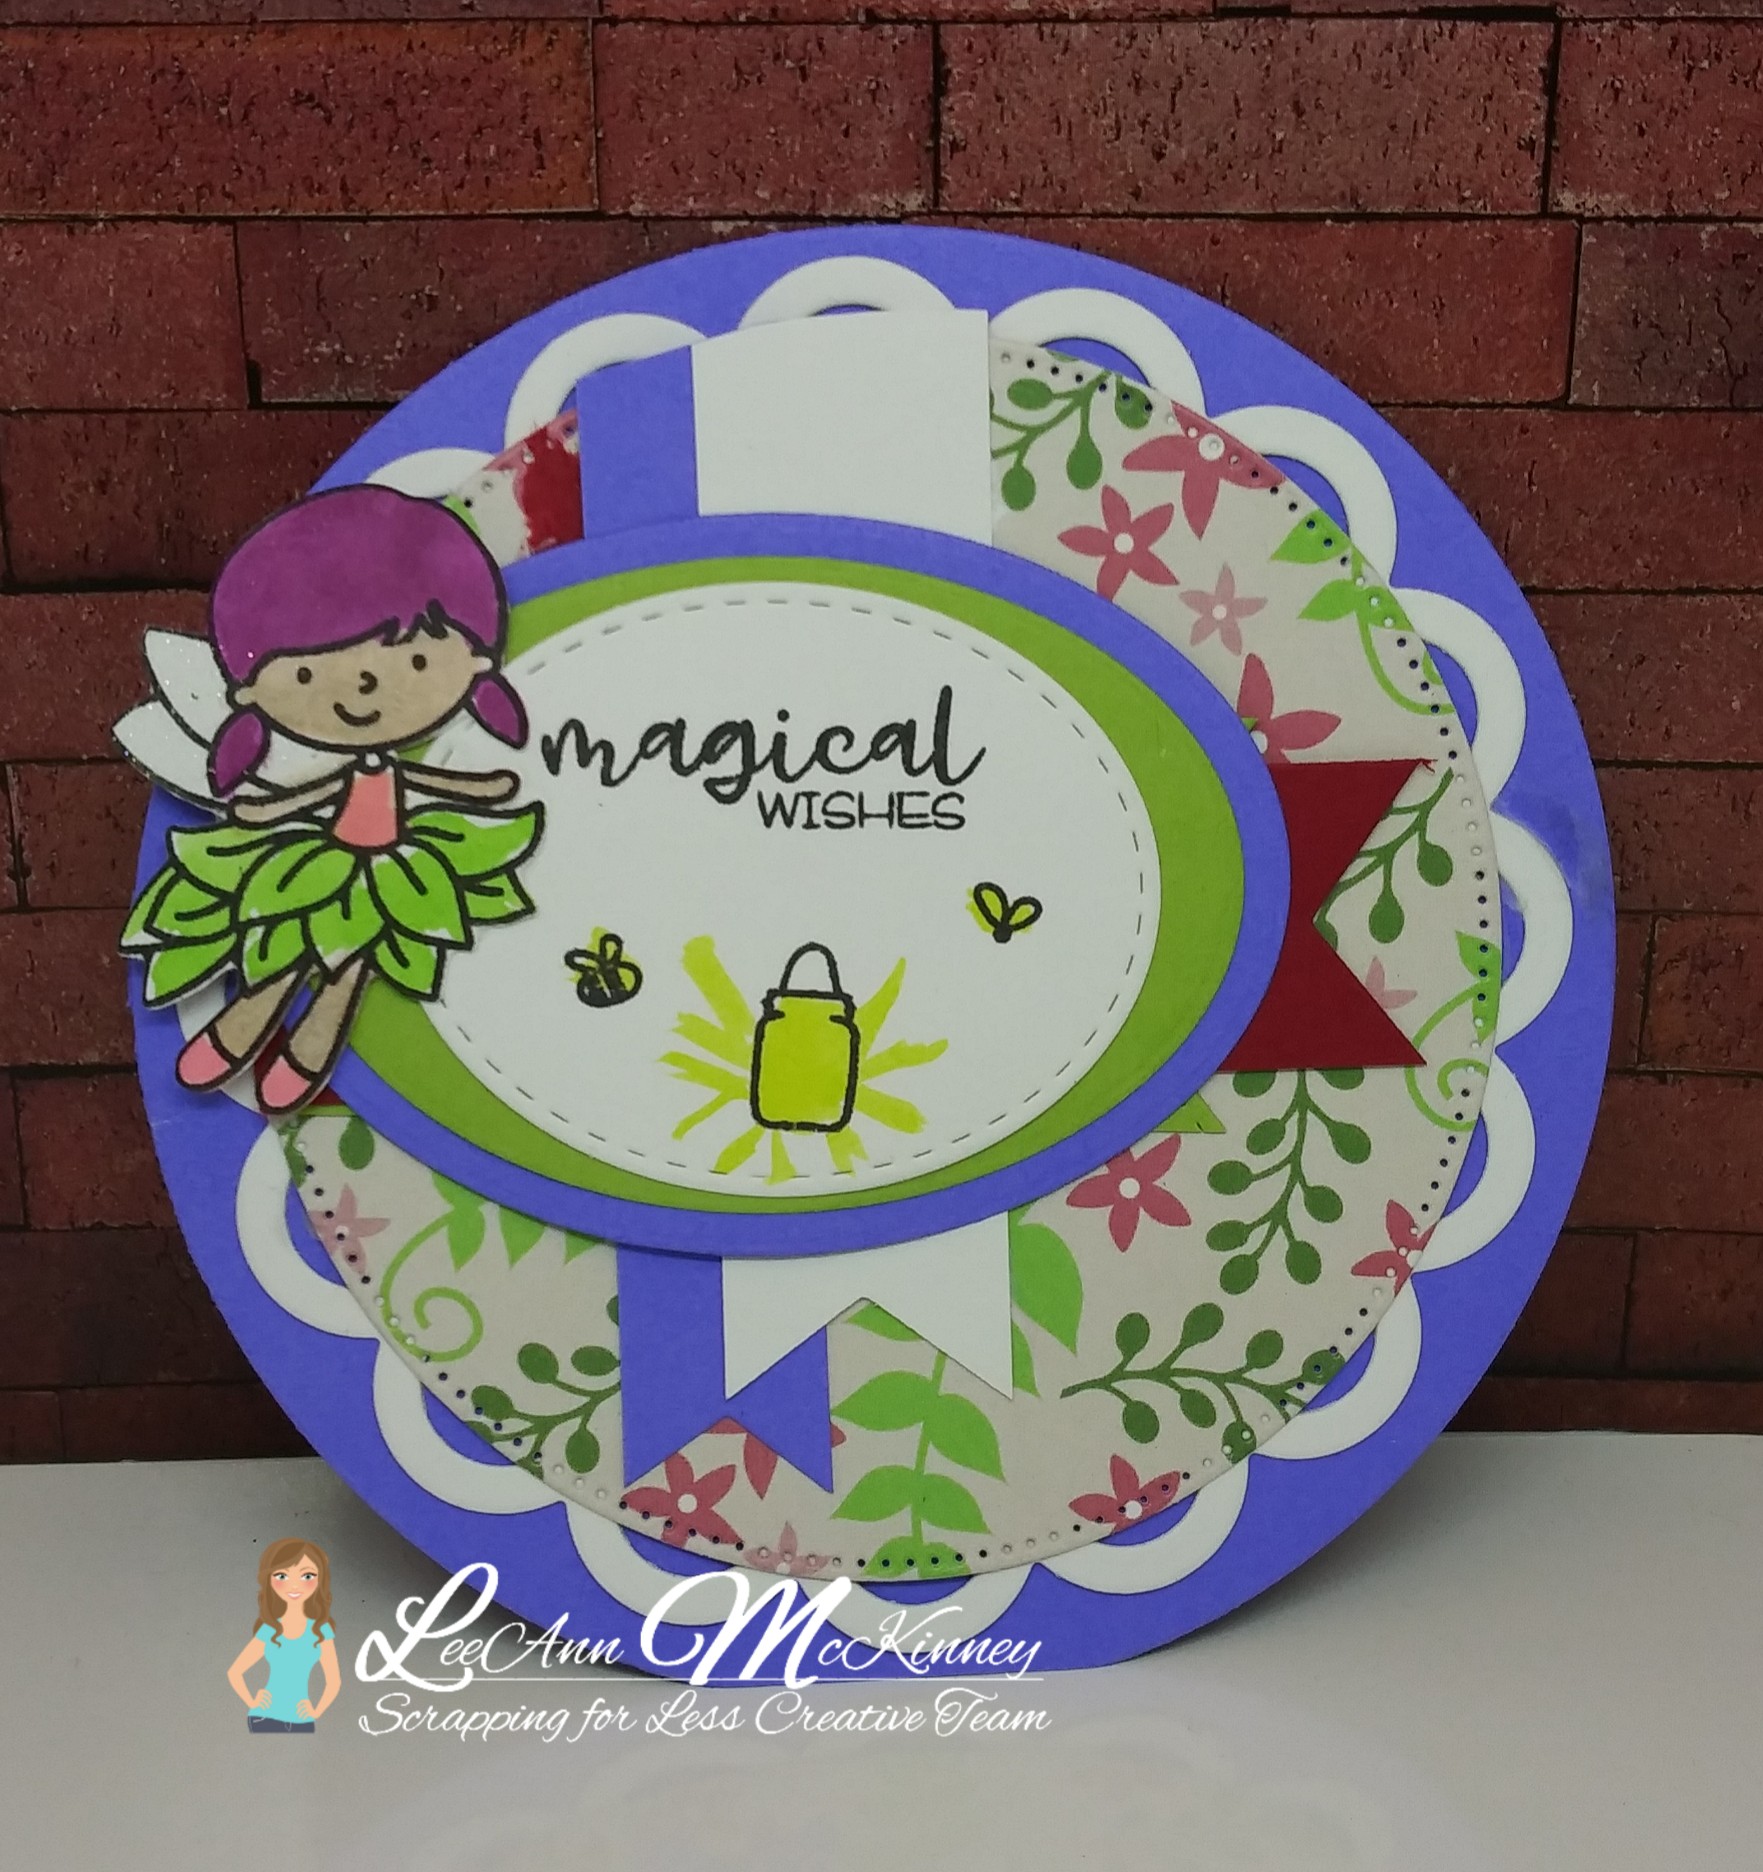 Magical Wishes Collection 3[/caption]
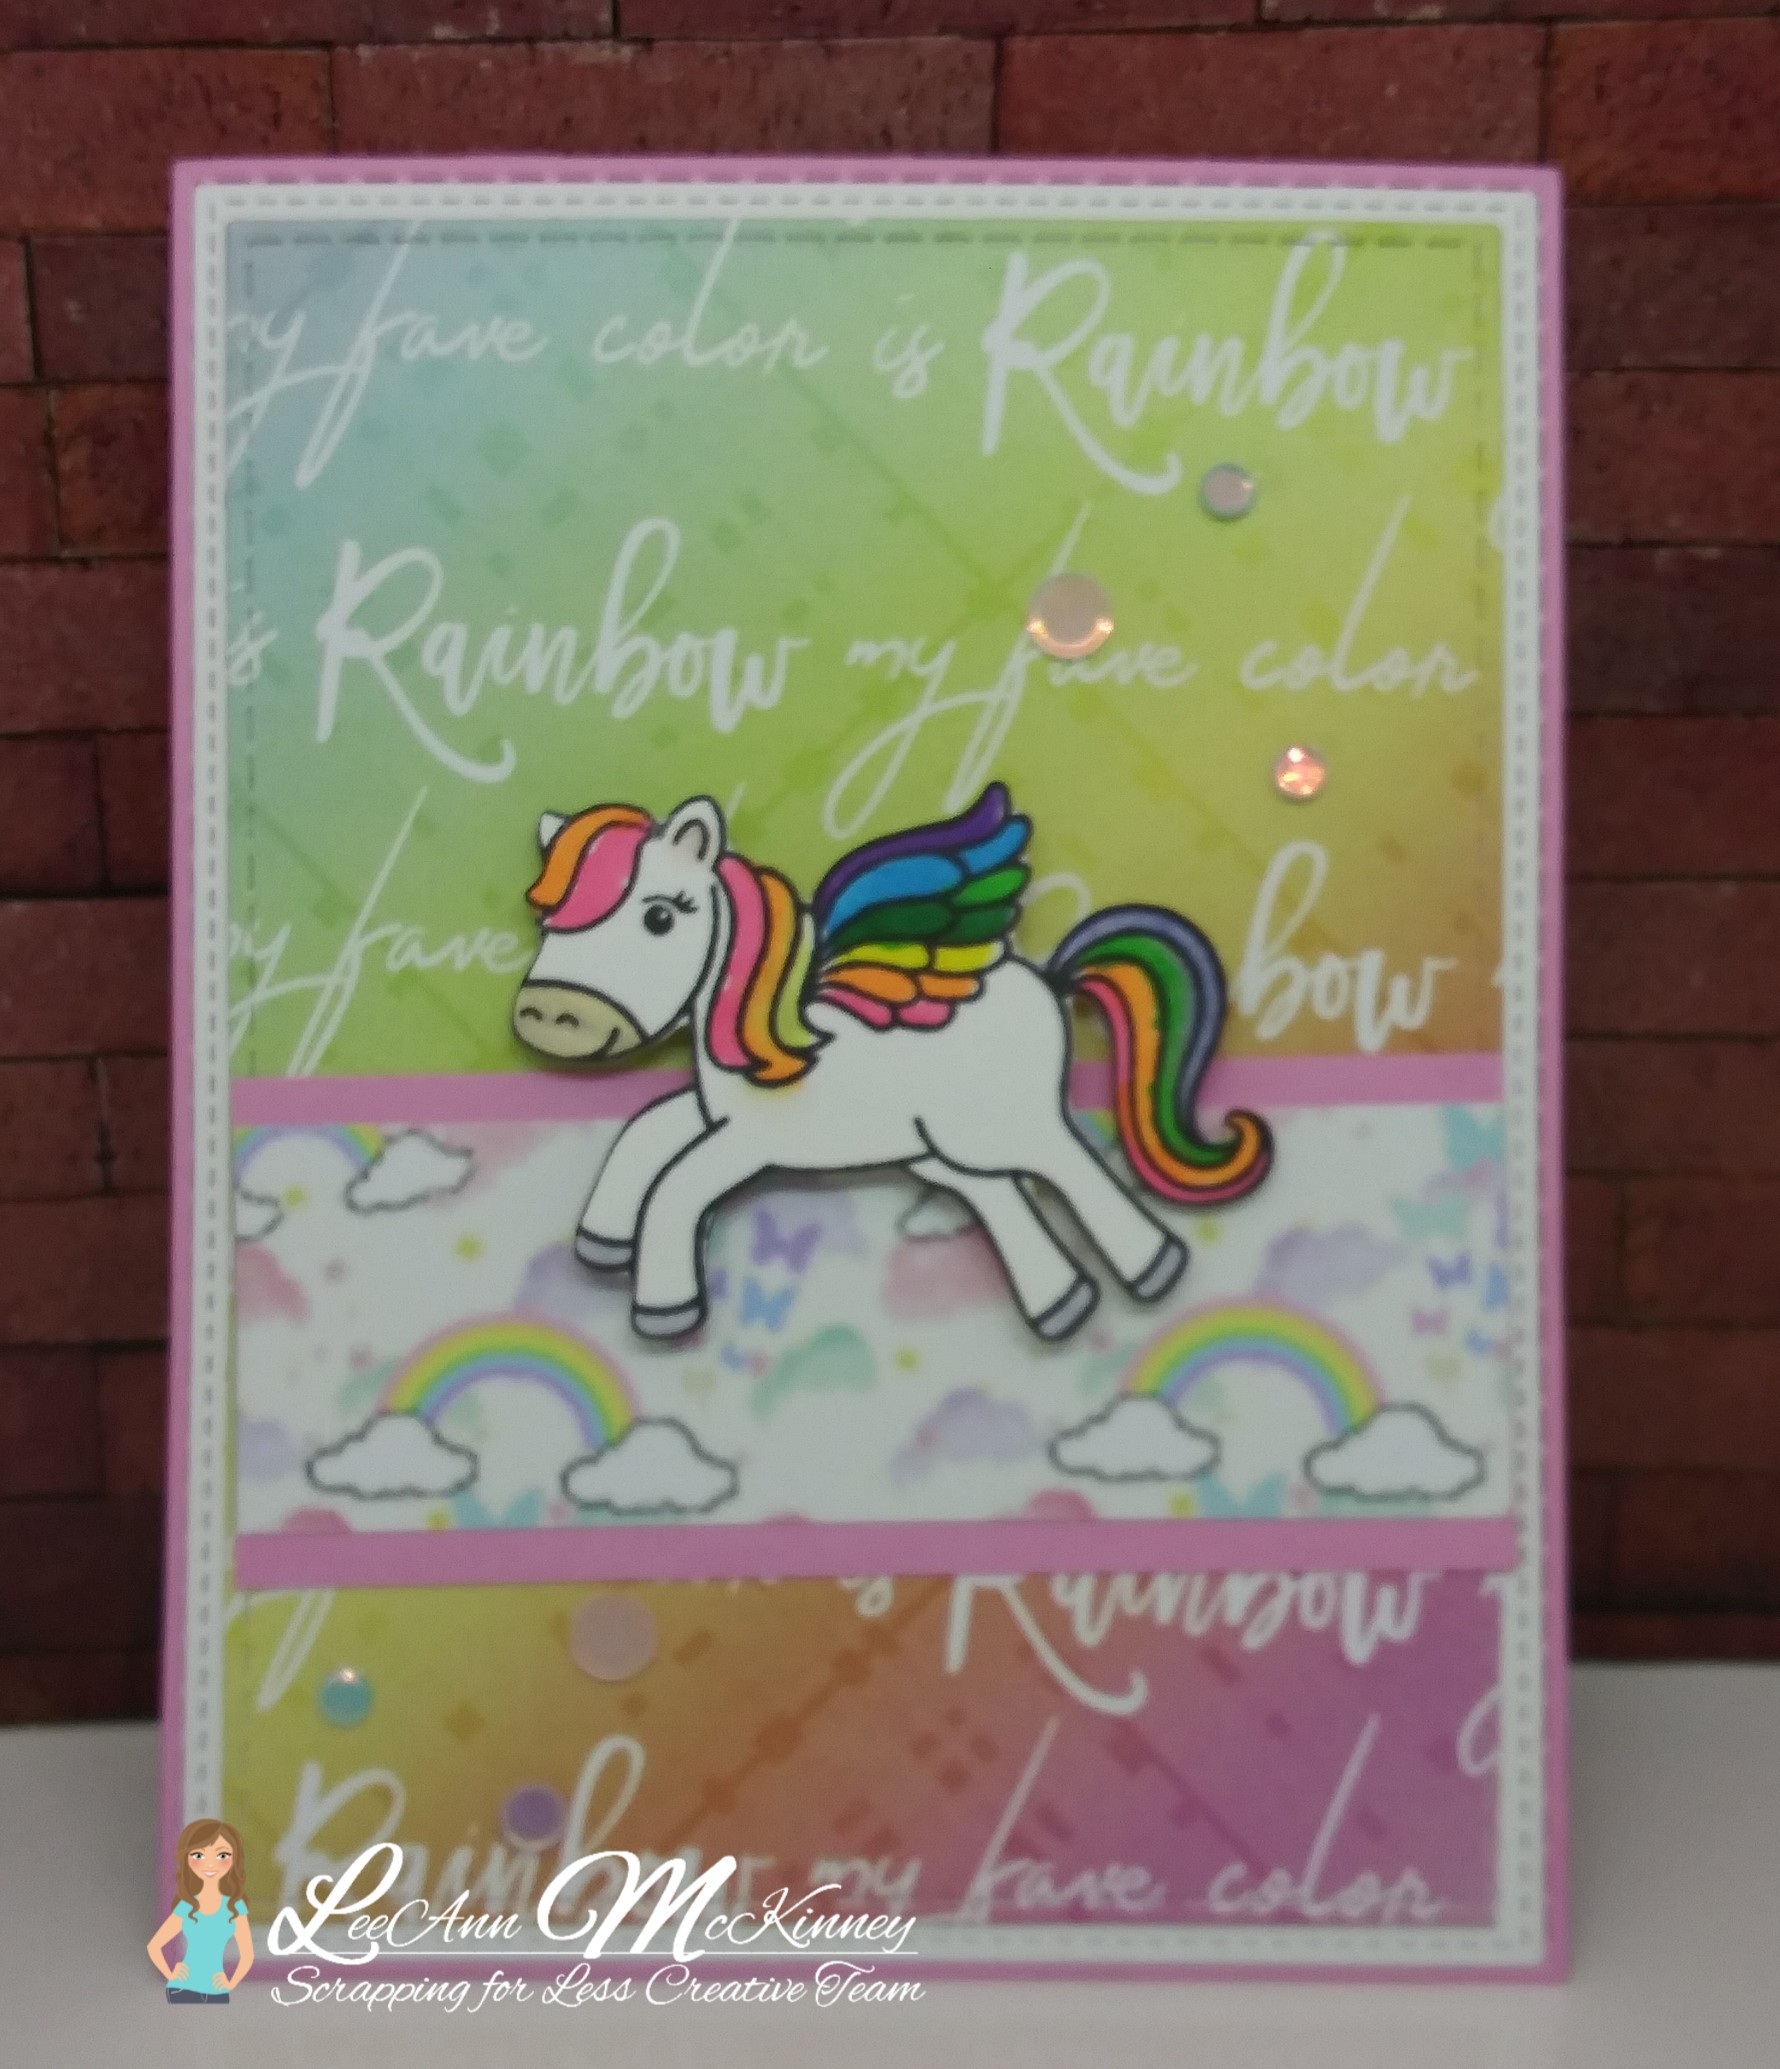 My Favorite Color is Rainbow Collection 2[/caption]
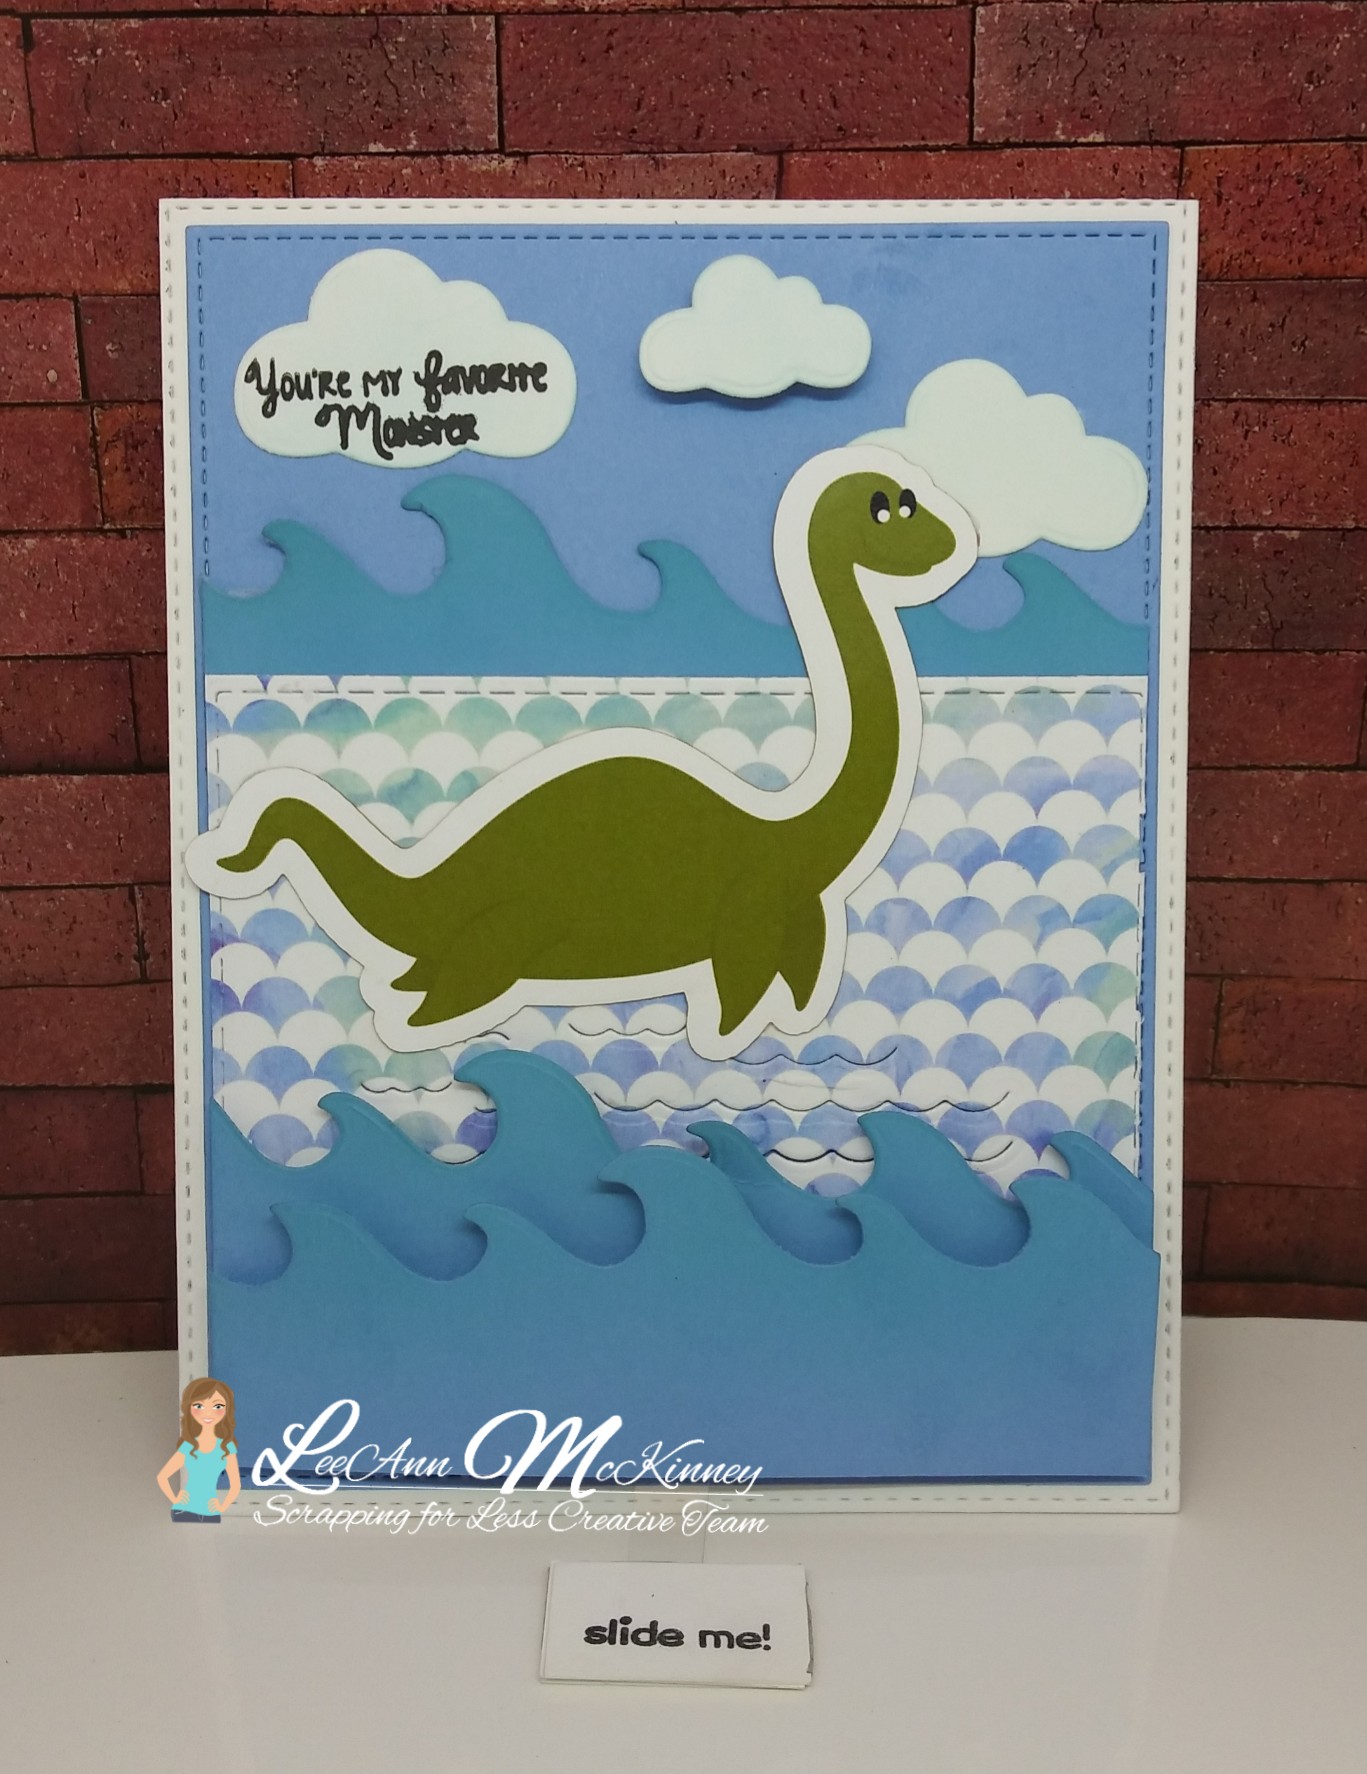 My Favorite Monster Collection 1[/caption]
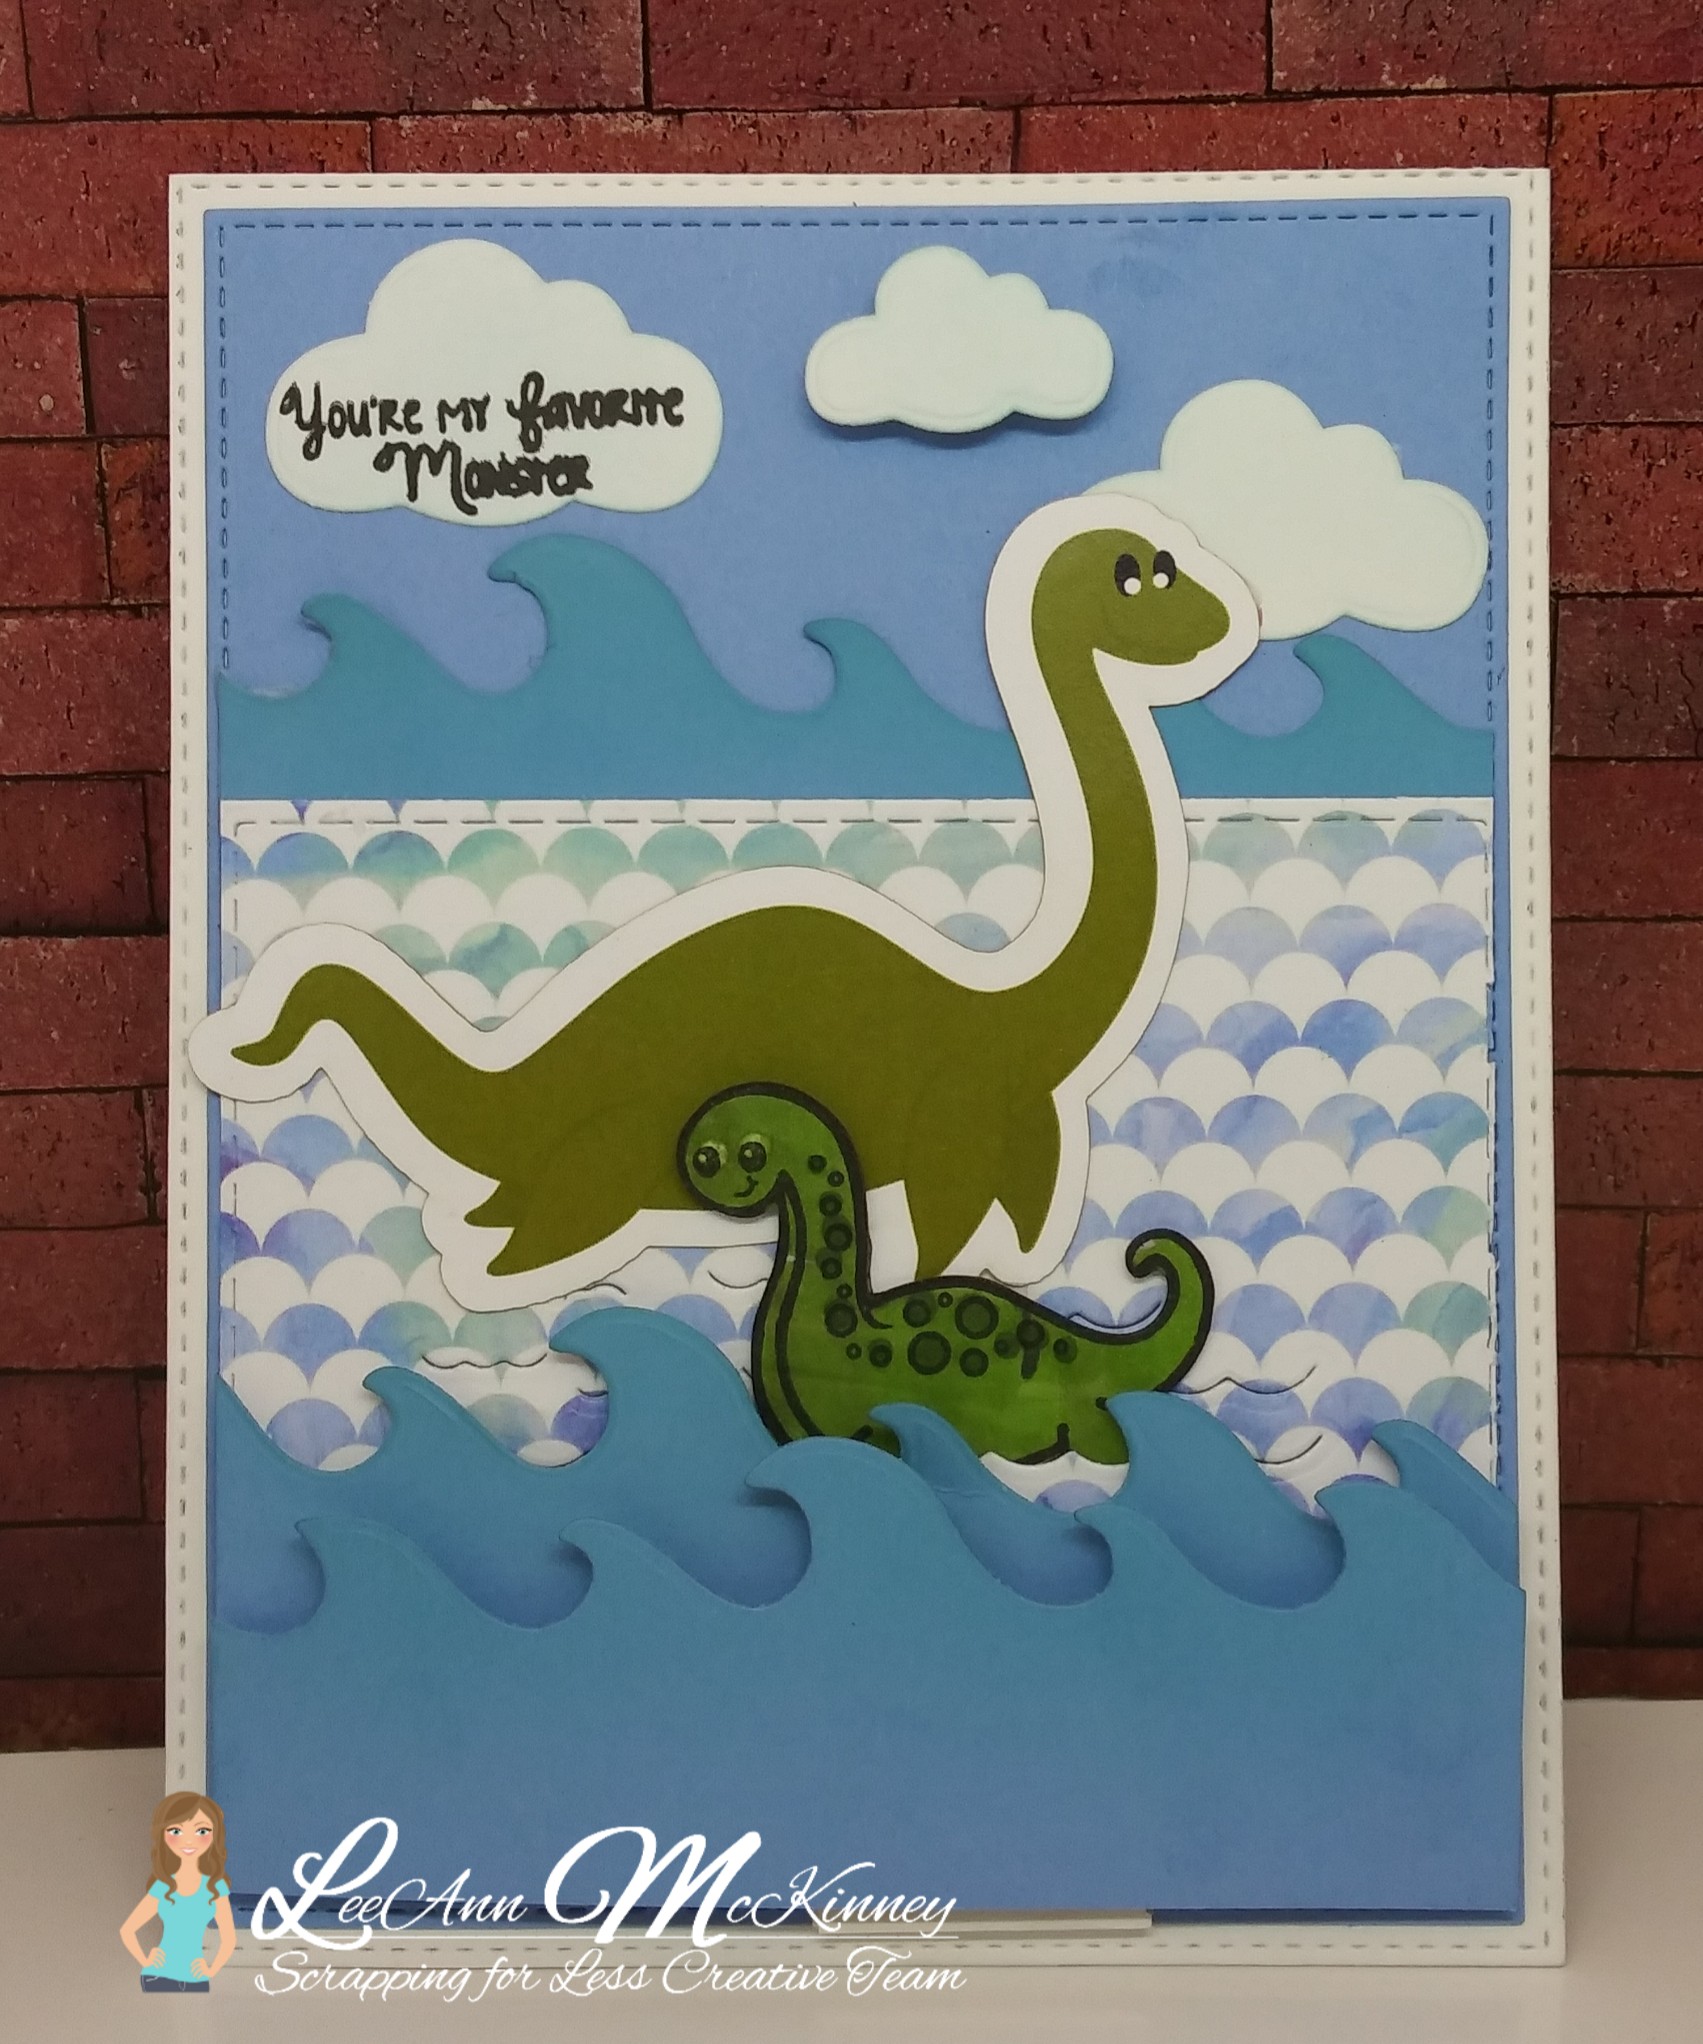 My Favorite Monster Collection 1[/caption]
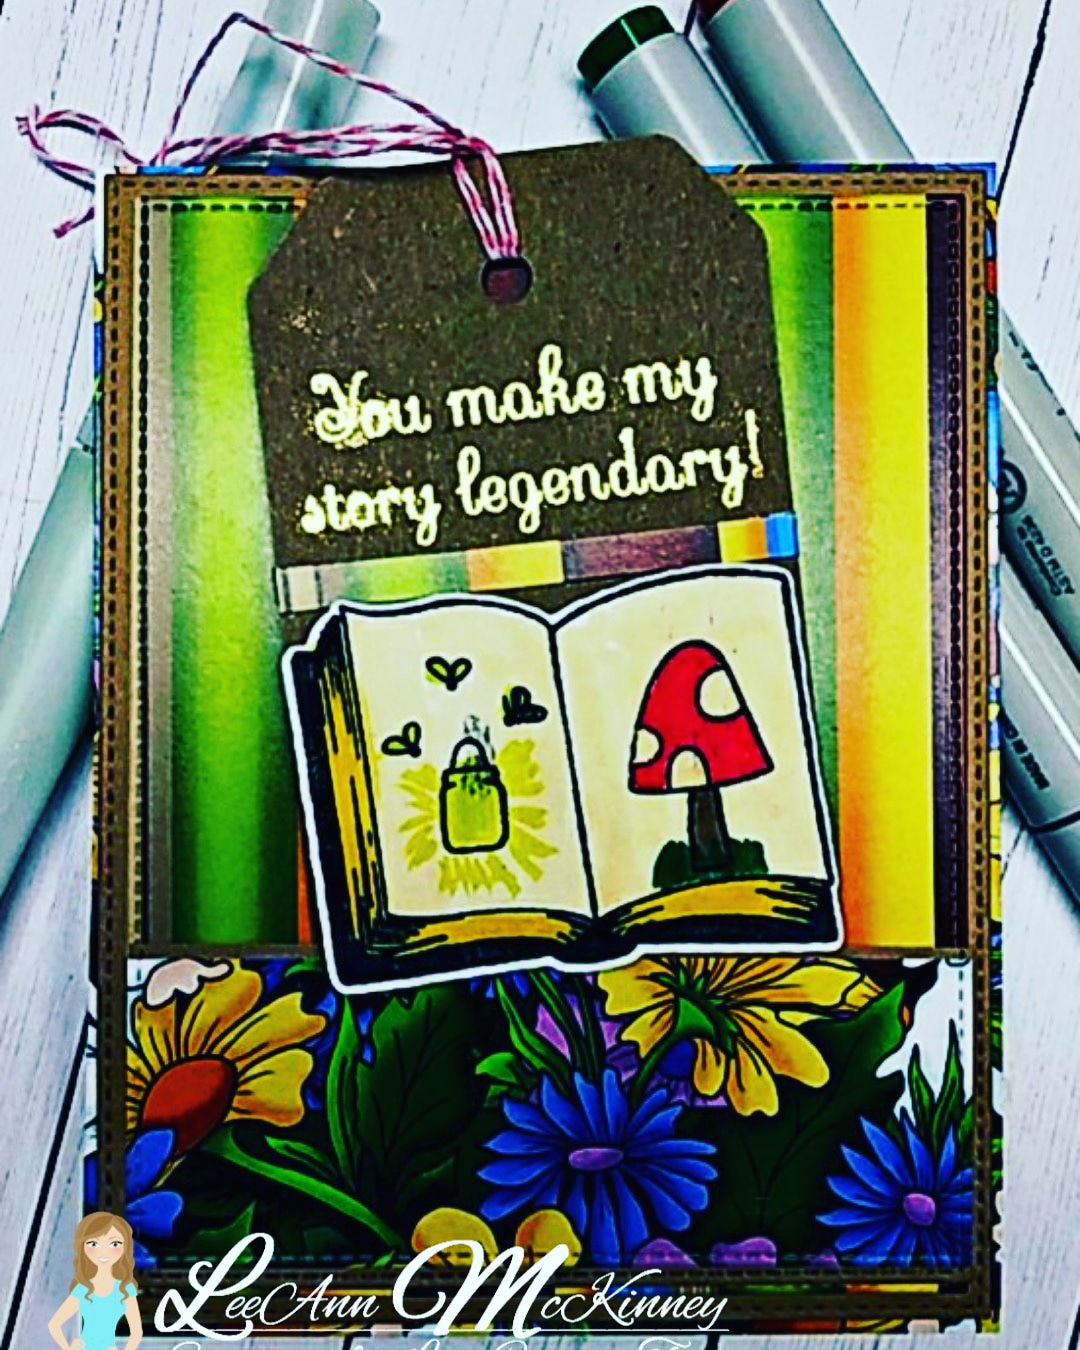 Sneak Peek Day 3 Mixture of Collections[/caption]