Friday, May 28, 2021

CONGRATULATIONS MAMA BIRD!!! A SCRAPPYTAILS PROJECT


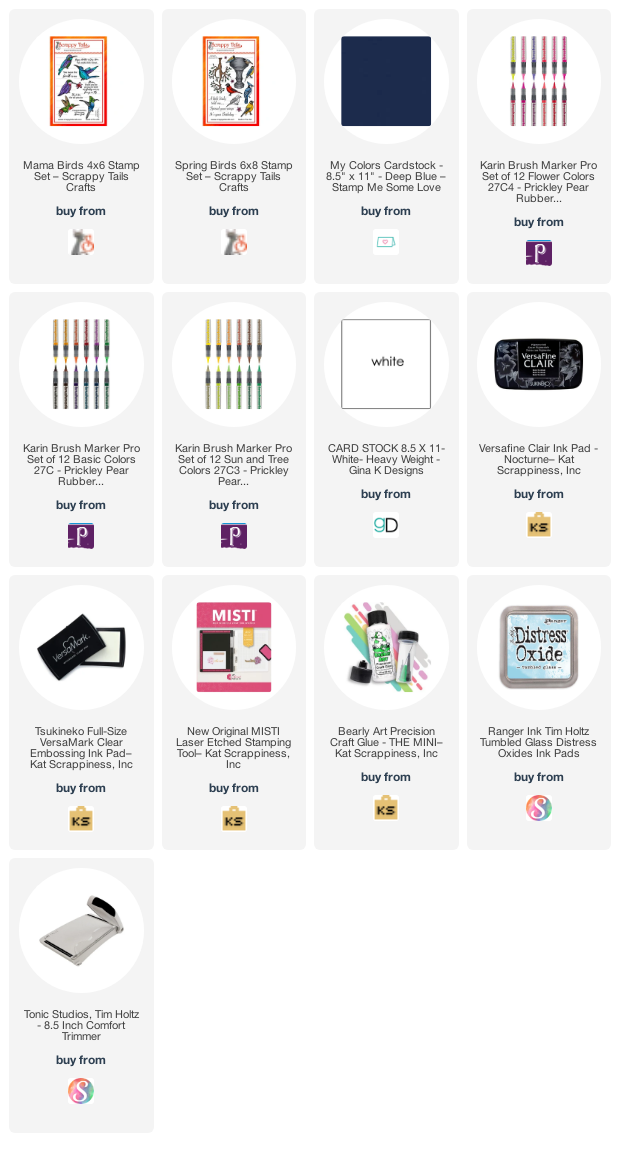
Hi there friends and fellow crafters. LeeAnn here with my May 2021 project for Scrappy Tails Crafts. I had a lot of fun making this project and hope you enjoy it. I have linked my video below the photo so you can see how it was made. Products used are below as well. 


I chose to make a mini slimline card. Off screen I cut my cardbase 7" x 6" and scored at 3.5". I then cut the Deep Blue panel 3.25" x 5.75" and then my white panel 3" x 5.5". 
I had also stamped the images with Versamark Ink and Heat Embossed using Black Embossing Powder. These were then cut out and ready to go. 
Once I had the camera rolling I used Karin Brush Markers to color the images and then blended using Spectrum Noir Glitter Brush pen. 
I used Tim Holtz Distress Oxide in Tumbled Glass to blend the background using a stencil from Create & Inkspire.
I attached all layers and elements using Bearly Art Precision Craft Glue and with that my project was complete. 


Real time this video was 19 minutes, I sped up 2x which made this video just over 9 minutes with intro and outro. I really hope you enjoy this project. 


Disclosure: The links below are affiliate links. If you decide to use these links to shop, you are supporting LeeAnn in her crafting venture - thank you! She may receive a small portion of the sale, at no extra cost to you. These products are endorsed by LeeAnn, and I hope you will love them too.
 

Friday, May 14, 2021

HEY A Stamp Me Some Love Project

 Hey there Friends and fellow crafters, LeeAnn here with a fun project using paper from Stamp Me Some Love, as well as a stencil, dies and a stamp from MFT. I had so much fun with this project and I hope you enjoy. I do have a video to show you how I made this card that was sped up 4times the original speed. 


This project was fun and easy and while it looks like it may have taken a long time, it was really 26 minutes not counting the die cutting.  That was all done before hand.
step by step instructions:
  • off camera I die cut the heart burst frame die 13 times, once out of each of the colors listed below. 
  • I cut the heart burst backer die one time out of black suede cardstock. 
  • I cut my cardbase using GinaK Designs White Heavyweight Cardstock to 7" x 8.5", scored at 3.5" to make my slimline cardbase.
  • I cut a panel of Black Suede to 3 3/8" x 8 3/8" 
  • I cut the panel left from my cardbase to 8" x 3"
THIS IS WHERE FILMING STARTED So I'll add the video here!!!


  • Using the long panel and distress oxides along with the rolling cloud stencil I did my ink blending in rainbow order and then started over again to finish filling the panel.
  • I cleaned my brushes off on a smaller cardstock panel and die cut the word HEY from that.
  • I used Bearly Art glue to attach the frame to the background and then adhere each panel in its part of the frame.
  • I adhered the black panel to my cardbase then the stenciled panel on top of that
  • I adhered the heart to the panel and then attached the HEY sentiment to a black die of the same as a shadow. 
  • I then stamped the sentiment "You Have a Nice Heart" using VersaFine Clair in Nocturne
  • I added 5 Rainbow Jewels to the panel and my project was complete.


Disclosure: The links below are affiliate links. If you decide to use these links to shop, you are supporting LeeAnn in her crafting venture - thank you! She may receive a small portion of the sale, at no extra cost to you. These products are endorsed by LeeAnn, and I hope you will love them too.

Thursday, May 6, 2021

CONGRATS... A MAKERS MOVEMENT PROJECT!!!

 Hi there friends and fellow crafters. I'm so happy to be here with another project using Stamps and Dies from The Makers Movement. Graduation time is coming up quick, so using the Winners Ribbon Dies and Say It Loud Stamps together this card will hopefully make someone happy this year. 


I chose to make a Spring Fold Card for this project, since I knew the top of the card would simulate a graduation cap. 
  1. I first cut White Heavyweight cardstock using the Burst Die, and then the Lemon Sorbet Heavyweight Cardstock using the circle die. 
  2. I cut Black Suede and Lemon Sorbet using the Banner dies. 
  3. Finally I started on the cardbase. I used one panel of 6" x 7" and then adhered another panel of 6" x 6" together to make a total of 6" x 12" for the cardbase. 


  4. I scored on the 3" 6" and 9" marks

  5. Score Diagonally from the 3" to 9" score lines in both directions to make an x. in the center of the 6" x 12" panel. 

  6. at one end of the panel cut from the center )3" mark) down diagonally to make a triangle end 

  7. Fold in the center with the diamond shape up top and the flat panel on the bottom, decorate as desired. 
  8. For my Layers I cut white heavy weight cardstock to 4 1/8" x 4 1/8" and Black Suede to 4" x 4", the bottom panel is Black Suede 5 7/8" x 4" and White 5.75" x 3 7/8". 
  9. Then I was able to get inky. I stamped the Congrats using VersaMark Sticky Ink and Heat Embossed using Gold MBoss.
  10. I stamped on the bottom panel the You're #1 twice, the Trophy and "nothing can stop you now' all using Versafine Clair in Nocturne. Once dry I filled in using a Metallic Gold Sharpie and then used a Spectrum Noir Glitter Pen to add shimmer. 
*PHOTOS FOR SAMPLES TAKEN USING DIFFERENT CARDSTOCK AFTER THE CARD WAS PUT TOGETHER FOR DEMONSTRATION PURPOSES ONLY!!!


Disclosure: The links below are affiliate links. If you decide to use these links to shop, you are supporting LeeAnn in her crafting venture - thank you! She may receive a small portion of the sale, at no extra cost to you. These products are endorsed by LeeAnn, and I hope you will love them too.