Monday, August 31, 2020

August Same Set Syndrome Collab using July Create and Inkspire Card Kit


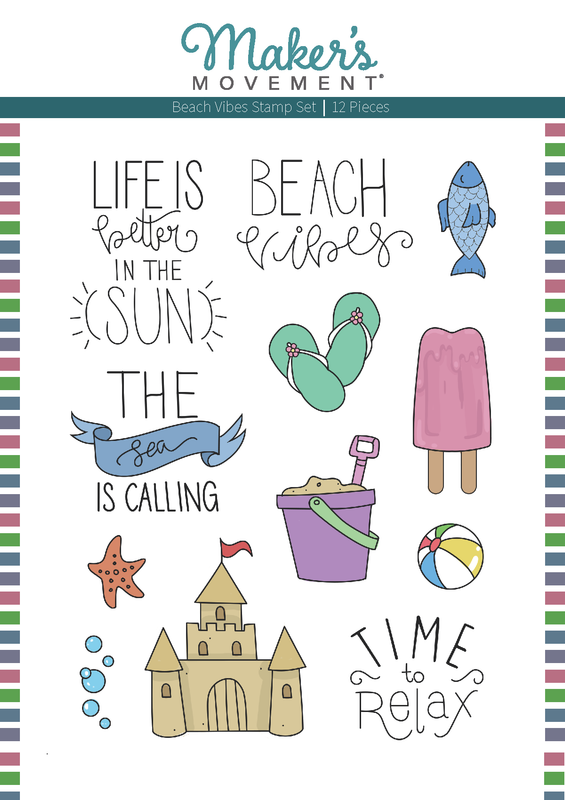
Hey there friends and fellow crafters. LeeAnn here and I've been playing with the July Create and INKspire kit again. This is the latest card I have made, and wow have I had fun. 

Here is a link to the video I made while creating this card, I had so much fun, and I hope you enjoy it. 

You to can get your own Create & INKspire kit from www.createandinkspire.com
there is a $3.99 monthly fee, there are also subscriptions available in 3, 6 and 12 month values. With the monthly subscription you do receive a 10% discount off your kit purchase. Courtney makes an amazing kit, designs the stamps herself and has knocked it out of the park as far as kits go with the first two.        I am waiting for the August kit to arrive now, and have many ideas already.


Disclosure: The links below are affiliate links. If you decide to use these links to shop, you are supporting LeeAnn in her crafting venture - thank you! She may receive a small portion of the sale, at no extra cost to you. These products are endorsed by LeeAnn, and I hope you will love them too.
VersaFine Clair Nocturne
Shop at:
KS | SBC
Nuvo Deluxe Adhesive
Shop at:
KS
Recollections 110 lb Cardstock
Shop at:
MISC
Crafty Foam Tape
Crafty Foam Tape
Shop at:
JCD
Scalloped Edge Nesting Slimline Dies
Shop at:
KS
Karin Brush Marker Pro Flower Set
Shop at:
AZ

Create & Inkspire Card Kit July 2020
Shop at:
MISC
Kat Scrappiness Tri-Frame Slimline Dies
Shop at:
KS

Wednesday, August 26, 2020

Make A Wish with Joy Clair Designs

Greetings friends and fellow crafters, LeeAnn here with my inspiration post for Joy Clair Designs using the Make A Wish Digital Stamp set. 


Today I used Make A Wish to make this slimline card. The length of the candles as this set comes is perfect for a slimline or can be made smaller for an A2 size. However I do have a passion for slimline these days, and they appear to be the majority of what is coming out of my studio.

To make this card I printed the image of the candles after manipulating it to where it was on the page and able to be cut out with my scallop shaped die. The sentiment was cut out and I added fish tails to each end, the sentiment is popped up using foam tape.


The stamp set I used and many more can be found at The Joy Clair Store

See the rest of the teams posts on our blog
Follow us on Pinterest and Instagram

Disclosure: The links below are affiliate links. If you decide to use these links to shop, you are supporting LeeAnn in her crafting venture - thank you! She may receive a small portion of the sale, at no extra cost to you. These products are endorsed by LeeAnn, and I hope you will love them too.
Recollections 110 lb Cardstock
Shop at:
MISC
Recollections 65 lb Cardstock
Shop at:
MISC
Crafty Foam Tape
Crafty Foam Tape
Shop at:
JCD
Scalloped Edge Nesting Slimline Dies
Shop at:
KS
Embossed Edge Nesting Slimline Dies
Shop at:
KS
EZ Tape Runner
EZ Tape Runner
Shop at:
JCD
Joy Clair Make A Wish Digital Set
Shop at:
JCD

Monday, August 17, 2020

August Stick It Down Challenge


Hi there friends and fellow crafters. LeeAnn here with the August Sketch for the Stick It Down Challenge. 

I used the July Create & Inkspire kit for this fun Slimline card. First I pulled 4 colors of cardstock along with markers that went along with them. I die cut the squares and stamped the floral image using Memento Tuxedo Black Ink. I knew I was using Alcohol Markers and this ink is Alcohol Ink friendly. 

Once all m images were stamped, I added some shading to the center and outer edges. Adhered the panels to my card base using Nuvo Deluxe Adhesive. The sentiment is popped up on foam tape and a few rhinestones were added for bling. 

I love this kit and have made several cards with it. I will have another post soon with all the cards I have made, possibly with a video as well. 

Thursday, August 13, 2020

You Matter with Joy Clair Designs

Hey there friends and fellow crafters. LeeAnn here with 2 projects using Digital images from Joy Clair Designs. 

I had so much fun using this Floral Friendship Digital Stamp set and had some clean and simple fun. The more I am using these sets, the more I am enjoying working with digital, especially when I can use my computer to color them as well. 
Floral Friendship


The second project I did was from the God Guides Digital Set... 
These cards were quite easy, I have been experimenting with Adobe Photoshop Elements, A program called Paint 3D which is free with Windows computers, and another free program found at GetPaint.net. They all work pretty much the same. 
  • I use the PNG file from Joy Clair Designs as it has a transparent background. 
  • I then use the program to separate the images, making each their own files. 
  • I then bring them back together making the design I want on my card panel. 
  • With this one I was able to add colors to the flower petals and leaves to create it to my liking. 
  • Once the page was printed, I cut it to 3.75" x 5". 
  • I cut a black panel to 4"x 5.25" and adhered these both to an A2 top folding card base. 
  • I added 3 pink confetti sprinkles to the panel and my card was complete. 
  • For the second card I followed all the same steps except my main panel is 4" x 5.25", with the black panel slightly larger. And I added 3 purple confetti sprinkles.


The digital stamp set I used and many more can be found at The Joy Clair Store
See the rest of the teams posts on our blog
Follow us on Pinterest and Instagram


Sunday, August 9, 2020

Trick or Treat with the Makers Movement

 Greetings friends and fellow crafters. LeeAnn here and wow am I having fun this month pairing Halloween designed pattern paper  with this Trick or Treat Shaker Stamp and Die set from The Maker's Movement. 


I love making shaker cards, and this set made me so happy as it had 2 sets of eyes, and 2 mouths so I could fit 2 fun jack-o-lanterns on one slimline card. 

How I made this card.
  • Cut the dies apart from each other. I actually left the faces together, so it was only the 2 frames which were single pieces, this way I would not loose the little pieces. I do put them in a small zip bag for storage. 
  • Using the double cut frame die, I cut the foam as well as 2 Jack-o-lantern top frames from pattern paper.
  • Using the solid frame die, I cut back panels from both pattern paper and acetate for the Jack-o-lanterns. 
  • Using black card-stock I cut the faces for both jack-o-lanterns and went through my google eyes to find the ones I wanted to use. 
  • I assembled the Jack-o-lanterns and added the Candy Corn Shaker Sprinkles to each and sealed them with the acetate. 
  • I used Nuvo liquid glue which dries clear to add the top frame to each Jack-o-lantern. 


  • Using some Distress oxides I layered over and over Squeezed Lemonade, Wilted Violet and Black Soot to make the sentiment panel.
  • Once the panel was dry I used my embossing bag to remove static, stamped the Trick or Treat sentiment with VersaMark ink and sprinkled on Whispers Opaque Orange Embossing Powder and set it with my heat tool. 
  • Back to the die cutter, I cut the panel of purple/white chevron pattern paper from an older paper studio paper pad. This is a 6" x 12" paper pad called The Basics No. 2, and I searched but could not find a link for it. 
  • This panel was attached to my cardbase which is 8.5" x 3.75". To make this I cut a panel of cardstock 8.5" x 7.5" and scored at 3.75'. For this I used an EZ Tape Runner.
  • I die cut the candy pieces from white cardstock and stamped them with Twisted Citron, Wilted Violet and Picked Raspberry Distress Oxides. These pieces were attached using liquid glue.

I hope you have enjoyed this fun shaker card as much as I enjoyed making it. 

Disclosure: The links below are affiliate links. If you decide to use these links to shop, you are supporting LeeAnn in her crafting venture - thank you! She may receive a small portion of the sale, at no extra cost to you. These products are endorsed by LeeAnn, and I hope you will love them too.
Nuvo Deluxe Adhesive
Shop at:
KS
Recollections 110 lb Cardstock
Shop at:
MISC
Recollections 65 lb Cardstock
Shop at:
MISC
Picked Raspberry Distress Oxide
Shop at:
SBC
Squeezed Lemonade Distress Oxide
Shop at:
SBC
Embossed Edge Nesting Slimline Dies
Shop at:
KS
EZ Tape Runner
EZ Tape Runner
Shop at:
JCD
Trick or Treat Stamp/Die Set
Shop at:
MISC
VersaMark
VersaMark
Shop at:
SBC
Spooky Shaker Sprinkles
Shop at:
MISC
Clear Acetate Sheets
Shop at:
MISC
Double Sided Adhesive Foam
Shop at:
MISC
Pumpkin Party Paper Pad
Shop at:
SBC
Twisted Citron Distress Oxide
Shop at:
SBC
Wilted Violet Distress Oxide
Shop at:
SBC
Black Soot Distress Oxide
Shop at:
SBC

Saturday, August 1, 2020

Beach Vibes with The Makers Movement


Hi there friends and fellow crafters, LeeAnn here again with this fun project using the Beach Vibes Stamp set from The Makers Movement


I had so much fun making this beach filled fun card using The Makers Movement Beach Vibes Stamp Set

To make this card I used my stamp platform and wreath builder stencil. 
  1. I stamped out 4 sets of the flip flops and cut them out with the coordinating die set, along with the pail/shovel and beach ball. 
  2. I then put the flip flop stamp on the stamp platform and using the stencil for positioning I stamped out the 8 sets of flip flops to make up the wreath. 
  3. Using Ohuhu Alcohol Markers I colored the flip flops in rainbow pattern, along with the beach ball and bucket of sand and shovel. 
  4. Using foam tape I popped up the 4 flip flops I cut separately and put them on the coordinating colors to add some dimension. 
  5. My card base is 4.25"x 5.5" top folding. The I cut a panel of pattern paper 4"x 5.25" and layered it on a black layer of cardstock and adhered these straight to the card base. 
  6. The stamped panel is 3.75"x3.75" layered on a black panel slightly larger and adhered with foam tape. 
  7. The Beach Vibes sentiment and all flip flops are stamped using VersaFine Clair in Nocturne ink. 
I hope you have enjoyed this fun card as much as I enjoyed making it. 


Disclosure: The links below are affiliate links. If you decided to use these links to shop, you are supporting today's post writer - thank you! They may receive a small portion of the sale, at no extra cost to you. These products are endorsed by teh author, and we hope you will love them too.
VersaFine Clair Nocturne
Shop at:
KS | SBC
Scrapbook Adhesives Foam Squares
Shop at:
KS
Recollections 110 lb Cardstock
Shop at:
MISC
EZ Tape Runner
EZ Tape Runner
Shop at:
JCD
Beach Vibes Stamp Set
Shop at:
MISC
Beach Vibes Die Set
Beach Vibes Die Set
Shop at:
MISC