Saturday, June 15, 2019

Love with A2Z

Greetings friends and fellow crafters. LeeAnn here with my first June inspiration project for the A2Z team. I used the Love Stamp and Cut set to make this card and I hope you like it.

picsart_06-03-12.34.56

I started off with a black card base and a frame die set from my stash to make layers using Red, Pink and White cardstock. Using Hero Arts Pale Tomato Dye Ink and the small heart stamps from the set I stamped out my background.

I due cut the word love 3 times from black cardstock and once from red and layered it, gluing each layer together using Stamperfect glue and then used Nuvo drops on the top to add a glitter look. I also added Nuvo drop dots around the card for added sparkle.


Friday, June 14, 2019

Turtle Fun with Stampendous and Scrapping For Less

Greetings friends and fellow crafters, LeeAnn here with my project using Stampendous Stamp set called "Turtle Fun". Let me just say after the few days we spent at the beach last week, having manatee's come up and swim right by us, the only thing I had told my husband I was missing was some turtles, so when I found that I was getting to work with this set, I was so happy.

PicsArt_06-12-06.44.27

PicsArt_06-12-06.42.45To make this card, the main blue panel is from a Lawn Fawn 6x6 paper pad called Watercolor Wishes, first I stamped the image twice, one I cut the images apart using my Scan n Cut and the other I used a combination of Salty Ocean, Mermaid Lagoon and Blueprint Sketch that was still on my blending brush from a past project to blend the ocean water at the top of the panel. I then used my Radiating Rays stencils from MFT and the same blend again to create the image of the sunlight shining down into the water.

I used alcohol markers to color my images and foam tape to pop them up over their corresponding parts on the main card panel to add a 3D effect. I used Morning Dew Nuvo drops on the yes and lights on the ship, and White Blizzard Nuvo drops in the air bubbles.

Once all this was complete, I used a Spellbinders Die to make this pop up slider effect, which is where I used more of the Oxide ink blend, and stamped the sentiment. Once the recipient pulls the twine on the top, the card panel will slide up, and the sentiment will be revealed. Had I used thicker foam tape to attach the top panel to the base, I wold have been able to include a gift card under the panel as well.

Fun fact... my first pet was a turtle named Myrtle when I was 2 years old. We had her for a couple years and she was never larger than a half dollar. Years later in high school, my bus driver saved a turtle from the middle of the road on the way to pick us up one afternoon, and had the turtle in a 5 gallon bucket on the bus, it went home with me that day. Had that one for a couple years also. Years later while on the way to a doctor appt I almost stepped on a quarter size turtle on our sidewalk. My then 2 year old named it Fox and we had him for almost 3 years. That thing grew, to a nice size about 5 inches. I have really always loved turtles and would love to have another now.


Please follow along with  Scrapping For Less on All Social Media Outlets.


Tuesday, June 11, 2019

Masculine Projects with Die Cuttin Divas

Greetings friends and fellow crafters. LeeAnn here with my weekly project with Die Cuttin' Divas, and this week our theme is to make a Masculine Project. With Father's Day rapidly approaching we felt this would be a great theme, and encouraged me to bring out a Sizzix die set that I have had for a while and never used.

picsart_06-03-01.42.51

The majority of the men in my family were/are very outdoorsy, so when I saw this Sizzix die set (Fox Tales With Thanks and Frame) I just knew I had to have it in my arsenal. The idea of using camouflage colors when working with it was just the thing to pull it together in my opinion. So come by the Die Cuttin' Diva's page this week and load up your masculine themed card and play along with us.

I can't wait to see your projects.

Thursday, June 6, 2019

A Little Extra Puff with Scrapping For Less

Greetings friends and fellow crafters. It's LeeAnn and I am here today with my first post for Scrapping For Less in for June 2019. I had so much fun while making this card, using Avery Elle's "Sea-Prise" stamp set and I hope you enjoy it.

picsart_06-02-11.22.27-1

To start off I used Salty Ocean, Mermaid Lagoon and Blueprint Sketch Distress Oxides to make my cover layer. I used an MFT Stencil (Make Waves) to create the scene. Once dry, I spritzed on some water to help with the look.

I then stamped the schools of fish using the Blueprint Sketch Distress Oxide. I stamped the Shark and Pufferfish using GinaK Amalgam Black Ink, and stamped the sentiment with the same. I cut out my images with the Scan N Cut and colored with Artist Loft Alcohol Markers.

My layers were put together using GinaK Connect Glue. I love the ease of use for this little bottle.

Tuesday, June 4, 2019

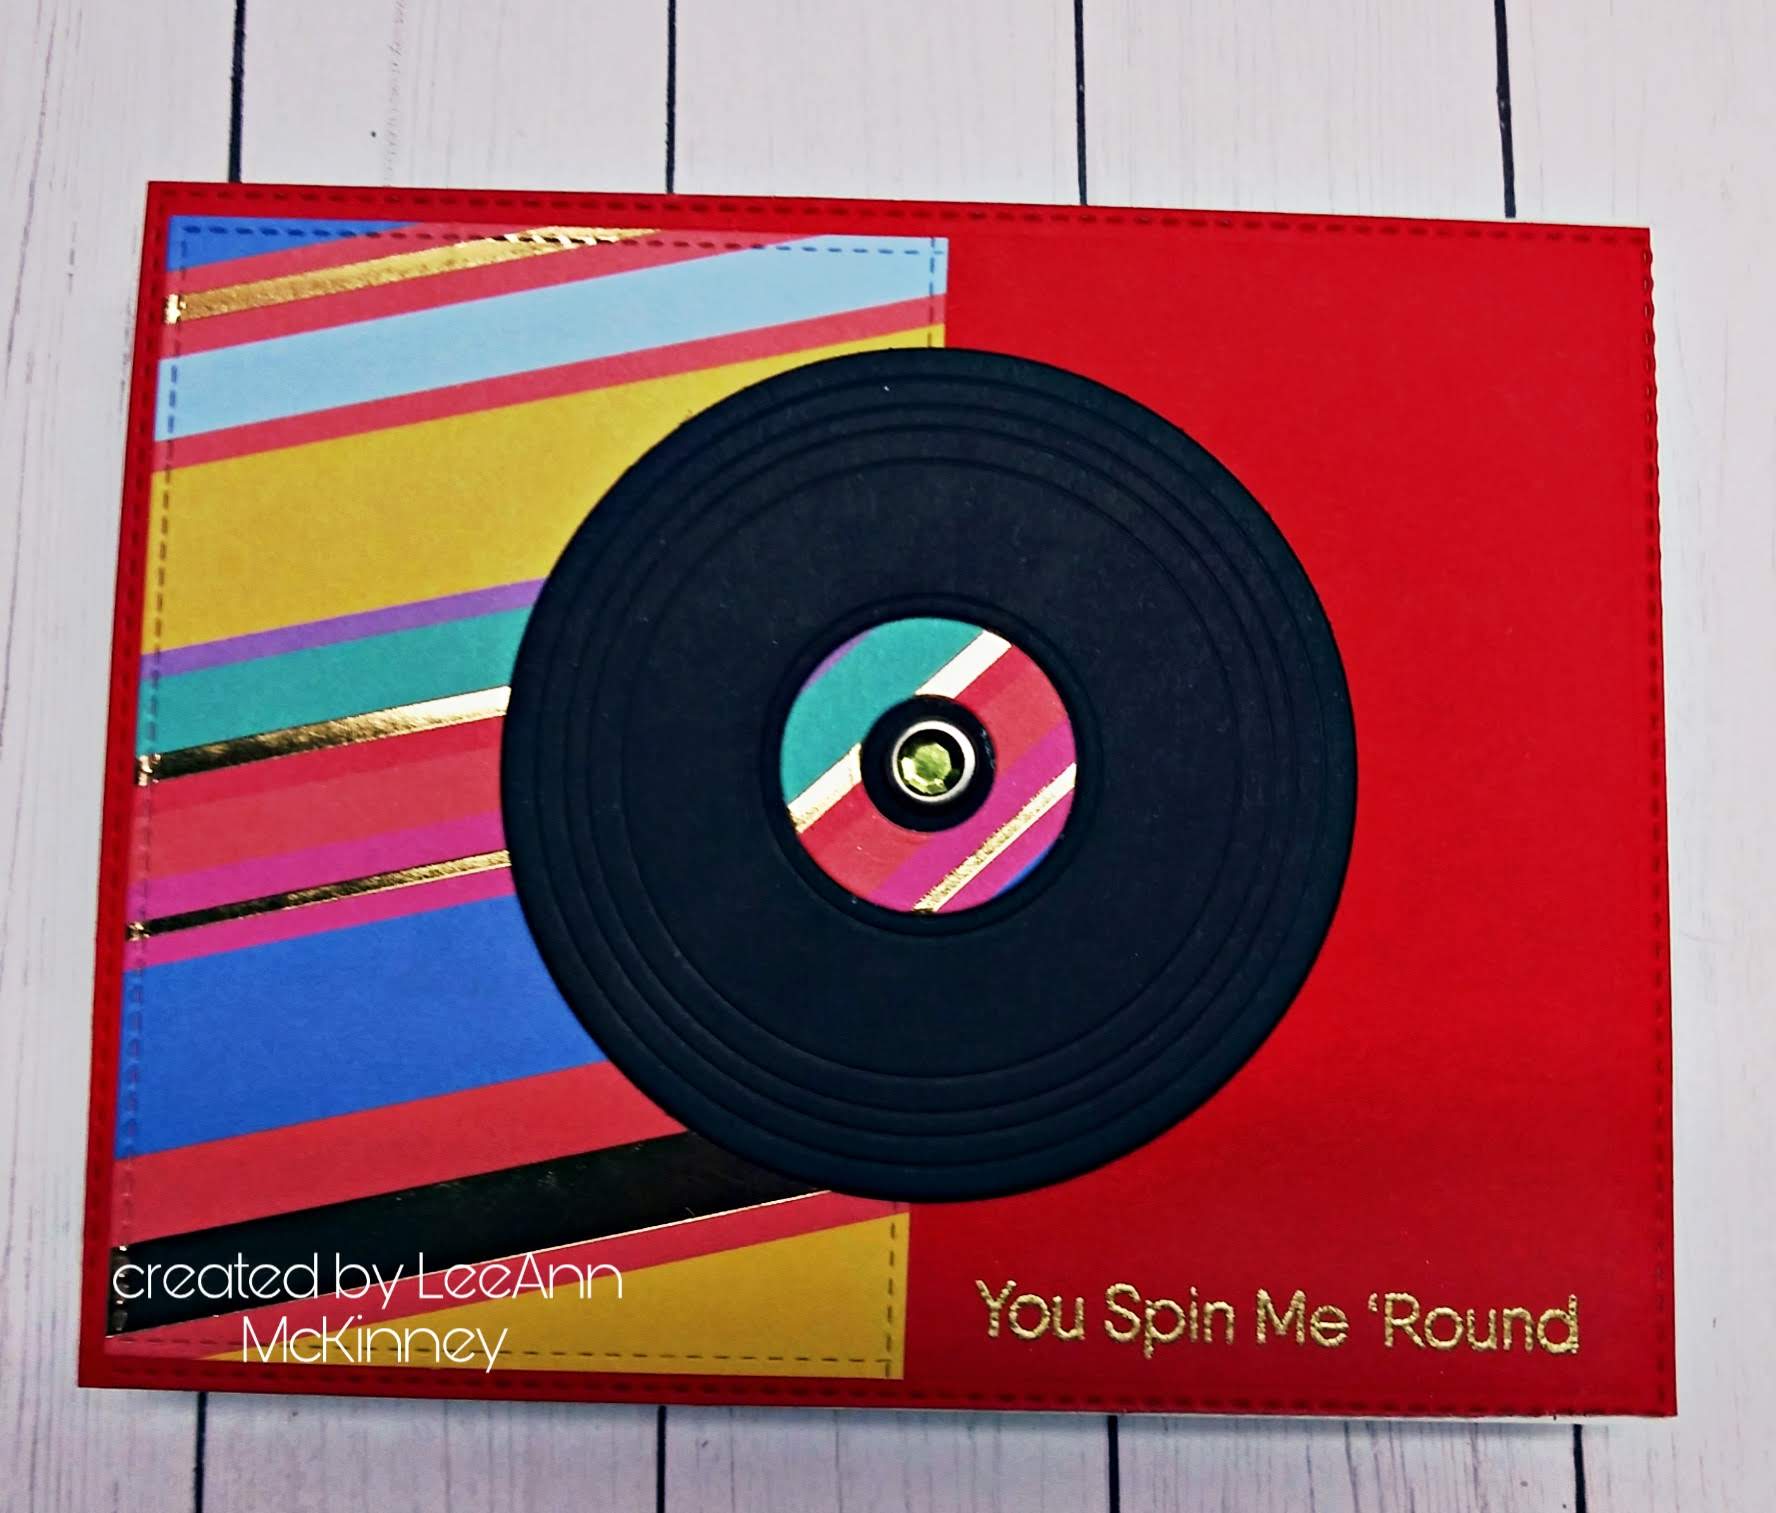
You Spin Me Round with Die Cuttin' Divas

Hi there friends and fellow crafters. LeeAnn here with the first project for a new design team I am now on. "Die Cuttin' Divas". So get those dies out, where metal, steel rule or cut files and get to crafting.

fb_img_1559522138962

This week's project is a sketch image. Using the above image make your card and have fun with it.


picsart_06-02-07.39.33This is the project I made. Using the MFT "Turntable Die-namics" and "For the Record" stamp set, along with stitched rectangle dies also from MFT, I had a blast putting this card together. I found the pattern paper I used in a 6"x6" pad from Recollections that I picked up a few months ago, and thought it went really well as not only the side piece but for the record label part as well.

I did heat emboss the sentiment after stamping with Versamark ink and used ScraPerfect glue to hold all my layers together. The record is attached with a brad, so that it actually does spin.


Monday, May 27, 2019

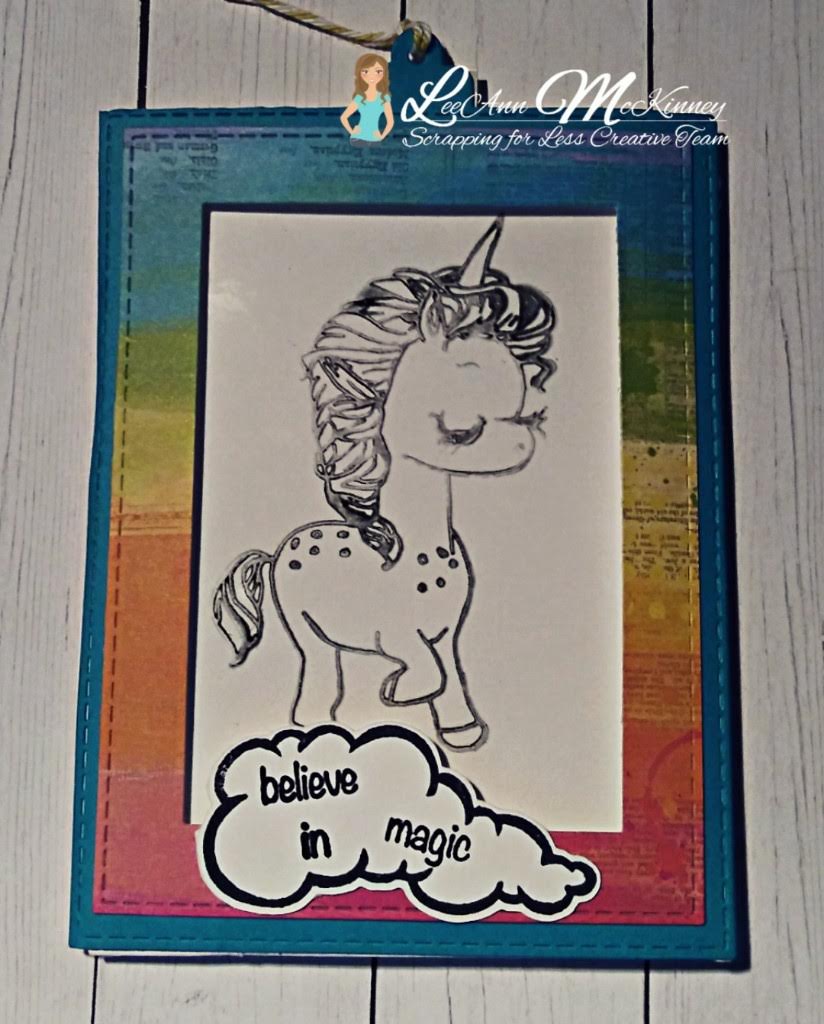
Believe In Magic with Scrapping For Less

Greetings friends and fellow crafters, LeeAnn here with my final Scrapping For Less project for May 2019. I had so much fun making this, other than the video that I tried, and it stopped working half through.

preview-6preview-7

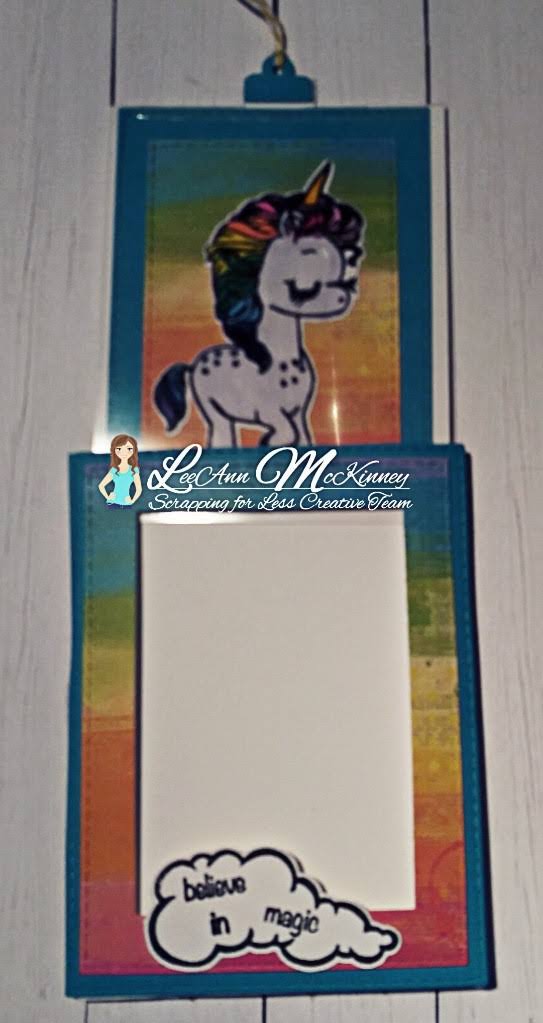
How I made this fun Magic Color Slider Card... without the die...

  1. Take an 8.5" x 11" sheet cardstock, score at 5.5" on the short and 4.25" on the long.


preview-8


2. Cut away the top left panel as this will be used later for your slider.

preview-9

3. If making your card portrait as I did, Cut .25" off along the outside of the right panels.
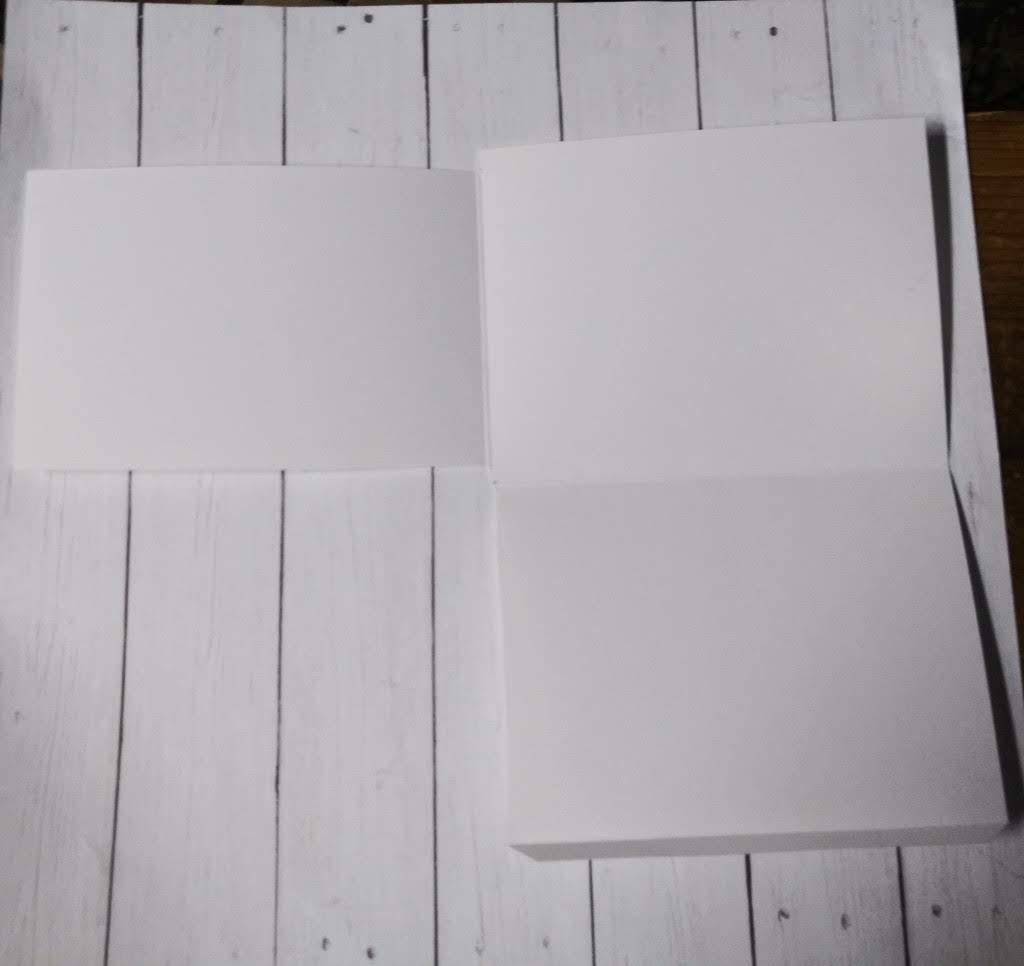
preview-10

4. With the remaining lower left panel score in .25" and cut the top and bottom corners at an angle.

5. Decide if you want a Circle, Square, Rectangle or whatever hole for your window, I went with Rectangle  using my stitched rectangle dies. I folded my panels so that the bottom left which is what would be the top panel would be cut with the die and ran it through my die cutter.
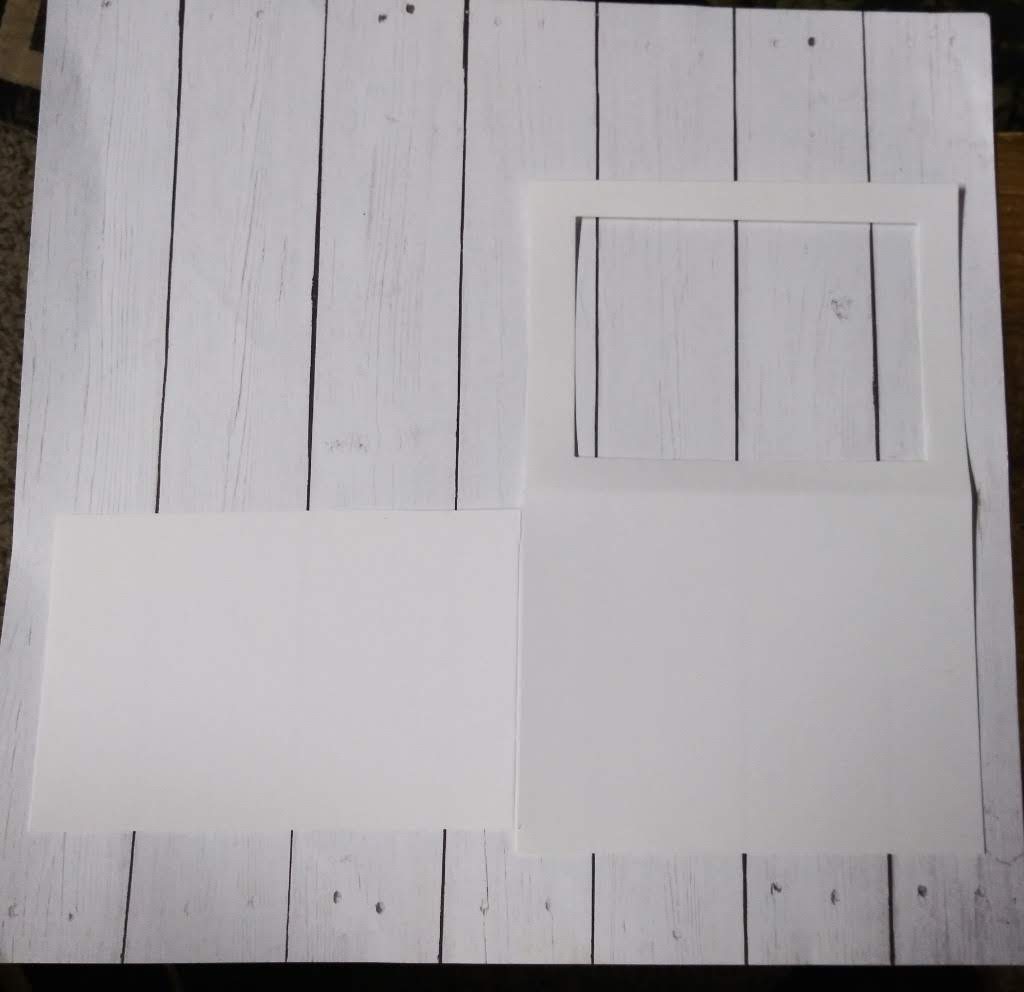
preview-11

6. For me at this point I cut in .25 from each side on the top right so that it would say down easily.

7. I then folded the upper right down over the upper left, and folded the lower left over to cover the same, to put the panel that was upper right in between the two.

8. Using score tape on the little flap I closed it up by tucking it into the back panel. making a big pocket with a panel in the middle.
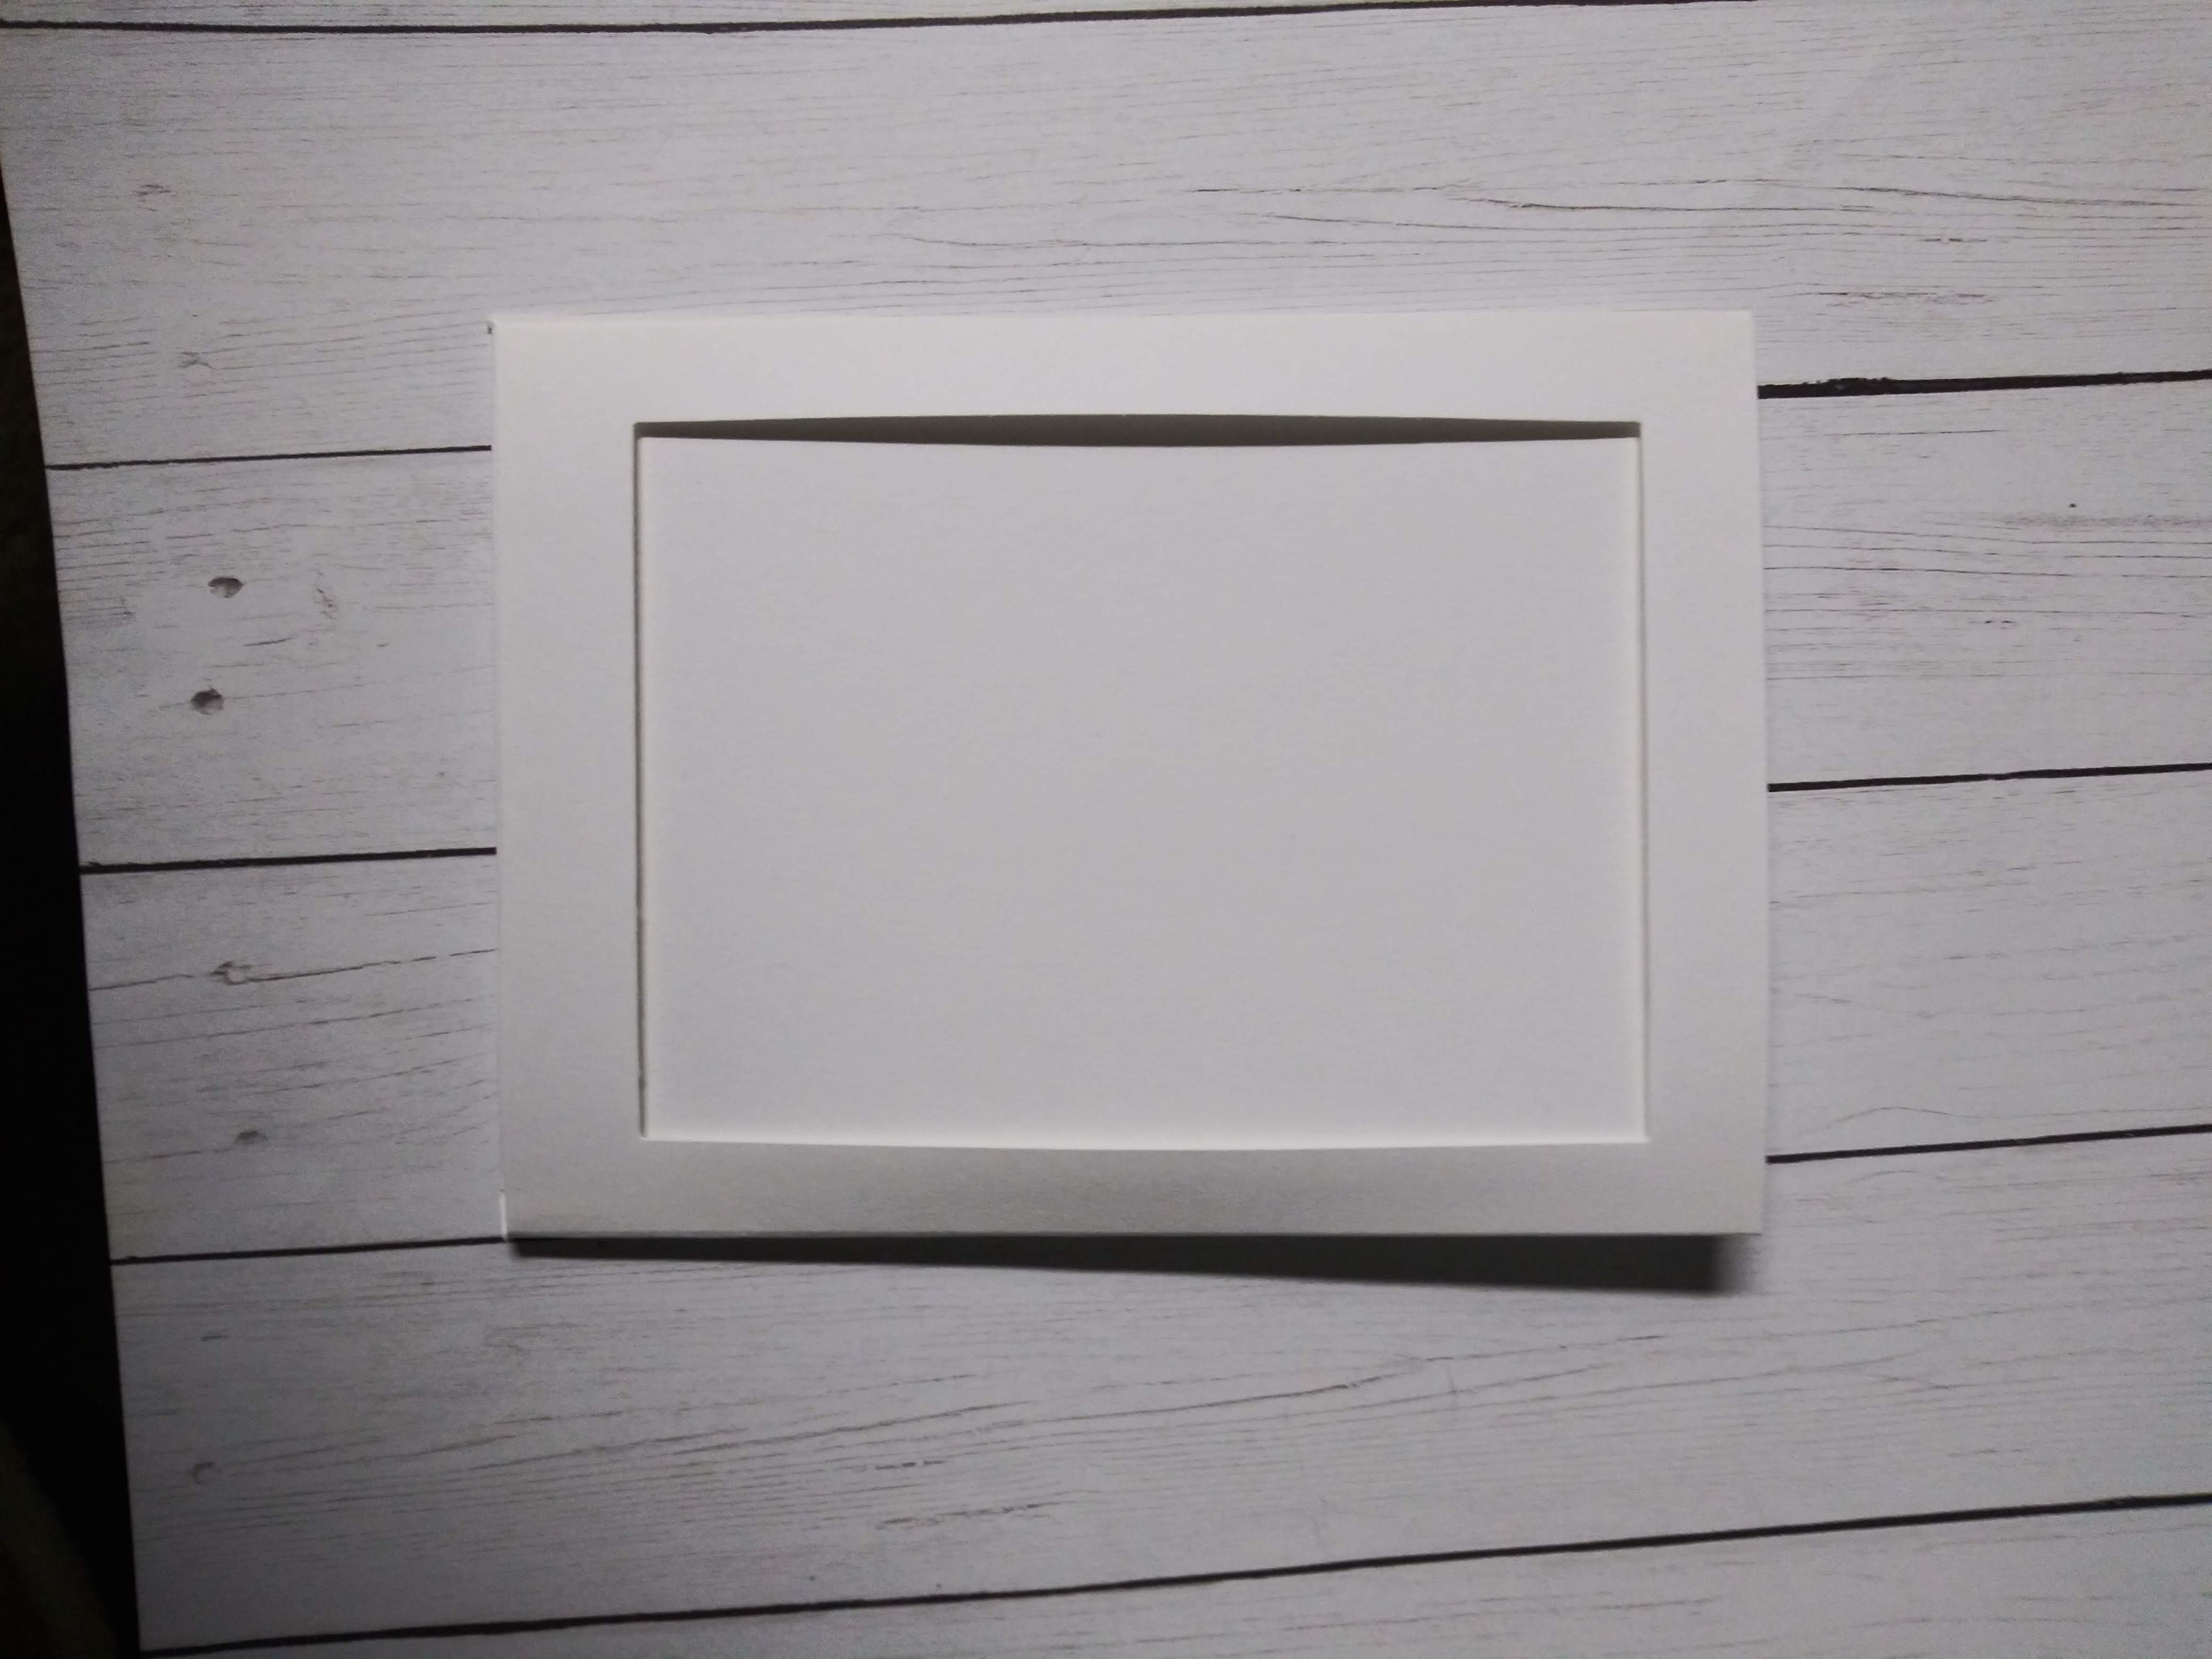
20190526_232018

9. Cut a piece of acetate to be 5.25" x 3.75" and using a piece of score tape attach to the center top of the panel we had cut away in step 2 which I cut to the same measurements.

10. Stamp the image on the acetate using Staz-On ink in the same place it will be on the inner panel. For I stamped on the acetate, then positioned the piece I had already cut and colored in the same spot so they lined up.

preview-12

11. Using pattern paper out of the "Believe" paper pack I used my stitched rectangle dies to make frames for the front of my card and panels for the slider part as well.

preview-13

12. Using a tab die from a Lawn Fawn set I made a pull tab and attached with score tape to the top of the slider panel and attached some bakers twine to that for a pull string.

preview-14


13. Putting the card together at this point was easy, I slid the panel with the pattern paper and colored image behind the white panel and the acetate panel in front. It is all hidden by the frames on the front of the card. After some stamp surgery I stamped the sentiment on the cloud and attached it to the top of the frame to complete my card. 
preview-15preview-16


Friday, May 24, 2019

Myths And Legends... SFL FOTM May 2019

Image may contain: text

Let’s get on to some crafty goodness with these wonderful creatures: Our Myths and Legends blog hop begins at the Scrapping for Less blog. There, you will find the complete lineup. AND…make sure you enter the Rafflecopter.


You can find the new kit for May on the Subscription page as well as great photographs of the contents of the kit. Make sure to grab yours fast as it may sell out quickly! Thanks for joining us today!


Link to unboxing video


No photo description available.

No photo description available.

And now for MY projects... I had so much fun with this kit starting with the sneak peek from a few days ago and right up until my final card was made. I see a lot more fun coming out of this kit as well.


[caption id="attachment_3559" align="alignnone" width="1982"]Gnome One Like You Gnome One Like You Collection 4[/caption]
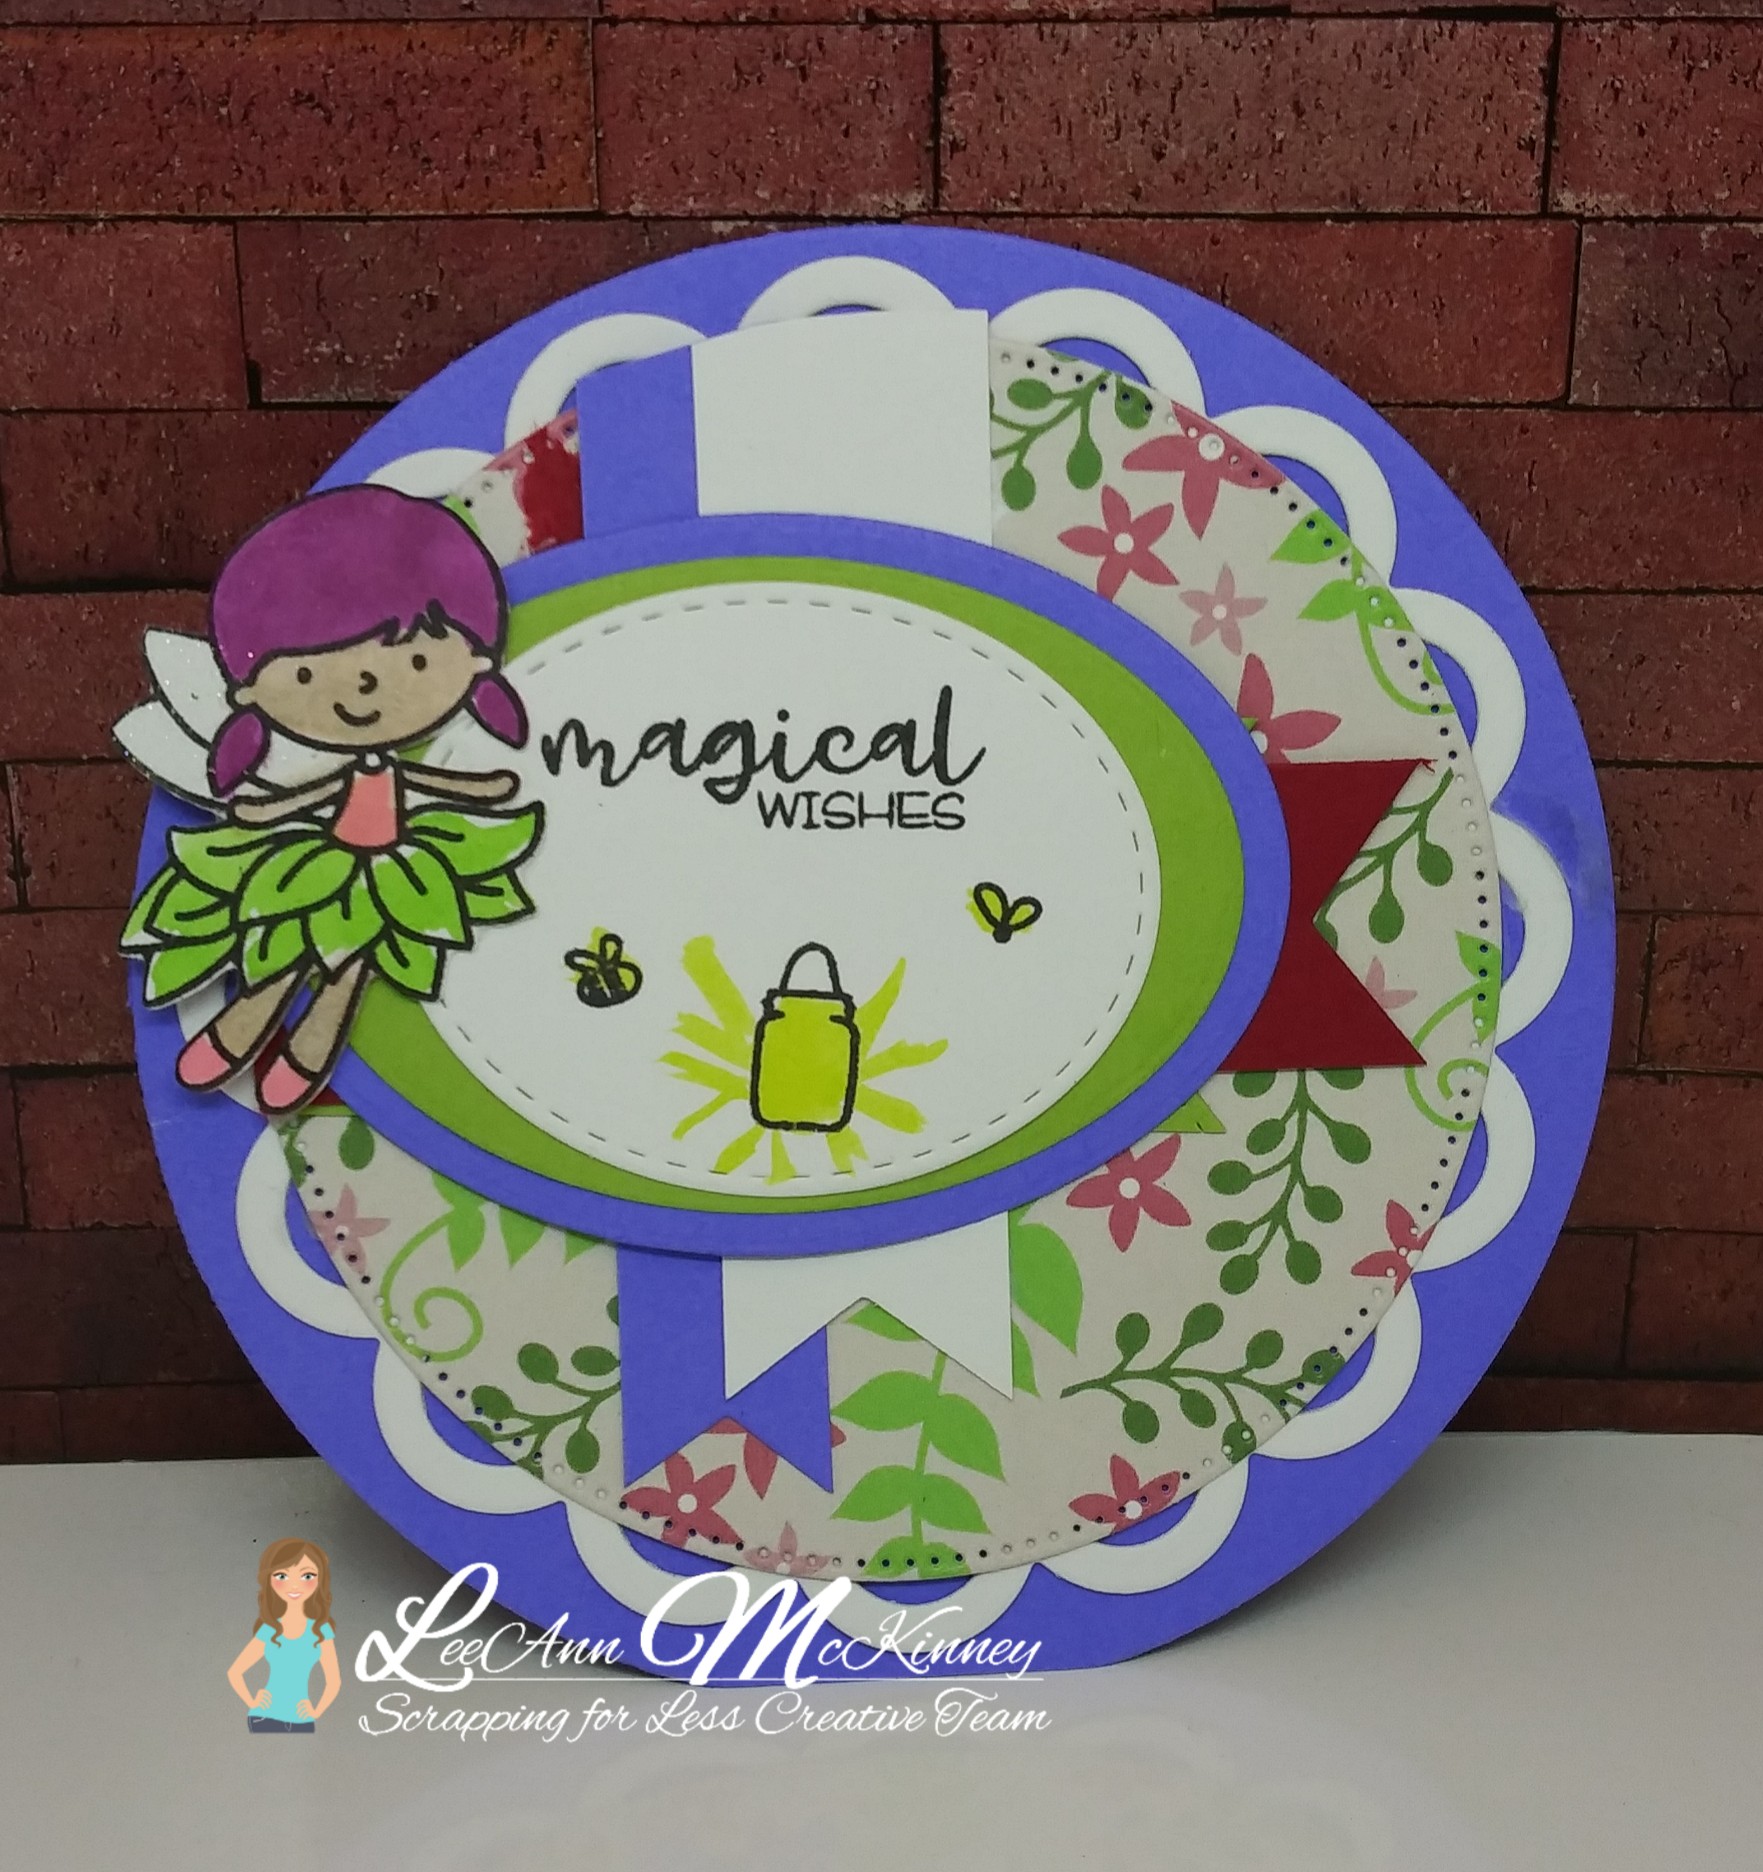
[caption id="attachment_3560" align="alignnone" width="1763"]picsart_05-24-11.12.41 Magical Wishes Collection 3[/caption]

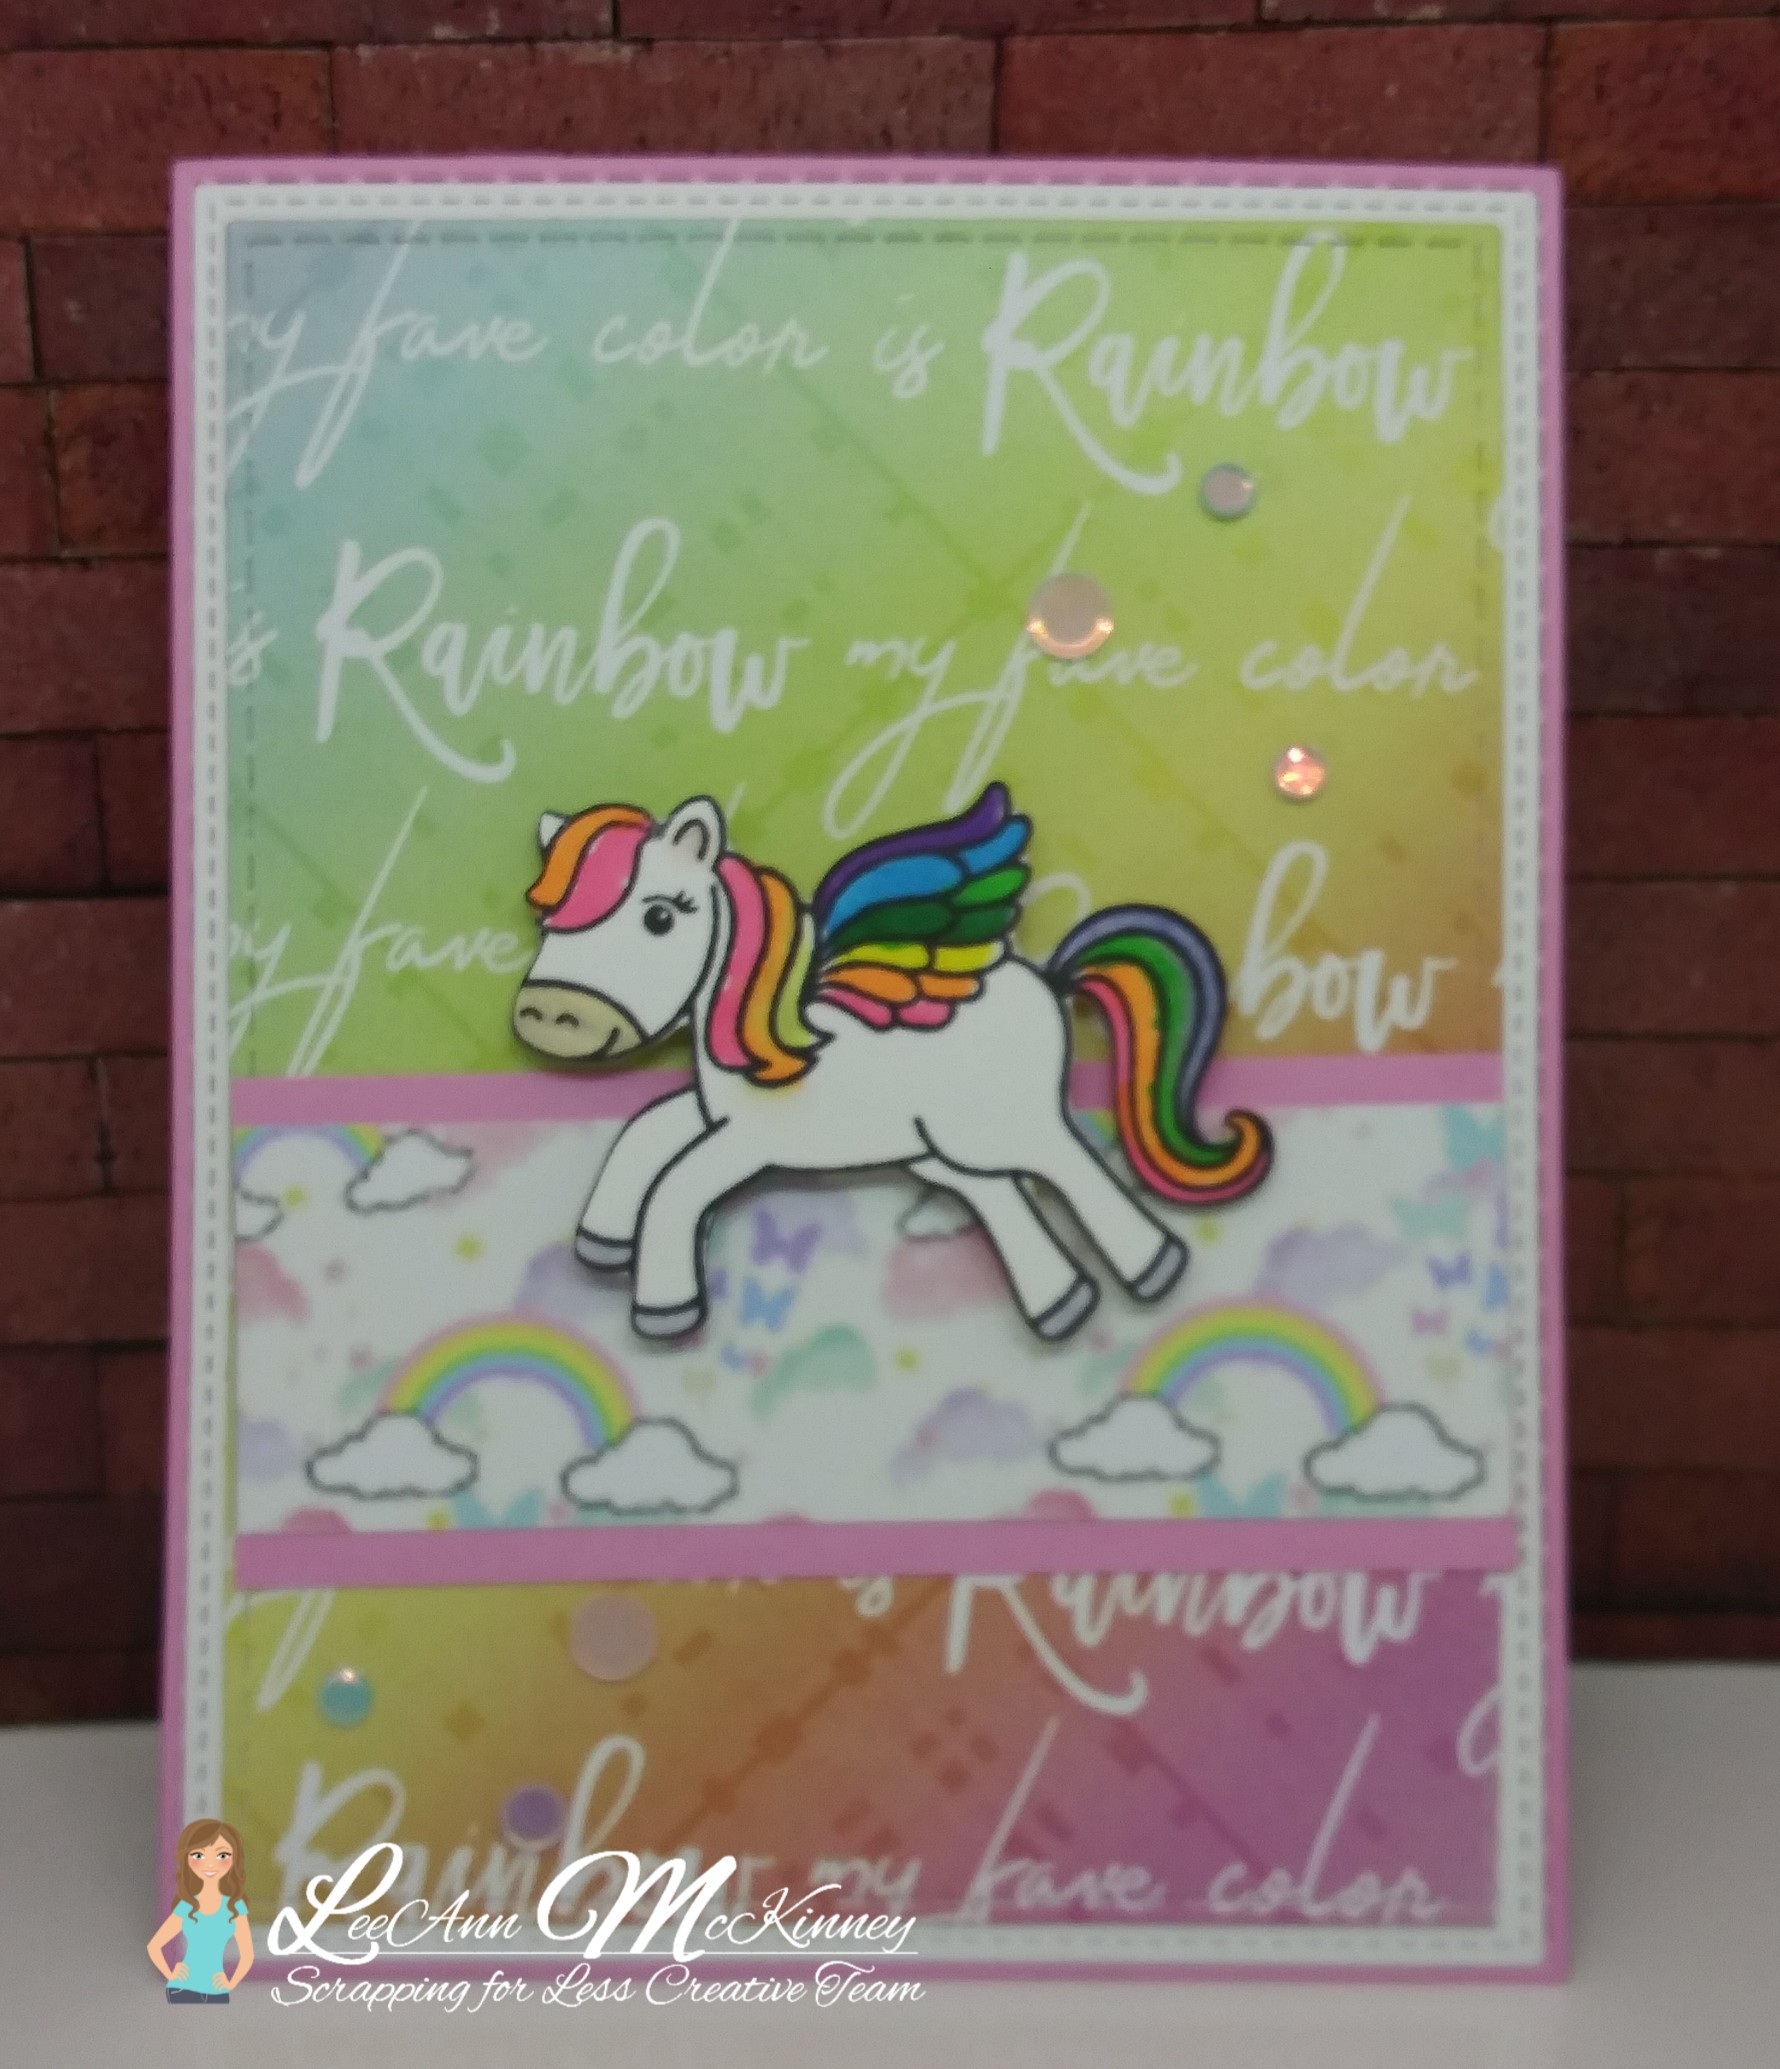
[caption id="attachment_3561" align="alignnone" width="1780"]picsart_05-24-11.11.18 My Favorite Color is Rainbow Collection 2[/caption]
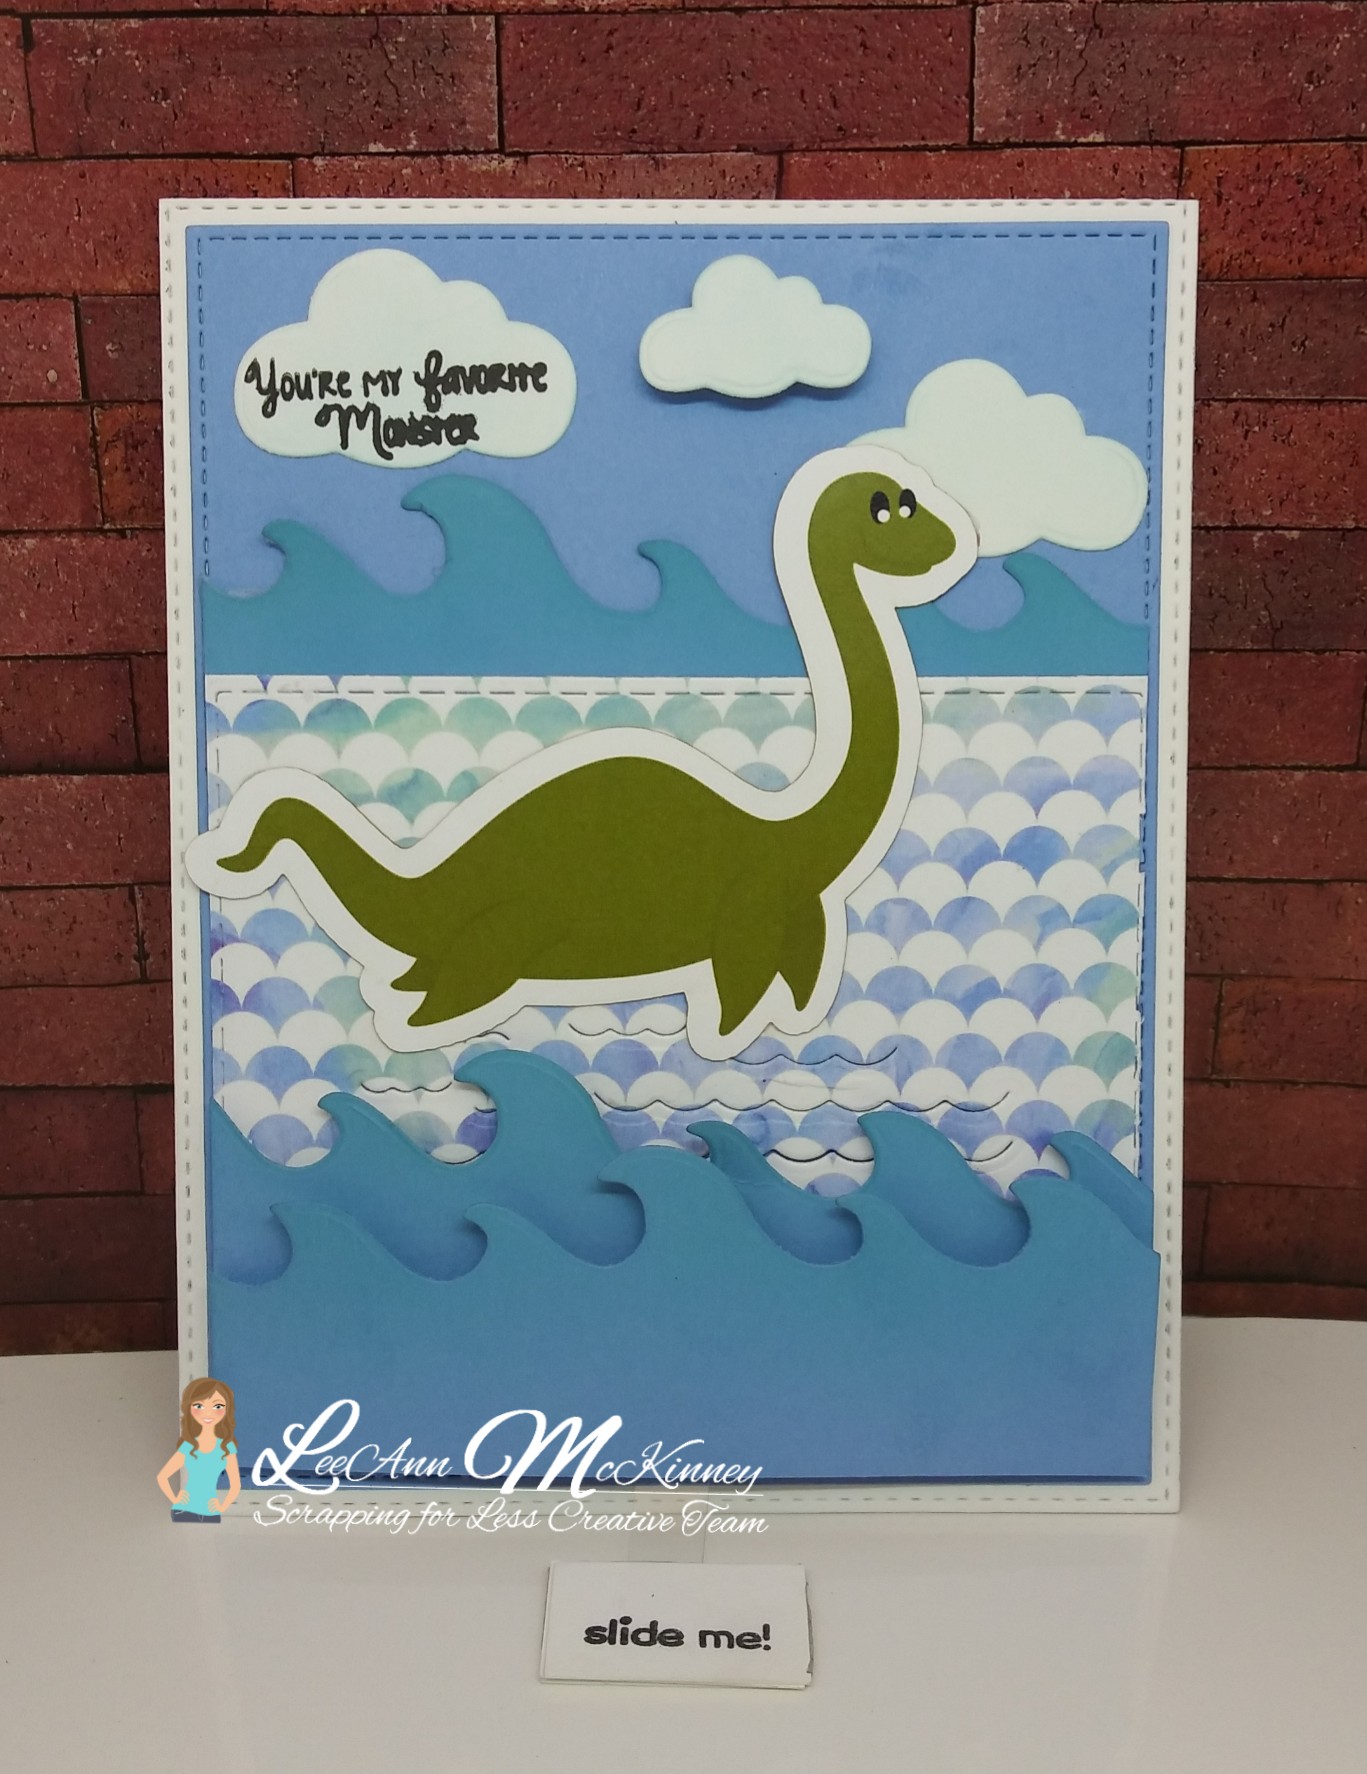
[caption id="attachment_3562" align="alignnone" width="1367"]picsart_05-24-11.08.28 My Favorite Monster Collection 1[/caption]
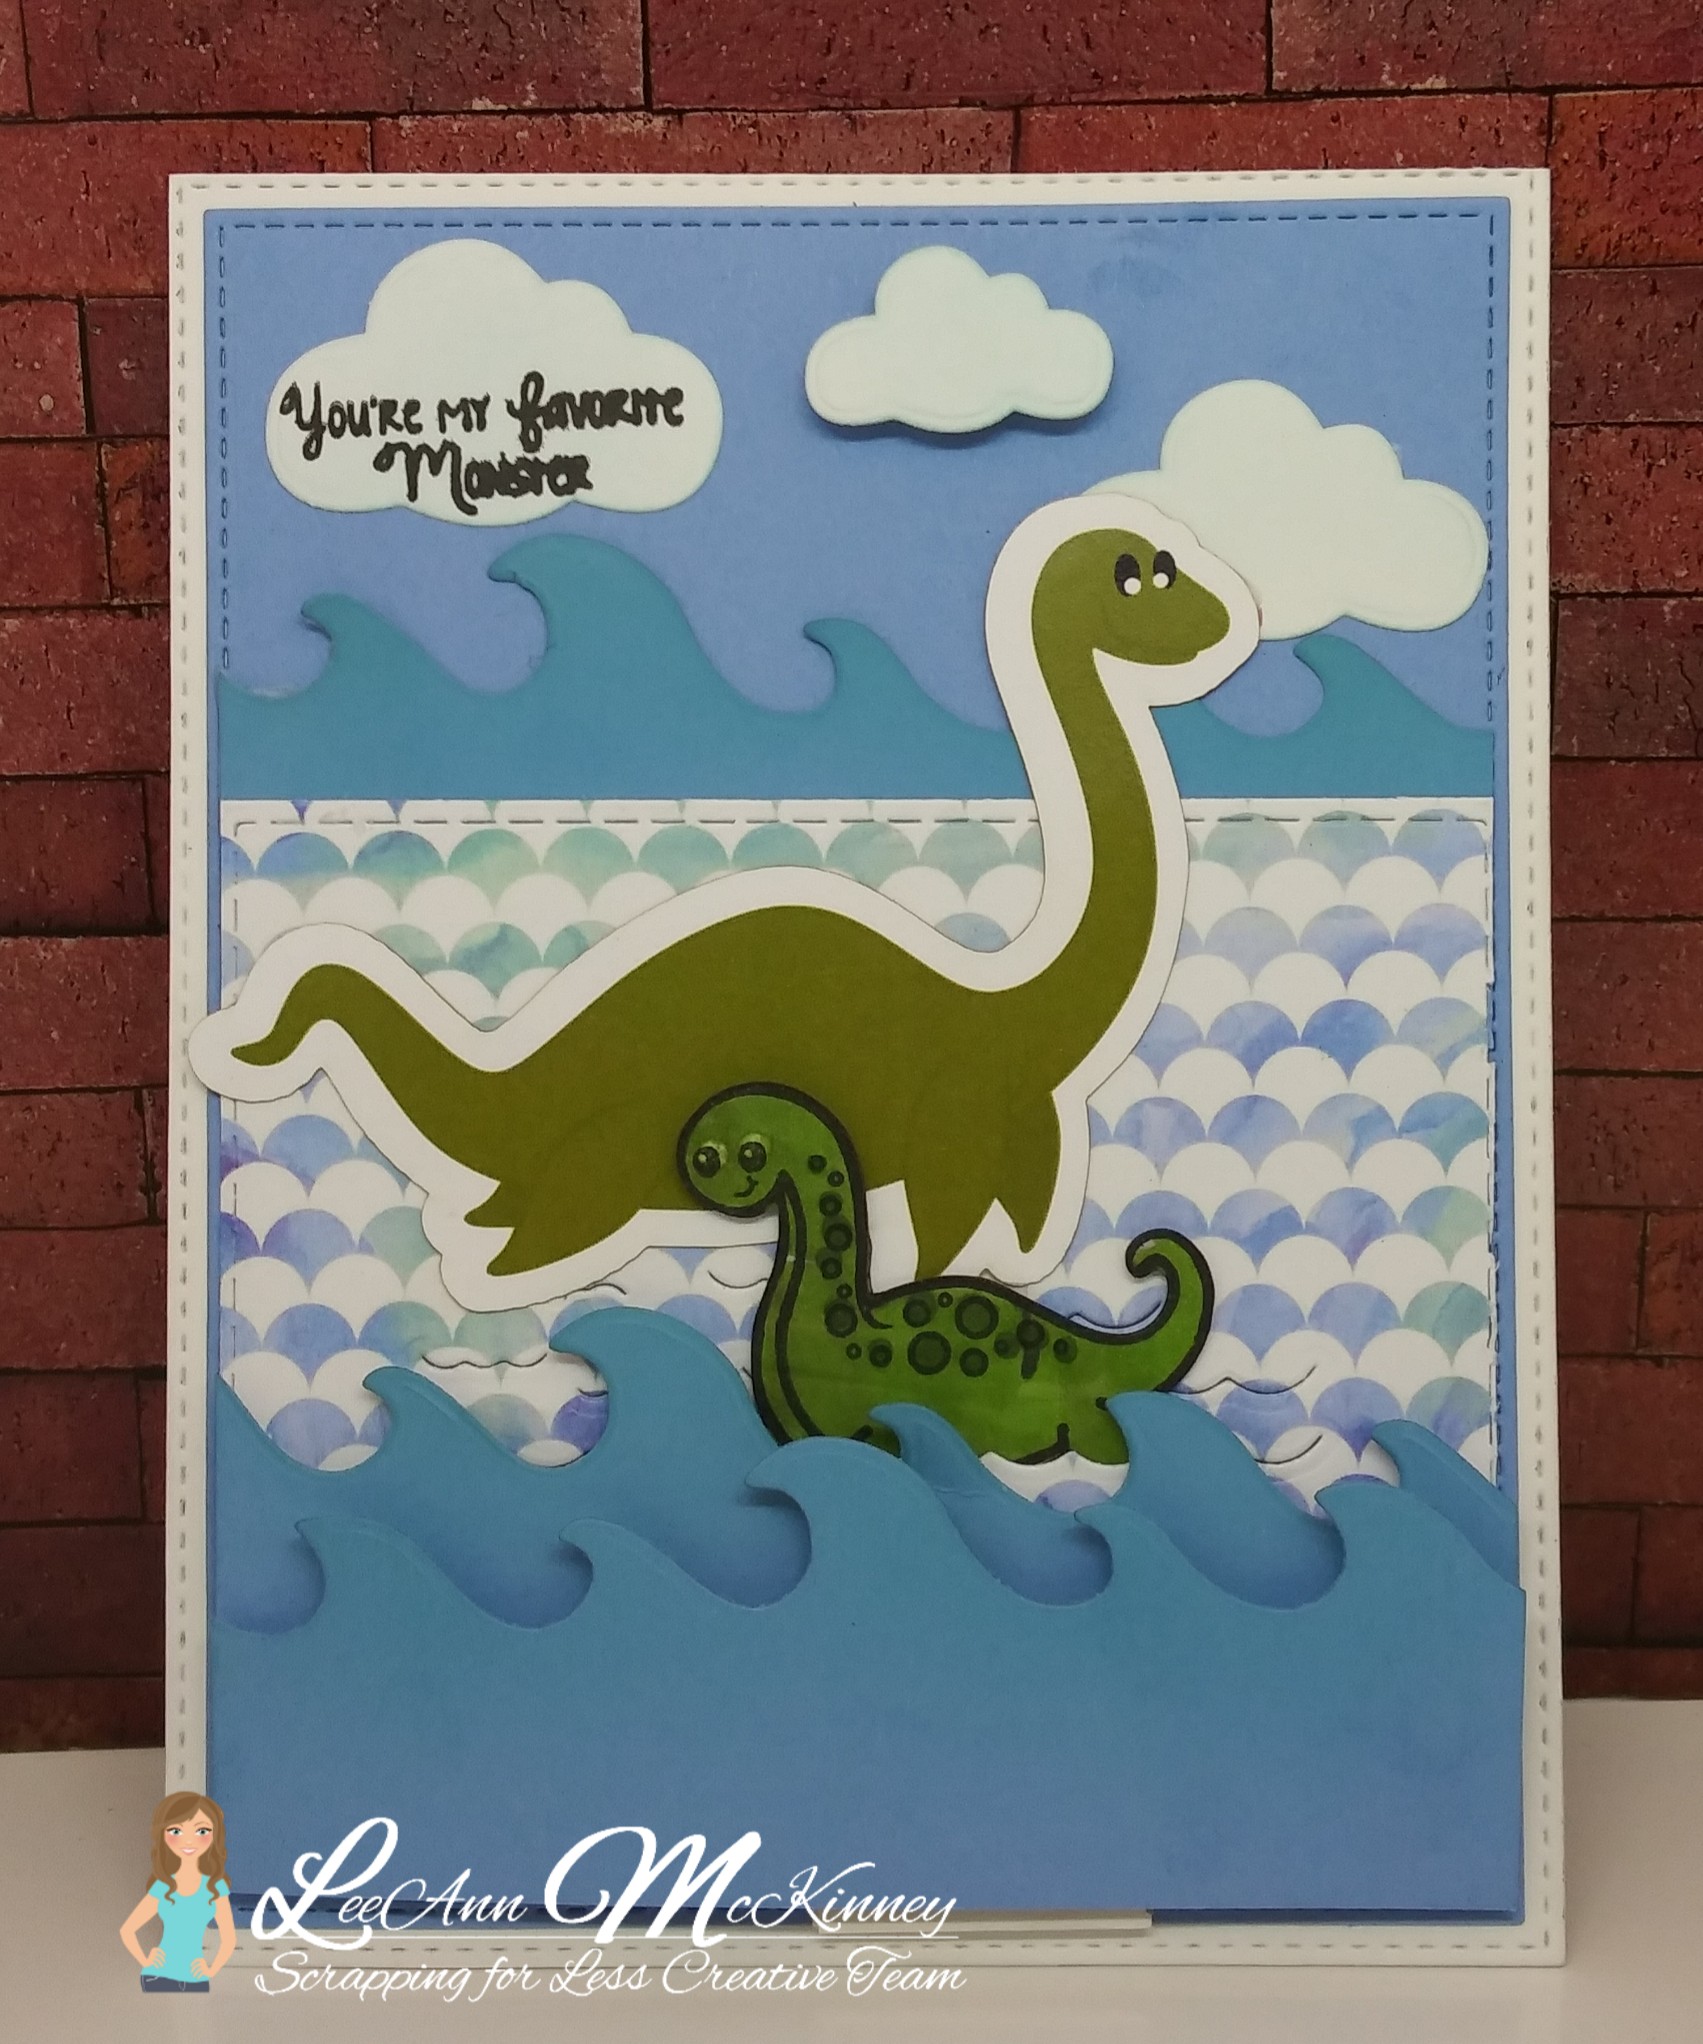
[caption id="attachment_3563" align="alignnone" width="1703"]picsart_05-24-11.09.46 My Favorite Monster Collection 1[/caption]
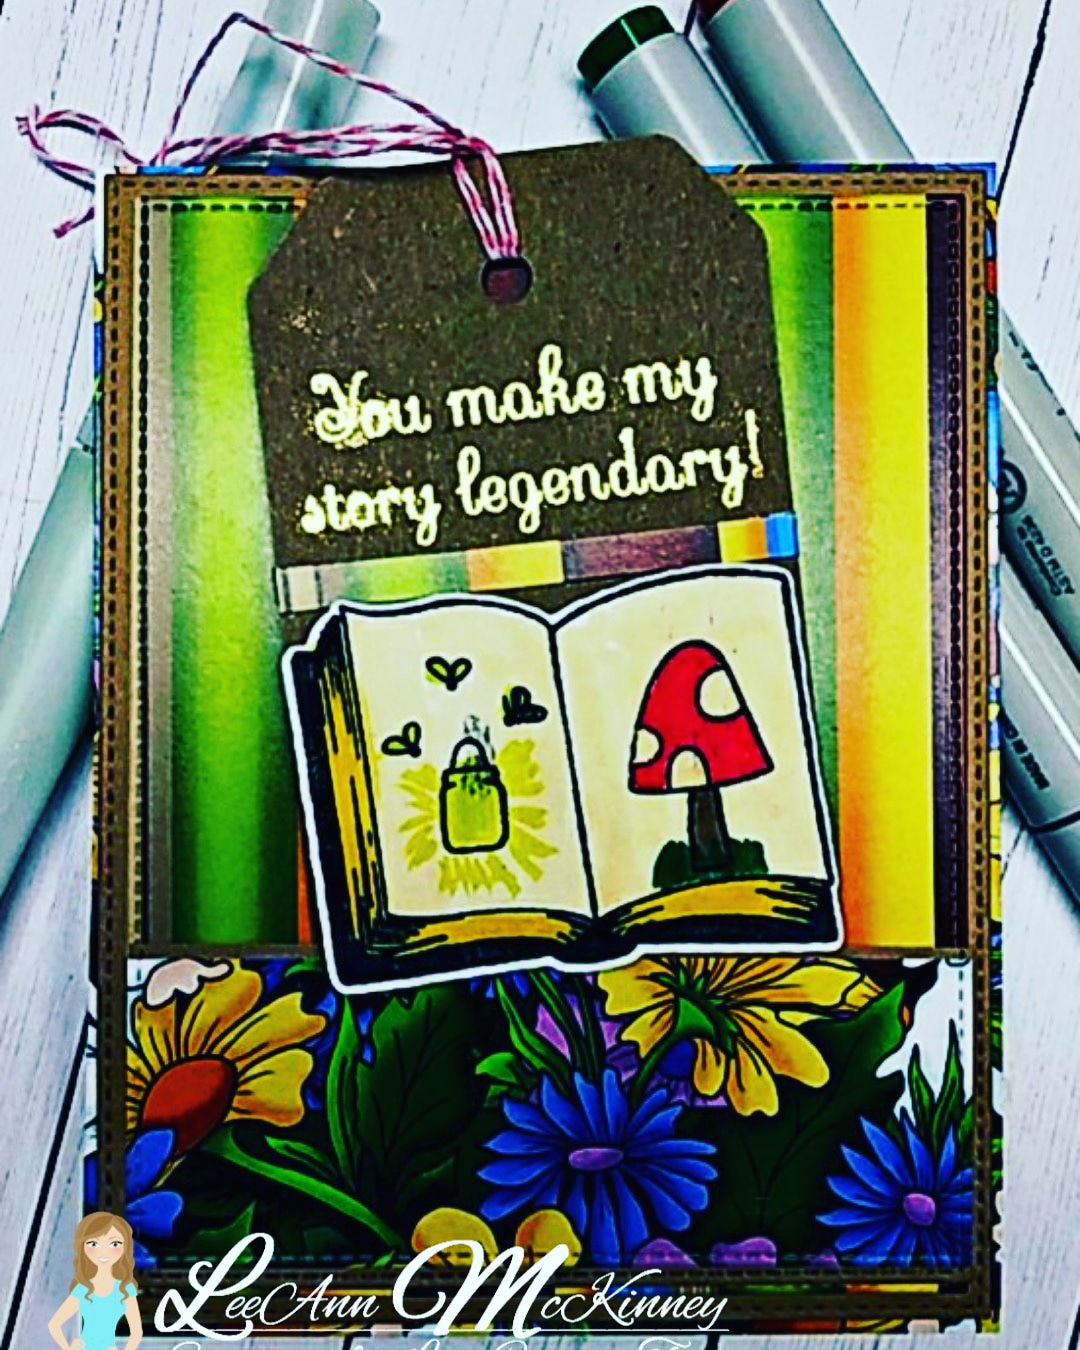
[caption id="attachment_3564" align="alignnone" width="1080"]img_20190520_085236_070-1 Sneak Peek Day 3 Mixture of Collections[/caption]

You should have come here from Christine's page

Next up on the hop is Desiree

Happy Crafting! P.S. for some fun facts on the elements and origins of the myths and legends of this month's kit head to the Scrapping for Less blog for some little tidbits about our legendary elements.

As a final, there is a sale this weekend...

No photo description available.