Tuesday, February 25, 2020

It's Time to Party with Joy Clair Designs

Greetings friends and fellow crafters, LeeAnn here with a Shaker card I made using the Joy Clair Designs Party Animals stamp set.

Following these few easy steps, you too can make this shaker card. 
1. I started out by stamping out this cute little hungry pig and slice of cake with Memento Tuxedo Black ink. This is a dye ink which makes it easy to color with alcohol markers which is what I did. 
2. I used the plaid pattern paper from the Campfire and Lakeside paper pad and cut the swimming pool section out using the MFT die. 
3. Using Vintage Photo Distress Oxide I inked up the area on my cardbase where the pool will be. 
4. I sprinkled the Sweet Candy sprinkles in the mud hole, used Nuvo Deluxe adhesive to adhere the shaker element to the card base to enclose the sprinkles. 
5. I adhered the plaid paper do the cardbase and set about to cut out the pig and cake slice with my Scan n Cut. 
6. I attached the pick and cake slice using foam squares
7. I stamped out the sentiment using VersaFine Clair Nocturne ink and cut into a banner shape.
8. I added five drops of Nuvo Cocoa Blush and my project was complete. 

I made a second card with this stamp set and the following six steps are how I created this project.

1. For this card I first stamped out the cute little alligator image using Memento Tuxedo Black ink, this is a dye ink that dries quickly and allows for coloring with alcohol markers without bleed through. Next I used the Brother Scan n Cut to cut out the image.
2. I  used Artist Loft Alcohol Markers to color the alligator image.
3. I used Distress Oxide inks in Mermaid Lagoon, Peacock Feathers and Salty Ocean along with a Stampers Anonymous Stencil to ink blend the water spray.
4. I cut a panel using a  rounded stitched rectangle die, and stamped the sentiment using VersaClair Nocturne ink.
5. I added the alligator using foam squares.
6. Once attached I used Glossy Accents, on not only the alligators float but also the balloon.
7. Three Orange Nuvo drops up at the top and my project was almost complete.
8. The final step for my project today was to add the design panel to the card base using Tear-it Tape.


The stamp set I used and many more can be found at The Joy Clair Store
See the rest of the teams posts on our blog
Follow us on Pinterest and Instagram
Affiliate links are used at no extra cost to you. This helps me support my crafty life!!!
Party Animal
Party Animal
Shop at:
JCD
Nuvo Drops Gloss Ripend Pumpkin
Shop at:
KS
Mermaid Lagoon Distress Oxide
Shop at:
KS
Salty Ocean Distress Oxide
Shop at:
KS
Peacock Feathers Distress Oxide
Shop at:
KS
VersaFine Clair Nocturne
Shop at:
KS
Ranger Glossy Accents
Shop at:
KS
Sweet Candy Sprinkles
Shop at:
KS
MFT Pool Shaker
MFT Pool Shaker
Shop at:
SSS
MFT Pool Die
MFT Pool Die
Shop at:
SSS
PhotoPlay Campfire & Lakeside 6x6
Shop at:
SBC
MFT Rounded Stitched Rectangles
Shop at:
SSS
Pixie Spray
Pixie Spray
Shop at:
KS
Nuvo Deluxe Adhesive
Shop at:
KS
Vintage Photo DIstress Oxide
Shop at:
KS
Scrapbook Adhesives Foam Squares
Shop at:
KS
Cocoa Blush Nuvo Jewel Drops
Shop at:
KS

Tuesday, February 18, 2020

Get Well Soon with Joy Clair Designs

Greetings friends and fellow crafters, LeeAnn here with a project I made using Joy Clair Designs, Spring Stroll stamp set.

I had a lot of fun making this card and following these steps you can as well:
1. Stamp the umbrella image five times using Memento Tuxedo Black ink. 
2. Color the images using rainbow colors. I used alcohol markers as the ink is alcohol friendly.
3. Using a the Mini Staggered Raindrops stencil from MFT, and Tumbled Glass Distress Oxide ink I created the background. 
4. After cutting the umbrella's using my Brother Scan n Cut, I adhered them to my panel using foam squares. 
5. I stamped the sentiment using VersaFine Clair ink in Nocturne. 
6. My panel was then attached to a light blue A2 size card base, and my project was complete. 


The stamp set I used and many more can be found at The Joy Clair Store
See the rest of the teams posts on our blog
Follow us on Pinterest and Instagram
Affiliate links are used at no extra cost to you. This helps me support my crafty life!!!
VersaFine Clair Nocturne
Shop at:
KS
Spring Stroll
Spring Stroll
Shop at:
JCD
Memento Tuxedo Black Dye Ink
Shop at:
KS
MFT Mini Raindrops
MFT Mini Raindrops
Shop at:
SSS
Distress Oxide Tumbled Glass
Shop at:
KS

Thursday, February 13, 2020

All You Need is Love!!!


Greetings friends and fellow crafters. I feel so bad as here it is 2 days before Valentines Day and I am realizing my post for Maker's Movement did not publish.
I had so much fun using the Notes of Love Stamp set and the Special Delivery Die set to make this cute Valentine. Sit back and relax and I'll tell you how I did it.
I found the Recollections pattern paper I wanted to use for the envelope using the Special Delivery Die set, and ran it through my die cutting machine. 
I then ran the second die through the machine with Pink card-stock to be the front of my envelope. I used white card-stock for the "postage stamp" and the word Love. 
I also used White card-stock for my Valentine card which I cut with the label die, and then Kraft card-stock to be a backer layer for that. 
Once I had all my layers cut, I went to stamping. Using Memento Tuxedo black ink I stamped the arrows on the postage stamp and the sentiment on the card. I used Ladybug Red to stamp the Heart and word Love. Using New Sprout and Bamboo Leaves I stamped the wheat vine on either side of the sentiment.
Putting together the envelope was easy, the die set scores the paper while cutting out the shape. All that is needed is to crease on the folds, and add some double side tape along the two sides in the back, release the backing paper and adhere together.
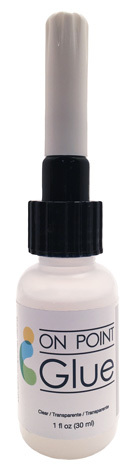
I also used double side tape to adhere all my other panels together, and On Point Glue to adhere the die cut love to the front of the envelope. And with that my project is complete.

Unfortunately it appears the stamp set I used may not be available any longer, as it is not showing on the company website.

Affiliate links are used at no extra cost to you. This helps me support my crafty life!!!
VersaFine Clair Nocturne
Shop at:
KS
Memento Tuxedo Black Dye Ink
Shop at:
KS | IC
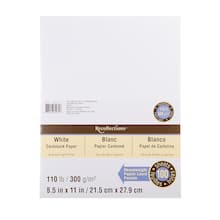
Recollections 110 lb Cardstock
Shop at:
MM
On Point Glue
On Point Glue
Shop at:
IC
Special Delivery Die Set
Shop at:
MM

Wednesday, February 12, 2020

Friends Are Like Stars... Friendship Hop

Image may contain: possible text that says 'February 12th FRIENDSHIP CARD HOP'
Hi there friends and fellow crafters, LeeAnn here participating in Courtney's Friendship Hop.
I had so much fun creating this card.
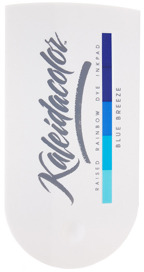
First I cut a panel of Kromekoat paper (can use photo paper) with a stitched rectangle die and went about using Tsukeniko's Kaleidacolor ink pad in Blues to brayer the background. I added a spritz of water after to add to the look.
I then used a smaller rectangle die from the same set and stamped the sentiment from a Dovecraft stamp using VersaFine Clair ink in Nocturne. Once I let that ink dry, I spritzed it with Imagine Shimmer sprays Sparkle Shimmer.
I added bakers twine to my panel and wrapped twice tying a knot on the left side.
I then attached my sentiment panel using foam squares, and added this panel to my card base also using foam tape.
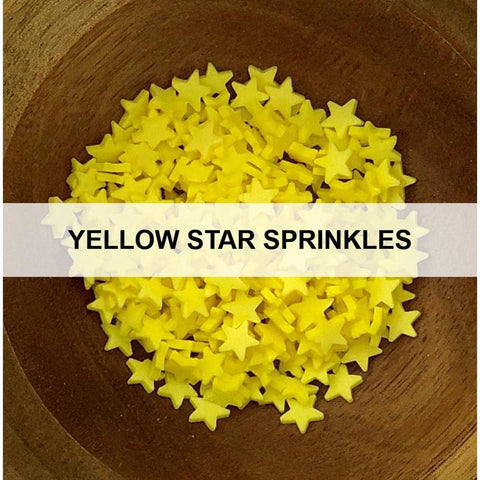
I added 5 yellow stars to my panel with On Point Glue and my project was complete.

I hope you enjoy all the projects brought to you in this hop. And see projects that inspire you to make your own friendship card.

NEXT UP... Renee and her awesome youtube video... click here!!!


Affiliate links are used at no extra cost to you. This helps me support my crafty life!!!
VersaFine Clair Nocturne
Shop at:
KS
Scrapbook Adhesives Foam Squares
Shop at:
KS
Sheer Shimmer Sparkle Spritzer
Shop at:
IC
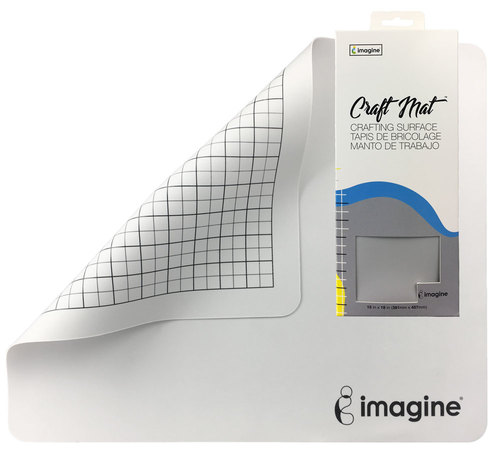
Imagine Craft Mat
Imagine Craft Mat
Shop at:
IC
Kromecote Paper Marco's Paper
Shop at:
M's
Kaleidacolor Blue Breeze
Shop at:
IC
Dovecraft Friends are Like Stars (sold out)
Shop at:
AZ
On Point Glue
On Point Glue
Shop at:
IC
Yellow Star Sprinkles
Shop at:
KS

Thank You with Joy Clair Designs

Greetings friends and fellow crafters, LeeAnn here with a quick and easy project using the Doodle Flowers Stamp set from Joy Clair Designs.

As I said this was a quick and easy card to make. I chose the rainbow watercolor design pattern paper from a 6x6 paper pad from Bo Bunny called "Believe". I used a stitched rectangle die from KatScrappiness to cut the panel, and then using VersaFine Clair ink in the color Nocturne I stamped the flower spray as well as a couple extra sprigs.
I stamped the jar image using Memento Tuxedo Black ink and cut it out, and continued the flower spray and stems from the sprigs to appear to be in the jar.
I used a slanted sentiment die from MFT and stamped the sentiment using Catherine Pooler's Orange Twist ink.

The stamp set I used and many more can be found at The Joy Clair Store
See the rest of the teams posts on our blog
Follow us on Pinterest and Instagram


Affiliate links are used at no extra cost to you. This helps me support my crafty life!!!
VersaFine Clair Nocturne
Shop at:
KS
Doodle Flowers
Doodle Flowers
Shop at:
JCD
Spring Stroll
Spring Stroll
Shop at:
JCD
Memento Tuxedo Black Dye Ink
Shop at:
KS

Bo Bunny "Believe" 6x6 Paper Pad
Shop at:
AZ
Catherine Pooler Orange Twist
Shop at:
SBC

Tuesday, February 4, 2020

Sentiment Fun and 12 Cards from Joy Clair Designs


Greetings friends and fellow crafters, LeeAnn here with 12 cards I made using two sentiment stamp sets  (Hello Sentiments and Everyday Sentiments) from Joy Clair designs and a few sheets of pattern paper and card stock.
I follow a You-tuber Call Me {Crafty} Al, and she has a program called Sheetload of cards, so by following her design, I came up with these 12 cards quite quickly. You can find her video here. Per the instructions and request of the maker I will to post the directs to make the cards here. 
I used pattern paper from the Crate Paper 12x12 paper pad called Hello, Love. I also used solid colored 65 lb card-stock from Michael's Recollections brand, and my card bases are Michael's Recollections brand 110 lb. 
I used a Sizzix Scribbled Heart die with both Rose Gold and Silver card-stock under the sentiment panels. My sentiments are all stamped using VersaFine Clair in the Color Nocturne. 
My layers were all put together using Nuvo Deluxe Adhesive. I used Sizzix Stick-It on the Mirror card-stock before die cutting, and I used Scrapbook Adhesives foam squares to attach the sentiment panels. 
So enjoy the cards I made and if you decide to join in with the Sheetload of cards, post your photos on the Joy Clair Facebook group, we would sure love to see them. 


The stamp set I used and many more can be found at The Joy Clair Store
See the rest of the teams posts on our blog
Follow us on Pinterest and Instagram

Affiliate links are used at no extra cost to you. This helps me support my crafty life!!!
VersaFine Clair Nocturne
Shop at:
KS
Nuvo Deluxe Adhesive
Shop at:
KS
Scrapbook Adhesives Foam Squares
Shop at:
KS
Everyday Sentiments
Everyday Sentiments
Shop at:
JCD
Hello Sentiments
Hello Sentiments
Shop at:
JCD
Crate Paper Hello, Love
Shop at:
M's
Recollections 110 lb Cardstock
Shop at:
M's
Recollections 65 lb Cardstock
Shop at:
M's
Sizzix Scribble Dies
Shop at:
SBC
Sizzix Adhesive Sheets
Shop at:
SBC

Saturday, February 1, 2020

It's A Girl Thing Blog Hop for Turner Syndrome

Hi there friends and fellow crafters. LeeAnn here with a post for the "It's a Girl Thing" blog hop for Turner Syndrome.
I had never heard about Turner Syndrome until I met my friend Lori. Turner Syndrome affects about 80,000 females in the United States. It is often not diagnosed until about age 9, however there are some cases still being diagnosed in adulthood. You can read more about Turner Syndrome here on Lori's blog.

For my project today, I have used the Infinity 2 set from Joy Clair Designs.

This set is great in that it has 2 Infinity whips and several words that can fit within the space. I chose to use Hope for this card, as we all Hope for a cure for Turner Syndrome.
To make my card, I used alcohol inks in Blue, Red and Purple along with Alcohol Blending Solution. I stamped the Infinity whip using Memento Luxe ink in the color Wedding Dress. I then stamped the Hope using Delicata ink in the color Gold Shimmer. After completing my stamping, I set this panel aside to dry.
When dry, I used foam tape to pop my panel up on a white A2 side folding card base.

Thank you so much for stopping by,
The stamp set I used and many more can be found at The Joy Clair Store
See the rest of the teams posts on our blog
Follow us on Pinterest and Instagram