Monday, June 15, 2020

Whole Lot of Shaking Going On with Joy Clair Designs

Greetings friends and fellow crafters, LeeAnn here and OMG, let me tell you Summer has arrived in Florida and full force at that. Today I am playing along with the Joy Clair Designs "Life Is Sweet" Stamp set and having a great deal of fun. This set with all the fruity cuts of goodness and sweet sentiments just made it fun to play with. So how about we take a look at what I made:

Card Number 1:

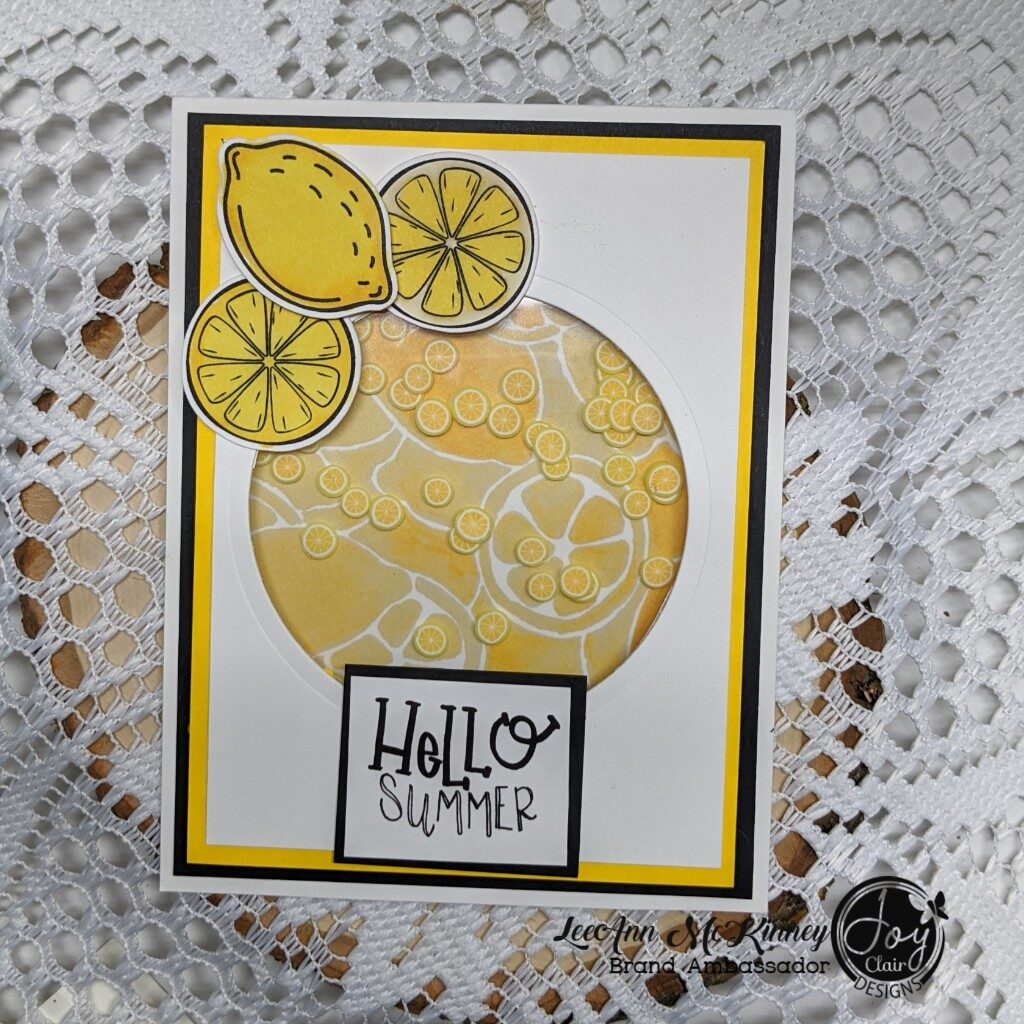
The background paper came from a destash purchased last year, and I am not quite sure what company made it. However it went just perfect with this stamp set.
First cut a panel of white cardstock 3.5 x 4.75. Then, a bright yellow cardstock was cut 3.75" x 5". And a 3" circle die was used to cut through both panels.
A sheet of acetate was adhered between the 2 using double stick tape. Additionally, a layer of foam tape was used to outline the frame of this panel. Then, the lemon slice sprinkles were added and then another panel of acetate was stuck down.
A panel of the lemon background paper was cut at 3.5" x 4.75" and adhered to the second panel of acetate using double stick tape and then attached to the final Black panel which was cut 4" x 5.25", all of this was then attached to a 4.25" x 5.5" A2 Top folding cardbase.
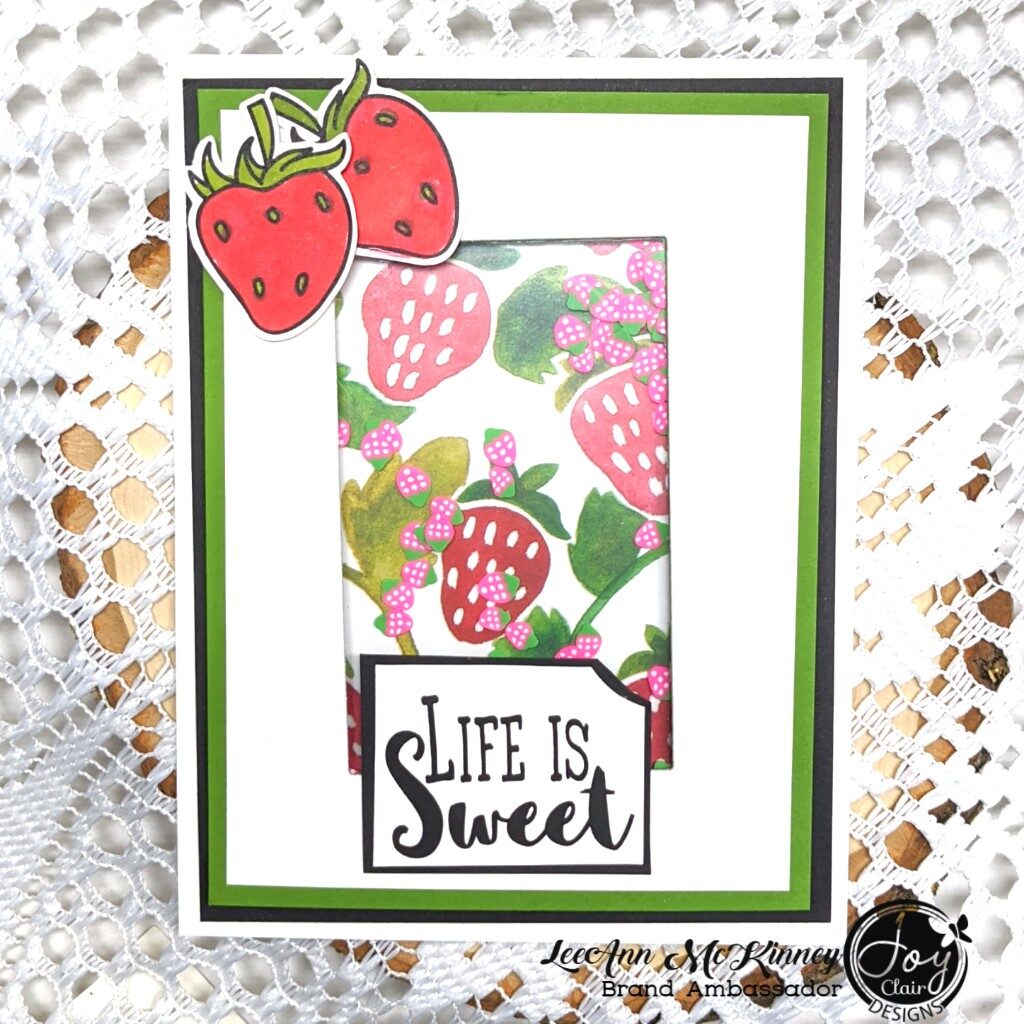

Card 2:
This second card was made using the same directions/dimensions as the first, however I used a rectangle die to cut the shaker window and strawberries were added to the inside.
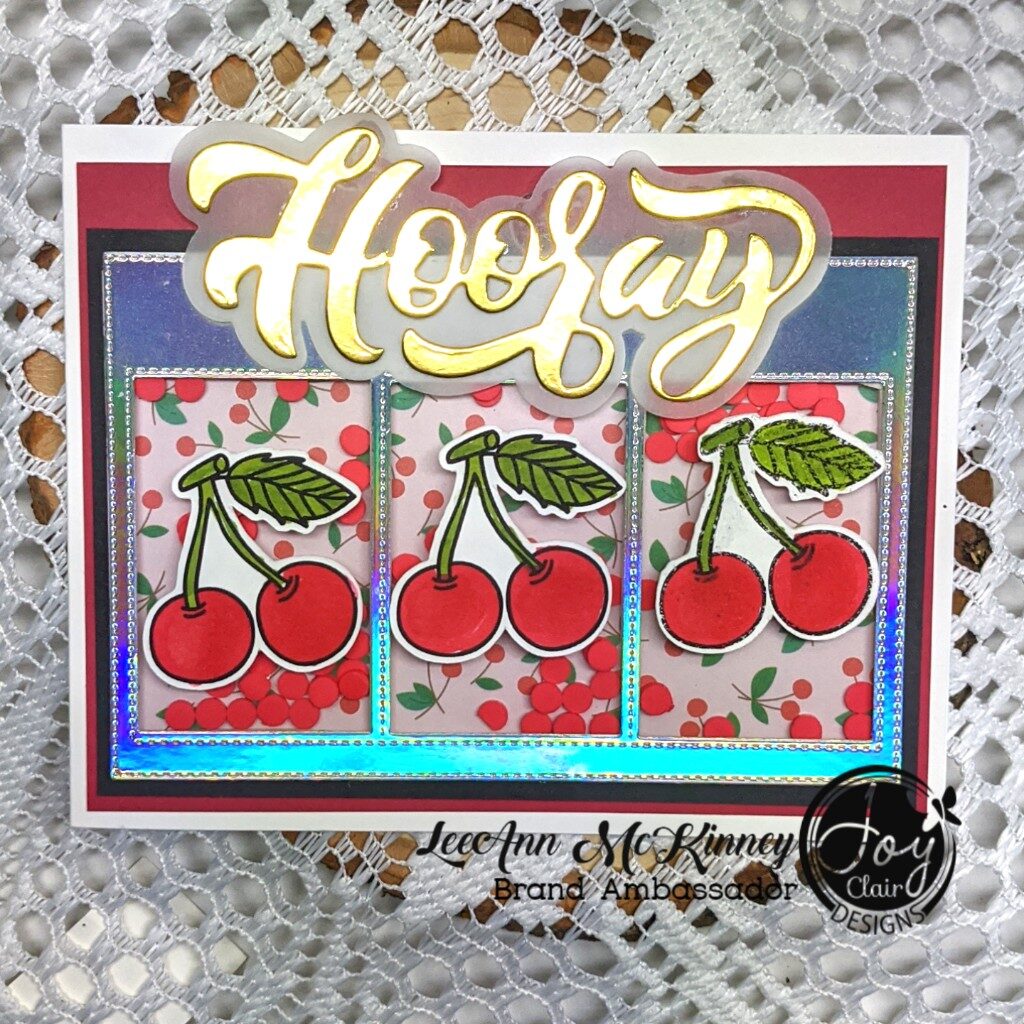
Card 3
This last card is honestly my favorite. The background paper is from a Recollections paper pad, The Gold and Silver Mirror cardstock is from a Park Lane paper pad. I used a frame die from my stash to cut out the main frame panel from the Silver Mirror cardstock.
I attached the acetate to that panel using double stick tape, used foam tape to make the shaker section, then attached another panel of acetate. The Cherry background paper was then attached to the black cardstock, then to the red and my cardbase.

The stamp set I used and many more can be found at The Joy Clair Store
See the rest of the teams posts on our blog
Follow us on Pinterest and Instagram
All coloring was done using Ohuhu Alcohol markers.

Thursday, June 11, 2020

Your My SuperHero with The Maker's Movement


Greetings friends and fellow crafters, LeeAnn here today with a fun birthday card for your favorite SuperHero. Right now this card is being put aside for my grandson, his birthday isn't until August, but it is nice to know I have one made already. Little man will be six already and I just can't believe it. If  you have been following me all this time, where has the time gone?


Today I used the You're My Hero stamp set from The Maker's Movement and wow this set is full. While I only used 6 of the stamps on this card, there are a lot more sentiments and a few other images that I will be using for another card next week.

To make this card I stamped out the Hero using Memento Tuxedo Black Ink and colored him up with my alcohol markers. I used my Scan N Cut to cut out the image. I used pattern paper out of a DCWV Boy Stack for my background layers.I layered the pattern papers on black recollections cardstock and added all to an A2 cardbase.

The Burst and Sentiments are stamped using VersaFine Clair ink in Nocturne, I love this black for my sentiment stamping.

NOW, if you have read this far, you would have read that I am gong to have another card next week, why is that since I usually make one card a month for Maker's Movement. WELL, the power's that be have been very gracious and sent and extra of the Your My Hero's stamp set so that I can have a giveaway this month.

SO... Leave me a message here in the comments telling me who you would be making a You're My Hero card for. I am excited to hear about it. This contest is running from today, 6/11/2020 at 12:01 am EST, and will run until 6/17/2020 at 11:59 pm EST. I will have my next post on the 18th with the winner's name. Sorry to say due to shipping costs, this is restricted to the USA shipping addresses.

Thanks for reading, again I can't wait to see your responses.

Monday, June 8, 2020

Praying for America with Joy Clair Designs

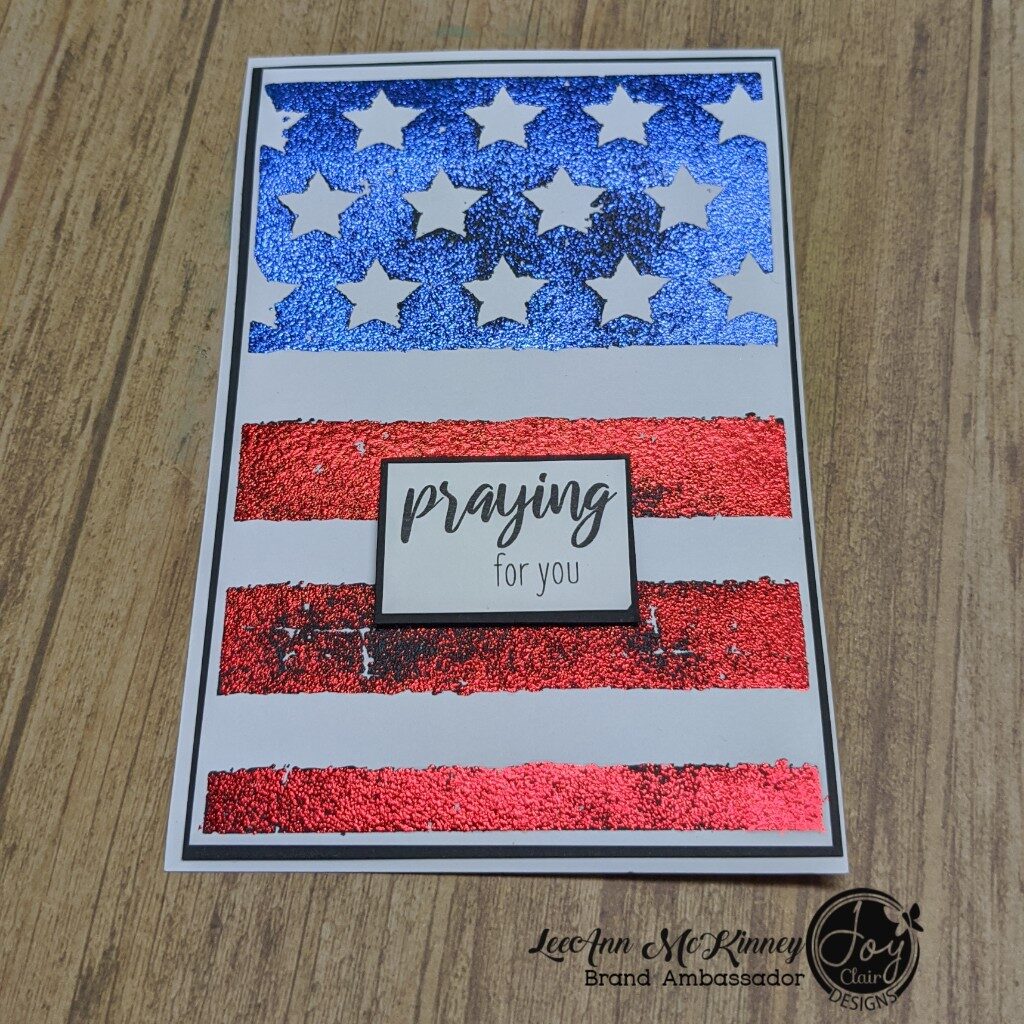
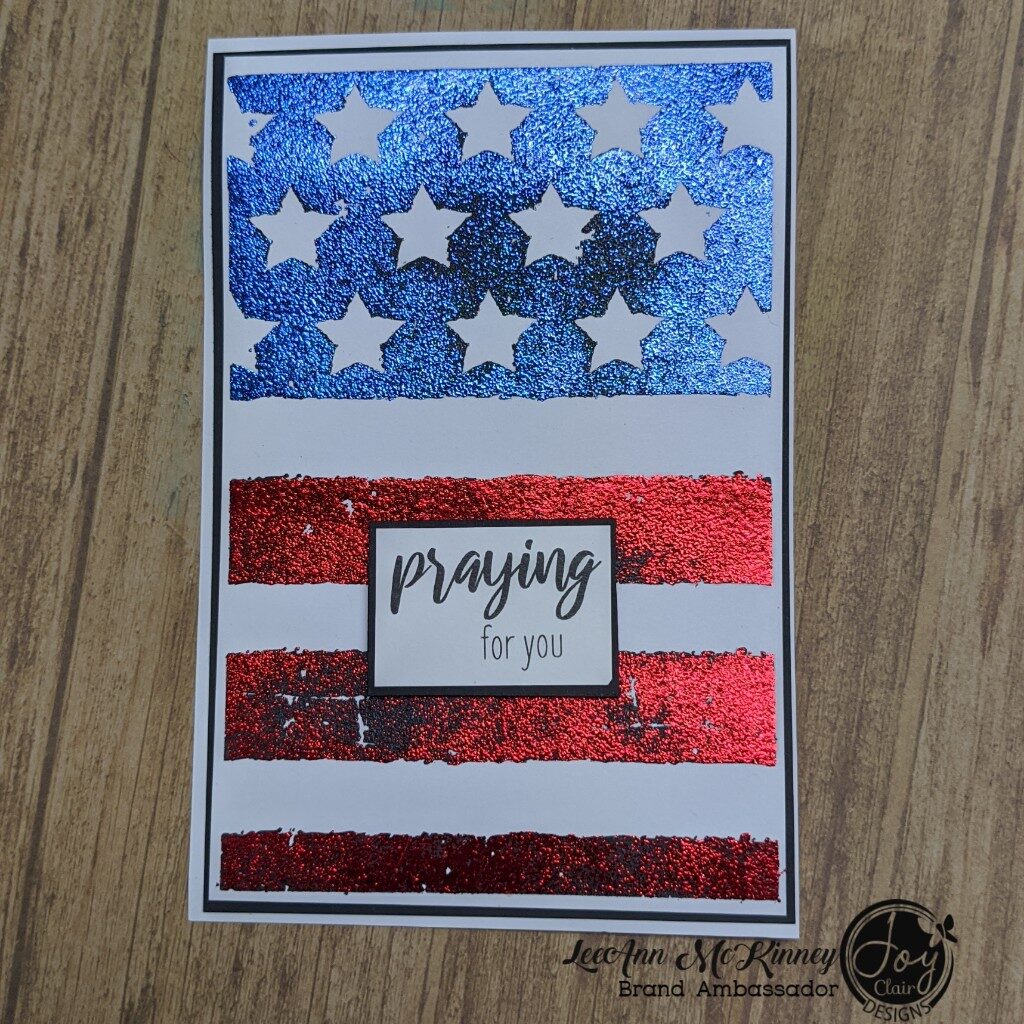
Hi there friends and fellow crafters, it's LeeAnn and I am here today with a project I made using the Joy Clair Designs stamp "Grunge Flag". In the United States Flag Day is celebrated on June 14, commemorating the date the flag of the United states was first adopted by the Second Continental Congress in 1777.

  1. To make this flag first I stamped the Grunge Flag image using Memento Tuxedo Black ink
  2. Once dry I used my embossing buddy over the whole image
  3. Stamped over it using VersaMark sticky ink.
  4. I then sprinkled Judikins Sticky Embossing Powder over the image
  5. Used my heat tool to set it.
  6. I cut 2 panels of Gina K foil, Brilliant Blue and Red Velvet to fit the sections of the image. Now I did something that was a first for me. I usually foil in my laminator or Mini Minc, however by using that sticky embossing powder a new way was made.
  7. Gathering the plates for my Vagabond 2 die cutting machine, I had my main platform, then a new plate, my flag panel, the foils silver side down, then another new plate
  8. Ran them through the machine.
  9. Once out the other end I took the flag panel back to my desk
  10. Peeled away the foil and was very happy with the result. 

So, now you have had a little history lesson behind my project today. Please hop on over to the Joy Clair Designs website and pick up your "Grungy Flag" stamp today.

Wednesday, May 27, 2020

I Love You... A Coffee Hop Card

Greetings friends and fellow crafters. Lee Ann here with another project for the Coffee Lovers Blog Hop. I just love making cards for this event every year.


For today's card I used all new to me products. first thing I did was take a panel of white Recollections cardstock and added a 1" strip of double side tape down the side. I took a strip of Rainbow Foil from Bluebonnet and burnished it on. I peeled back the liner and had a beautiful foil rainbow on my panel.
I then layered up black and white cardstock to create a sentiment and focal panel.
The stamp I used is from Crackerbox-So Suzy stamps ordered specifically for this hop event, this was stamped using Versafine Clair ink in Nocturne.
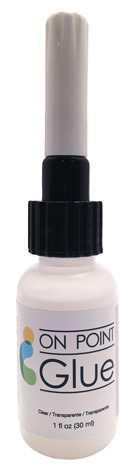
The next thing I did was used the Layered Coffee Cup die by KatScrappiness and cut it out of Kraft, White and Lime Green cardstock. Following the layering directions on Kat's website I put the cup together using double stick tape for the bigger pieces and On Point Glue for the smaller pieces like the lid.
On Point Glue was also used to add the Jewels to the panel and cup grip.
Double stick tape was used to adhere all panels to the front of an A2 card base and my project was complete.

Tuesday, May 26, 2020

Enjoy Your Day with The Maker's Movement

Greetings friends and fellow crafters. LeeAnn here with  a post using the Maker's Movement stamp and die set "Hanging Around".

To make this card, first I cut a white panel 3.75" x 5". I used the leaf outline stamp and stamped it all over using Memento Tuxedo Black ink.

 I then used the second layer of the leaf and stamped using Memento Bamboo Leaves. 

The same Memento Tuxedo Black was used to stamp the flowers and sloth. The flowers were then stamped with the second stamp using Memento Tangelo, and colored over with and Ohuhu R2 Alcohol Marker. 
After stamping the sentiment using VersaMark it was heat embossed using Recollections "Snow" Detail Embossing Powder.
The dies that came with the set were used to cut the flowers, one leaf, sloth and branch. 
I used a 3" circle die to cut a circle from the center of the panel, a 3.5" square of acetate was attached to the back of that panel with the missing circle using double side tape, a layer of foam tape was used next to add a bit of dimension, I added some confetti sprinkles to the inside of this and another 3.5" square of acetate to the back to hold the confetti in. 
After lining the cut away circle to the back of the acetate so that it would show through, I taped it down. I then used double side tape to add the shaker element to the green layer of cardstock cut 4"x5.25". This was also attached to a layer of black cardstock leaving a small border around. This was then adhered to a 4.25" x 5.5" top folding card base. 
I attached all the elements (branch, sloth, leaf, flowers and sentiment panel) to the card using glue dots and with that my project was complete. 

Thank you for viewing my project today. I had so much fun with this set, and this as well as many other fun sets can be found at The Maker's Movement. 

Monday, May 25, 2020

Joy Clair Cup Runs Over

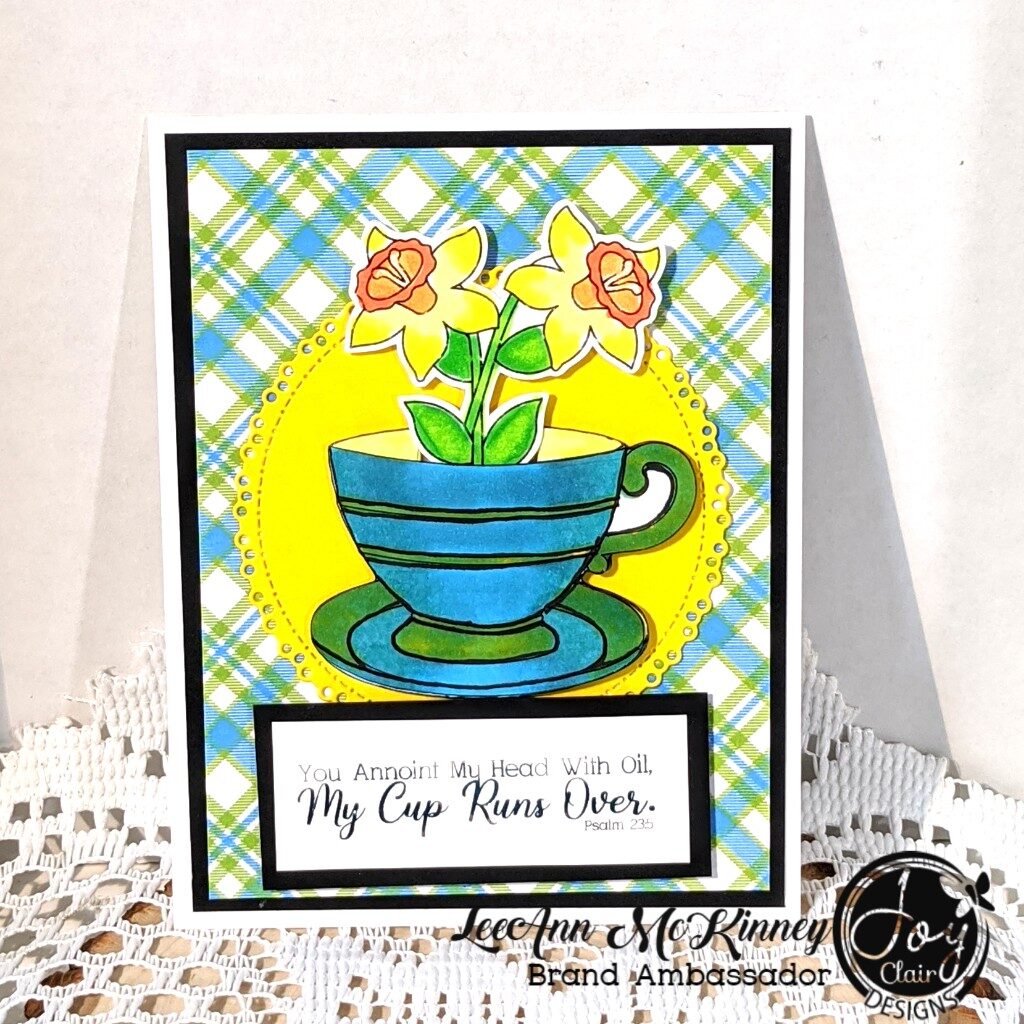
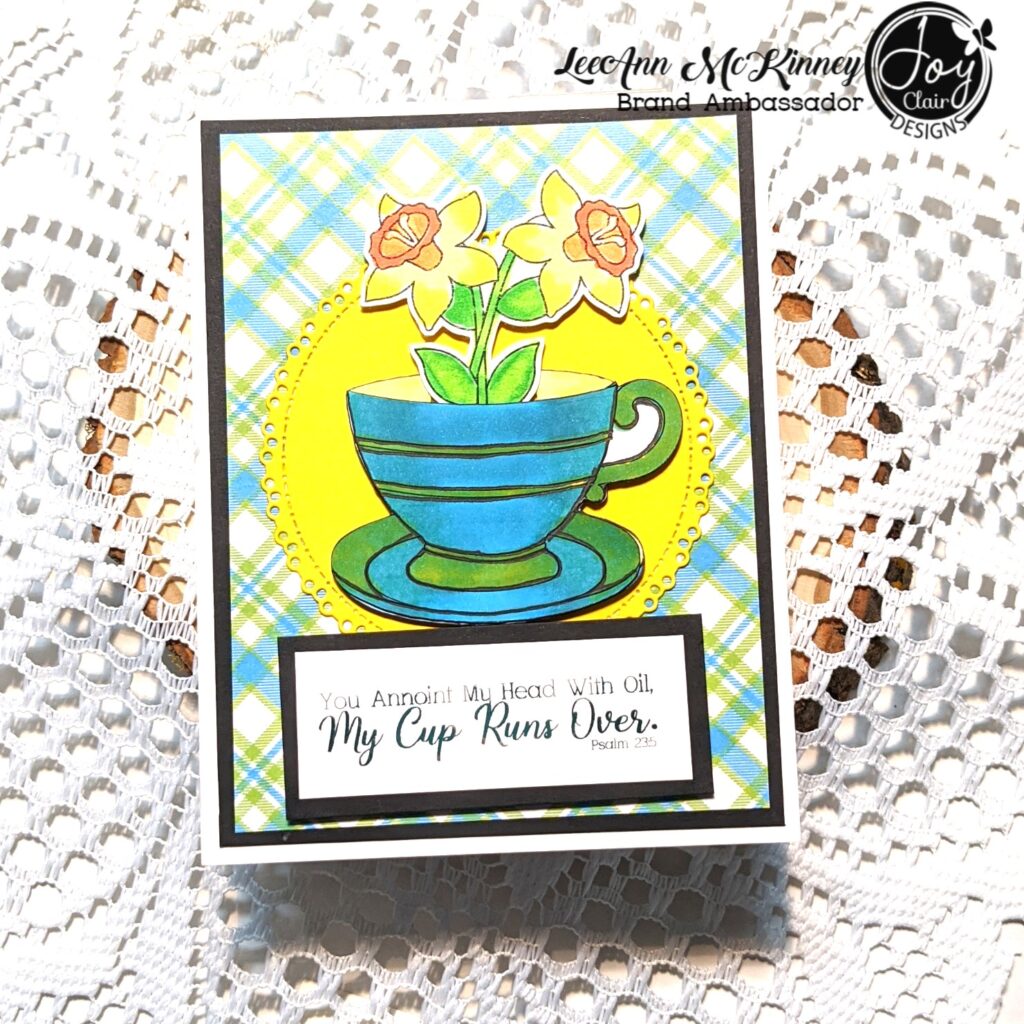
Greetings friends and fellow crafters. LeeAnn here with my weekly post for Joy Clair Designs. For today's post I used the Cup from Cup of Joy and the Daffodil from Spring Floral Basket digital images sets.


First I printed the images with my laser printer and cut using the Brother Scan n Cut. I love using the Scan n Cut as it really takes less time than fussy cutting. Once all cut, I used Ohuhu Alcohol markers to color my images. The yellow doily behind the image was cut using a die from Gina Marie Designs. While Joy Clair does not have this specific set in stock, we do have several other dies from this brand that are great for your cards.
Once my images were all cut and colored, I decided to go a step further, and foiled the sentiment. My panels are adhered together using liquid adhesive, while the coffee cup, flowers and sentiment panel are adhered using foam adhesive to add a little dimension.
Thank you for stopping by the see my post today.

The stamp set I used and many more can be found at The Joy Clair Store
See the rest of the teams posts on our blog
Follow us on Pinterest and Instagram
Affiliate links are used at no extra cost to you. This helps me support my crafty life!!!
VersaFine Clair Nocturne
Shop at:
KS | SBC
Nuvo Deluxe Adhesive
Shop at:
KS
Scrapbook Adhesives Foam Squares
Shop at:
KS
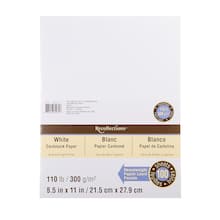
Recollections 110 lb Cardstock
Shop at:
MISC
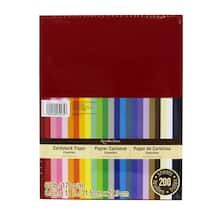
Recollections 65 lb Cardstock
Shop at:
MISC
On Point Glue
On Point Glue
Shop at:
IC
Crafty Foam Tape
Crafty Foam Tape
Shop at:
JCD
Spring Floral Basket Digital Stamp Set
Shop at:
JCD
Joy Clair
Joy Clair "Cup of Joy" Digital Stamp
Shop at:
JCD

Sunday, May 24, 2020

Happiness Is...

Greetings friends and fellow crafters. Having fun with some stamps from CrackerBox/So Suzy for the Spring/Summer Coffee Lovers Blog Hop. 


To make this card I started with a panel of 110 lb white cardstock. After masking out the center of my panel, I used Gathered Twigs Distress Oxide and the Tim Holtz Coffee Rings stencil to put rings on the panel. I removed the mask and stamped the coffee lady using Memento Tuxedo Black Ink. I stamped the sentiment using VersaFine Clair in Nocturne. This panel was added to a brown cardstock layer and then attached to my card base. My image was colored using Ohuhu Alcohol Markers.

I hope you enjoyed this fun project.