Thursday, September 1, 2022
Merry Little Christmas Challenge Blog September-October
Friday, July 1, 2022
Merry Little Christmas Challenge Blog July-August Challenge
Hey there friends and fellow crafters, LeeAnn here and playing along with the Merry Little Christmas Challenge Blog July- August Challenge.
Today I am using a stamp from Art Impressions that I found in my Christmas Stash, already colored and ready to use. I thought this was the cutest little guy "Wishing us the happiest of holidays!". I have had this guy for at least 2 years, colored sitting in my box just waiting to be used. I used Ohuhu Alcohol Markers to color him and the enamel dots are from Kat Scrappiness.
Be sure to read our Playing Guidelines above and check out the challenges going on at our three sister challenge blogs!
This challenge will run for six weeks, ending at 4:00 PM Mountain Time on the 15th of next month (August), so get out your crafty Christmas stash and come play with us!
Play along here... Merry Little Christmas Challenge Blog
Sunday, May 15, 2022
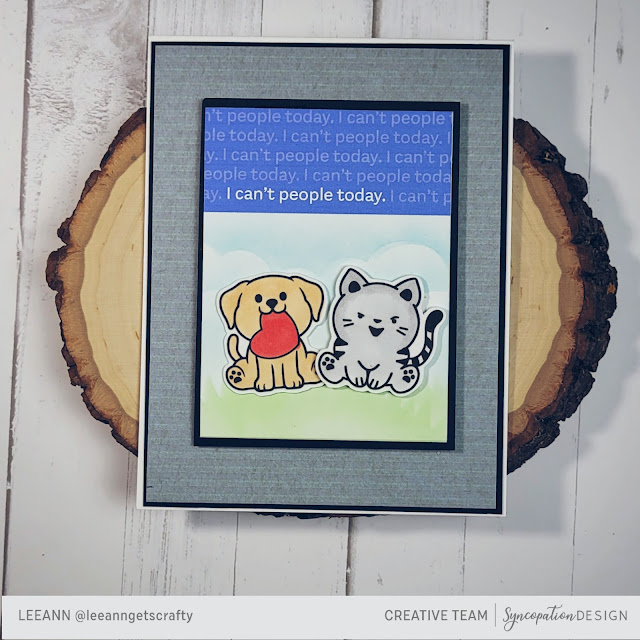
HEALTHY MIND RELEASE WITH SYNCOPATION DESIGNS
ON THE INSIDE MY TEAL PANEL IS 4" X 5.25". THE BACKER RECTANGLE WITH STAR BACKGROUND IS 2 3/4" X 1 1/4". tHE SENTIMINE "anxiety is a liar" IS 2.5" X 1".
Friday, April 22, 2022
Spring into Christmas 2022 {BYSHC} Linky Party
Hey there friends and fellow crafters, LeeAnn here with the BYSCH Linky Party. Be sure to join us for Fun, Inspiration and Prizes this week by linking up your fun projects HERE
Fun sponsors for this hop...
For my project today I used Picket Fence Studios Holiday Menagerie 4" x 4" stamp as well as the Winter Gnome Stamp to make my card. I first stamped the background stamp with Versamark and heat embossed using Clear Embossing powder. I used Distress inks to blend the background with various blues.
I then stamped the Winter Gnome and sentiment then Heat Embossed with black and colored with Copics.
I love the way this fun card turned out. I'll be back tomorrow with another project.
Wednesday, March 9, 2022
Be Yourself... a new collection from Syncopation Designs
hi there friends and fellow crafters. LeeAnn here with my projects using the newest collection from Syncopation Designs. This collection is called "Be Yourself", and has all kinds of cute images and icons to where you can remind yourself to do just that.
Tuesday, February 15, 2022
Thank You... A Tape Runner project
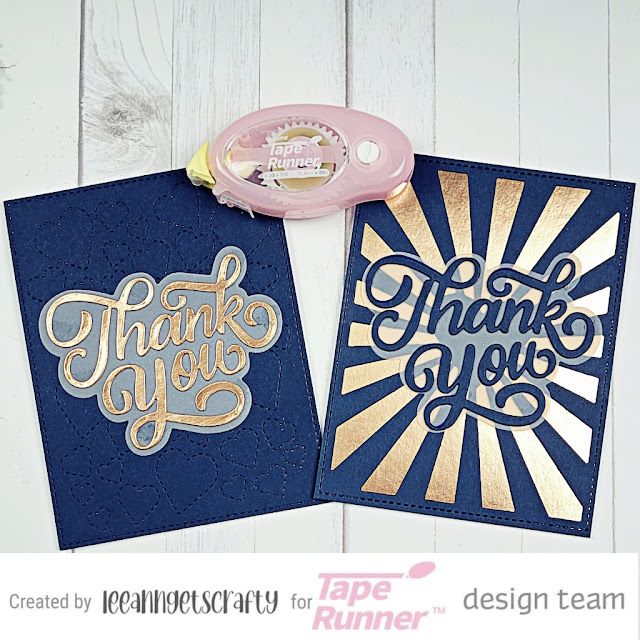
HI there friends and fellow crafters, LeeAnn here with a couple projects I made that I did not plan on making, however so happy to have the ideal resources to be able to do so.
Well, he asked me as he is seeing the markers, stamps, dies, machines and photo lights in my room what I do, and I told him what my full time position is, and that I create greeting cards as my part time position...
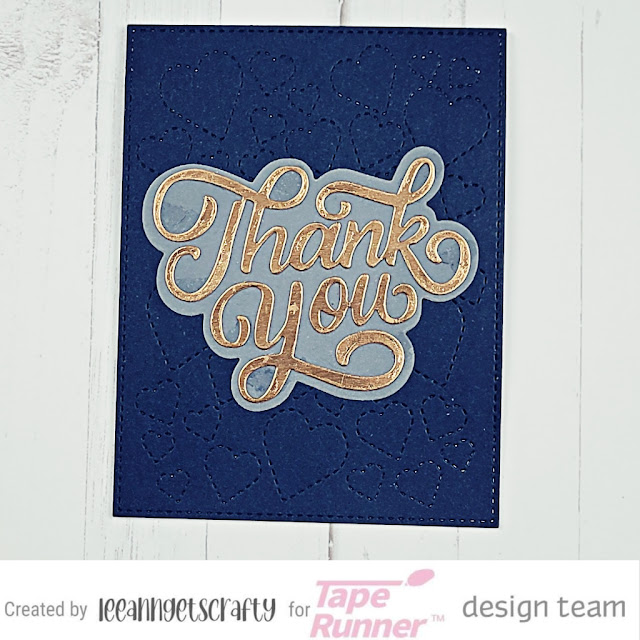
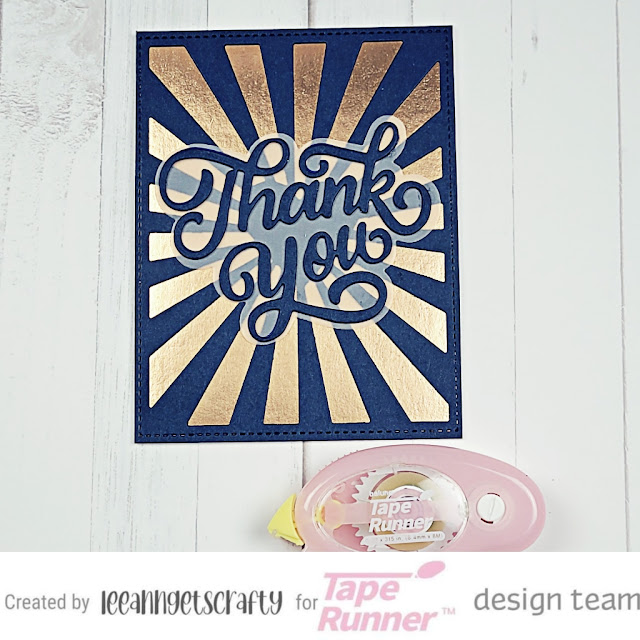
Next thing I knew, we were discussing his upcoming wedding and needing Thank you Cards. He told me the colors of the wedding are Navy and Rose Gold. I pulled out a few cards recently made and showed him what I could do. I told him to give me a little bit and I'd work on a few samples for him in his colors to give him the real feel. I used Gina K Designs In The Navy cardstock and Recollections Rose Gold Foil Cardstock Paper, along with the Stitched Hearts Cover Plate Die from Kat Scrappiness, Heart Sunburst A2 Coverplate and Thank you with Shadow die. I used Vellum for the shadow. Balune Tape Runner Permanent Adhesive was perfect for this job. By the time I was finished, I sent him 5 options, and the Heart Sunburst with Navy Frame and Rose Gold Backing with Navy words won... I am now under contract for 75 of these fun cards.
Sunday, February 6, 2022
Love You More... A Maker's Movement Project
Hi there friends and fellow crafters, LeeAnn here with my February project for The Makers Movement.
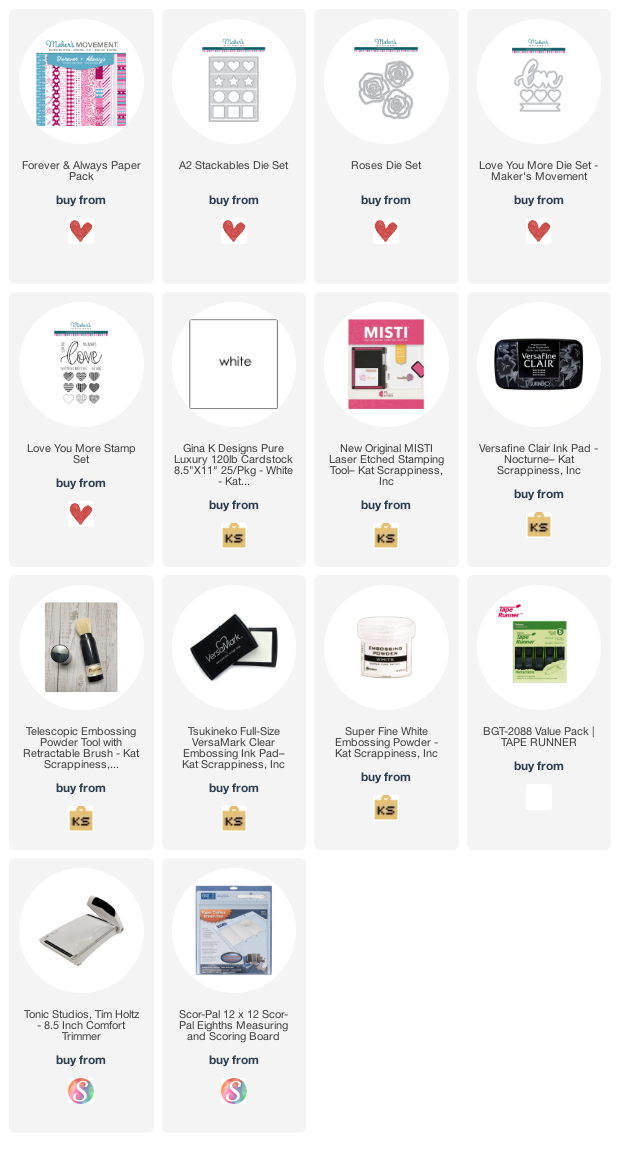
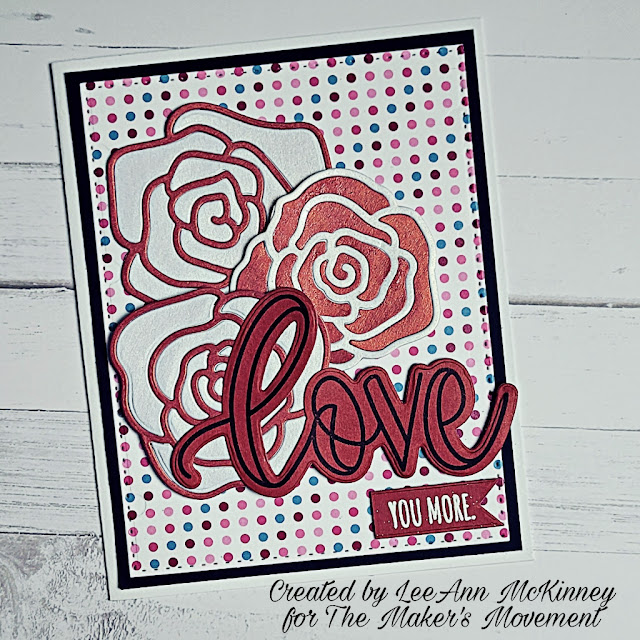
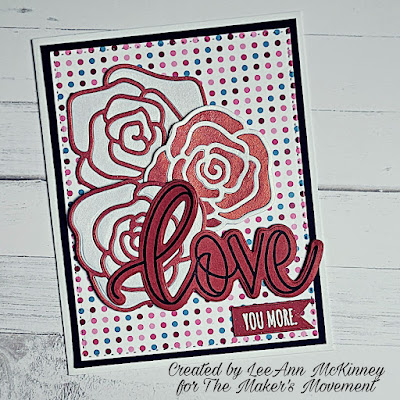
For this project I used the Forever & Always paper pad, A2 Stackables Die Set, Roses Die Set, Love You More Stamp set and Love You More Die set. I love being able to combine many items into one project.
To make this, I first found the pattern paper I wanted to use for my background, and ran it through my Big Shot with the A2 Stackables Die Set and cut out my panel, love the stitching that was left behind.
I then used a shimmer cardstock to cut out 2 sets of the roses, added some cardstock to the back of them and then inlayed each piece of the roses to fill in the frame. This way I had 2 red with why inlay and 1 white with red inlay.
The next step was to stamp the word love using VersaFine CLAIR in Nocturne. This was then cut with the love die. I stamped the words You More using VersaMark, which is a clear sticky ink, and poured on White Embossing Powder. I followed that up using my heat tool to melt the embossing powder.
The elements were now ready and my card was put together using Tape Runner Knock. I love this little thing, not only because of the color (green), but also I used foam tape to pop some elements up.
I hope you have enjoyed this project today, as I have certainly enjoyed making it.