Friday, December 29, 2017

Fun With Peek A Boo Designs

Greetings friends and fellow crafters. LeeAnn here with my December post for Peek A Boo Designs.
This has been such a busy/crazy month, however I hope everyone had a great holiday season, whichever holiday you celebrate. 

For my projects today, I have first made a file for my rolodex for the groomer we use for my boys Chase and Harley.

To make this I took a rolodex card, stamped the puppy and the boy with puppy images from the Vet Me stamp set in Memento Tuxedo Black ink. I then used Memento markers to color the images. After writing the information for my groomer, I placed it in the spot within my rolodex. 

 Next up was my planner page for this week. I started off with Dreamy Unicorn washi tape on the right side border, because who doesn't love unicorns? I then used Planner Fun washi tape on the top border and in boxes where it seemed fitting. I love this tape as each day is perforated and easy to use. 
I stamped the Holly image as well as the Merry Christmas and Happy New Year sentiments from the Poinsettia stamp set, and colored the Holly with Memento markers. 
 For this project I used the A Little Note stamp set, I stamped out the pretty flowers using Memento Tuxedo Black ink, I then used my Gansi Tambi watercolors to paint the image. I used a Nuvo blender brush to add Broken China Distress Oxide to the background. I used the Stitched Ticket die set to cut out the largest and second largest sizes to make my layers. I stamped the Hello Sunshine from this same stamp set, and used the 3rd smallest die from the Dome Tower set to cut it out with my Big Shot.
This one is a bit different, and I really like the way it turned out. Using Wintery Poinsettia washi tape and the tree branch from the Poinsettia set, I made a Christmas tree stamping in Cottage Ivy Memento Ink. I used Rich Cocoa Memento pen to add the trunk.
I then used various colors of Nuvo drops to add baubles to the tree for decorations. The Holly in the top corner was colored using Lady bug and Cottage Ivy as well as a little Bamboo Sprouts Memento Markers. I topped it off with the sentiment in Memento Tuxedo Black, and this project was complete.   
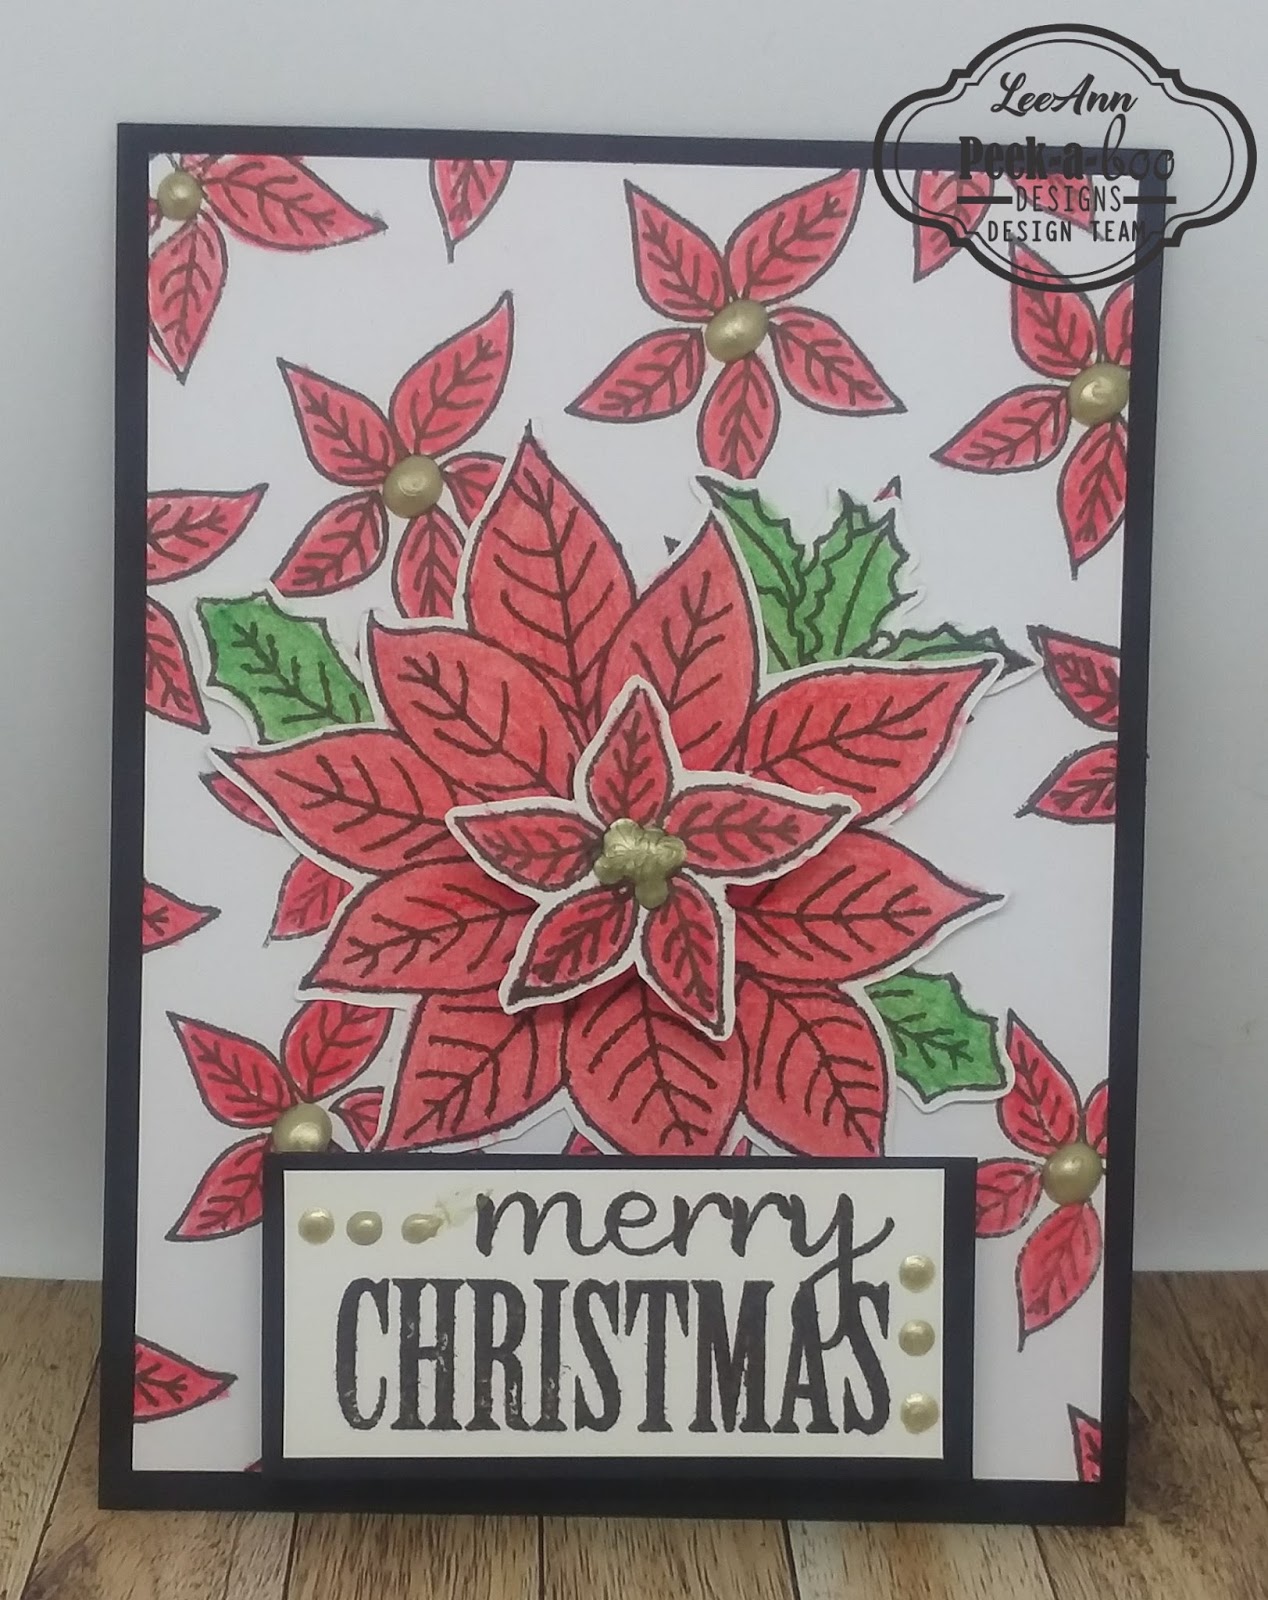
My final project is actually the first one I had made for this post. Using the small layer for the Poinsettia stamp set I stamped the image multiple times for a background which I colored using Prismacolor Pencils. I then on a separate page stamped the largest and smallest again, as well as the holly leaves, and cut them out using my scan n cut. 
I adhered the layers using foam tape and placed the leaves where it seemed fitting. The Merry Christmas sentiment came from this Poinsettia set as well. I then added Gold Nuvo Drops to the centers to finish off this project. 


Peek A Boo Designs Products Used:
vet me
Dreamy Unicorn
Planner Fun
poinsettia
a little note
Stitched Ticket
Dome Tower
Wintery Poinsettia

Wednesday, December 27, 2017

Joy Clairs 3D Poinsettia with LeeAnn

Greetings friends and fellow crafters. LeeAnn here with my final post for the Joy Clair 2017 team. 


For this post I used the 3D Poinsettia set and my new Prismacolor Colored pencils. Using my stamping press I used Memento Tuxedo Black and stamped the smallest part of the flower, and then covered it with masking paper and stamped the next layer, I did that with 4 layers and then stamped the leaves while all was masked. I used an acrylic block and stamped the vine sections as well as the holly berries. This is going to be a great set for many years to come. Thank you Joy Clair for all the great sets you keep coming out with.


 Please follow Joy Clair's facebook pageColor by Faith Bible Journaling facebook pageInstagram and Twitter, be the first to hear the news, sales and giveaways! They also have a Pinterest page and Youtube channel for your inspiration!
Thank you for stopping by and please come back again soon!

Saturday, December 23, 2017

December Hero Arts-Simon Says Stamp Entry ABNH

Greetings friends and fellow crafters. LeeAnn here with a project I made for the A Blog Named Hero December challenge with Simon Says Stamps. 


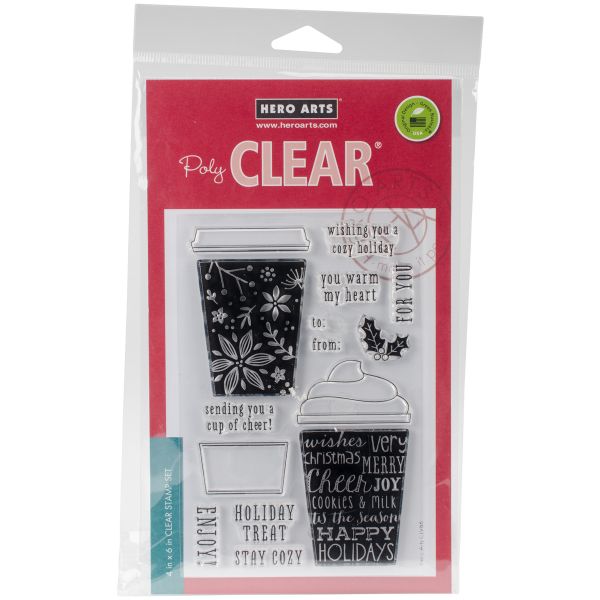
 The Simon Says Stamp set I used is fairly old (2014) and called Happy Every Day. And I paired it up with Hero Arts (2016) Coffee Cup Tags.
Image result for simon says stamp happy every dayHero Arts Clear Stamp & Die Combo
 I started out with white 110 lb card stock and using Distress Oxides in Lucky Clover and Cracked Pistachio I layered to get the color I actually wanted. I then used Versafine Black Onyx and two of the stamps from the Happy Every Day set to create a plaid background, I heat embossed using Black Nuvo embossing powder.

I then used Lucky Clover to stamp the "Hoping you have an amazing" sentiment on white 110lb card stock, and used my circle dies to cut out the white and a larger red layer.
I stamped the coffee cup using Memento Lady Bug, and the sentiment with Versafine Black Onyx. I layered my card up and attached to the card base, added a few enamel dots and my project was complete.

I hope you enjoyed my project today. Have a great day.


Tuesday, December 12, 2017

Joy Clair Calendar Fun and Christmas Nativity with LeeAnn

Greetings friends and fellow crafters, LeeAnn here today with my post using Joy Clairs Calendar Fun and Christmas Nativity sets from the November 2017 release. Let me tell you I was so excited to get these two sets, I could not wait to get to work.


 First thing I did was to cut my card stock to 4.25 x 5.5 and using my Stamp Press I stamped out the frame 12 times. I Then laid out the days of the week and stamped them out for each, and then the months. Following that using a 1" square block I stamped out each of the dates, while it was quite tedious, I did it.
Once this was complete I stamped out the birthday hat images in Pink or Blue depending on male or female birthday. I also used the wedding rings for anniversaries, and then certain holidays with their particular icons. I followed that up with pattern paper that would match each months theme.
The pages were all trimmed down and fit in a plastic CD case which will sit on my desk.
My next project was the Nativity set. I knew this I wanted to be a 3d type card and I think I made it work :) I started with Brown Recollections 110 lb card stock and made a Z fold. I used another piece to make the galaxy background with distress oxide inks. I stamped out all the images and used my Scan n Cut to leave a slight offset around each image.
A Lawn Fawn die was used to make the hay out of craft paper. Memento markers were used to color the images.

This works well with our challenge this month, of making it pop/add dimension, so please be sure to stop by that post and get in the fun as well.

 Please follow Joy Clair's facebook pageColor by Faith Bible Journaling facebook pageInstagram and Twitter, be the first to hear the news, sales and giveaways! They also have a Pinterest page and Youtube channel for your inspiration!
Thank you for stopping by and please come back again soon!

Quick Quotes Beachy Christmas

Greetings Quick Quotes friends and fellow crafters. LeeAnn here with a wall art I made for Quick Quotes.

Using a stencil that came in my package a few months ago when we did a collaboration with Clear Scraps, I was finally able to put this stencil to use. First thing I did was cut a sheet of Windsong 12x12 in half and then affixed the stencil using washi tape so it would not move around on me. Of course I forgot to take a photo of that. 
Moving along I used a combination of Evergreen and Seafoam Powderpuff Chalk Inks to stencil in the trees. I then used Buttercup to stencil in the Sun Flakes... ok, remember now this is Florida and it does not snow. After removing the stencil I chalked in the land drift using Warm Sand, and then I remembered to take a photo...

I cut this piece to size and then used a piece of my still favorite paper pack Adventure Awaits to be the back up. I searched through my stamps looking for Santa and the reindeer which I could not find so I found the image as a sticker. The sentiment is from Skipping Stones Christmas Swirls and with that my project was complete. I really hope you enjoyed my project. 


QQ Supplies Used:

Friday, December 8, 2017

Winter Coffee Fun with Joy Clair Stamps 2017

Image may contain: text

#winterclh2017

Greetings friends and fellow crafters. It is that time of year again... the Winter Coffee Lovers Blog Hop. Once again Joy Clair is a Super Sponsor for the Coffee Hop and I am sharing my post using one of the stamp sets from Joy Clair. 

I could not decide which image I wanted to share, so I am adding both. I used Joy Clair Christmas Coffee Stamp Set and background paper from a 6x6 Pebbles Paper Pack called Girl Squad. I knew this was going to be perfect. I also used a couple of the Gingerbread Kids from the Merry Merry Ephemera pack.


Loving Coffee with Skipping Stones Designs

Greetings friends and fellow crafters, LeeAnn here today with my inspirational entry for the Winter Coffee Lovers Blog Hop 2017!


Looking at the Coffee Volume #2 stamp set I decided to go with a fairly clean and simple design. 
 I started with cutting an A2 background card with Brown cardstock, I then used kraft color cardstock and a woodgrain embossing folder to give texture. I used Project Life cards in Cocoa and Creme colors as my base, and then stamped/cut the Coffee Cup image from white, and colored with Red and Green Prismacolor markers. I used foam tape to add the coffee cup to the base, while the rest is added using double stick tape. A double wind of tan/white bakers twine tied in a knot finished this card off. The sentiment and cup were stamped using Memento Tuxedo Black ink, and all paper is Recollections 110 lb weight except the project life cards which were cut to size in a pack.