Hey there Friends and fellow crafters, LeeAnn here with a fun project using paper from Stamp Me Some Love, as well as a stencil, dies and a stamp from MFT. I had so much fun with this project and I hope you enjoy. I do have a video to show you how I made this card that was sped up 4times the original speed.

This project was fun and easy and while it looks like it may have taken a long time, it was really 26 minutes not counting the die cutting. That was all done before hand.
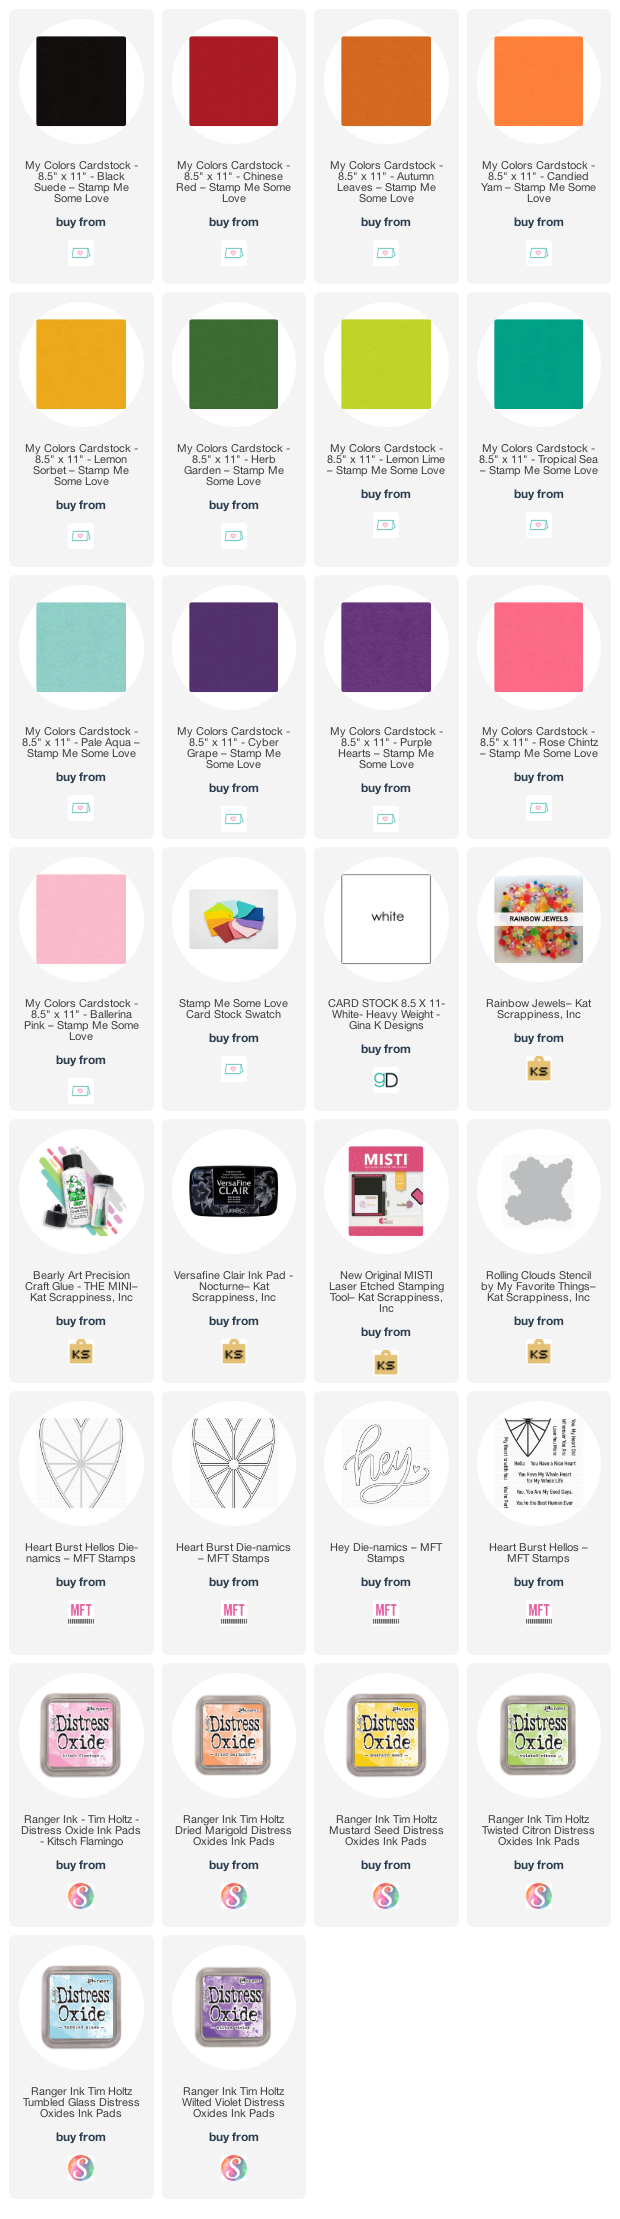
step by step instructions:
- off camera I die cut the heart burst frame die 13 times, once out of each of the colors listed below.
- I cut the heart burst backer die one time out of black suede cardstock.
- I cut my cardbase using GinaK Designs White Heavyweight Cardstock to 7" x 8.5", scored at 3.5" to make my slimline cardbase.
- I cut a panel of Black Suede to 3 3/8" x 8 3/8"
- I cut the panel left from my cardbase to 8" x 3"
- Using the long panel and distress oxides along with the rolling cloud stencil I did my ink blending in rainbow order and then started over again to finish filling the panel.
- I cleaned my brushes off on a smaller cardstock panel and die cut the word HEY from that.
- I used Bearly Art glue to attach the frame to the background and then adhere each panel in its part of the frame.
- I adhered the black panel to my cardbase then the stenciled panel on top of that
- I adhered the heart to the panel and then attached the HEY sentiment to a black die of the same as a shadow.
- I then stamped the sentiment "You Have a Nice Heart" using VersaFine Clair in Nocturne
- I added 5 Rainbow Jewels to the panel and my project was complete.

Disclosure: The links below are affiliate links. If you decide to use these links to shop, you are supporting LeeAnn in her crafting venture - thank you! She may receive a small portion of the sale, at no extra cost to you. These products are endorsed by LeeAnn, and I hope you will love them too.
No comments:
Post a Comment