Friday, March 29, 2019

LET'S CELEBRATE March 2019 FOTM Card Kit from SFL

Image may contain: text
I cannot believe it has been 2 years since Scrapping for Less unveiled the first Flavor of the Month Card Kit. From selling 10 kits that first month; 5 of those being subscriptions to hundreds each month only 2 years later!

 I feel truly blessed to be able to bring this program to you each month. But not only that, I feel truly blessed to call each and every one of my customers part of the SFL family. 

So, this month we bring you a whole kit of Celebrations, Ice Cream Celebrations, Baby Celebrations, Birthday Celebrations, and Friendship Celebrations. 

Thanks so very much for all of your support.
 Hop along and see the inspiration the Design Team and Guest Designers have for you today. 

NOW FOR THE GOOD STUFF!!!
No photo description available.

No photo description available.
For my projects I had a LOT Of fun!!!
Take a look and see for yourself!!!
Sketch 2 Collection 1
Sketch 3 Collection 2
 Sketch 4 Collection 3
 Sketch 1 Collection 4
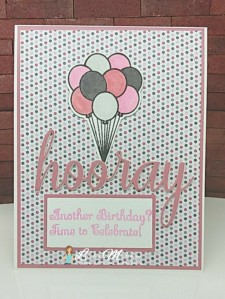
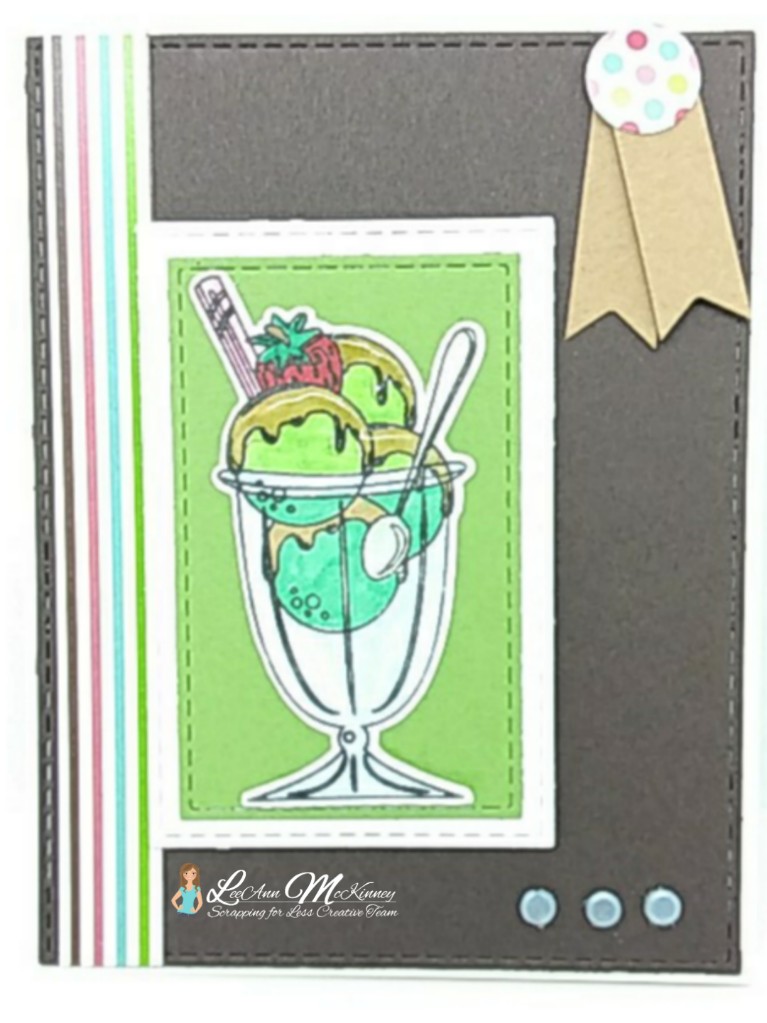
Banana Split Die and Sentiment, Collection 1 paper, Collection 3 paper,
Collection 2 Balloon Stamp

Up next on the hop is 

Head to Scrapping for Less Flavor of the Month page to purchase your kit (HERE). 


Thursday, March 28, 2019

You're Sweeter Than... an A2Z Design Team Project

Greetings friends and fellow crafters, LeeAnn here with my first project for the A2Z design team.

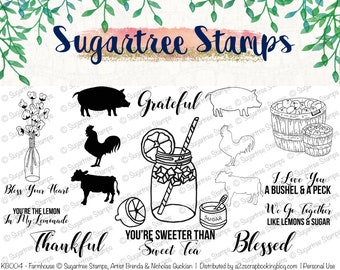
For my project I used 2 of the images from the Sugartree Stamps set titled Farmhouse...
After deciding which images I wanted to use (the mason jar of tea and the matching sentiment) I sized them on my computer and printed them with my HP printer. 
I then used my Brother Scan n Cut to cut the mason jar of tea image, as well as a shadow for it.
I used my Artist Loft markers to color the image and layered my pieces using ScraPerfect's Best Glue Ever.
My base is from a Hero Arts Birthday Card kit and thought the color was perfect to go with my image.

I hope you have enjoyed this project today. Please check out A2Z's Etsy Shop, Facebook Page and Instagram

The Stamp Doctor Brightens My Day

Greetings friends and fellow crafters. LeeAnn here with my Friday post for The Stamp Doctor.
Today I wanted to make a card that should Brighten everyone's day...

This is an A2 size (4.25"x5.50"), flip flop card and lays flat to mail. As you can see in this second photo it has a flipping feature. 
To make this card, first I used a sheet of white 110 lb card stock and the Flip Flop die and ran it through my Big Shot. I then ran the die through again with bright yellow cardstock and then a panel of the Yellow plaid paper from the Easter Pack 1.
I used the included dies from the Flip Flop set to cut out the same bright yellow and yellow plaid for the sentiment panel in the center of the card.
I used the scroll corner stamp from the Happy Day stamp set for the top and bottom corner of the back panel. The inside of the back is where I will write my statement for the friend I am sending this to.

Products Used:
Flip Flop 2 Combo
Happy Day Stamp Set
Paper Pack Easter #1
Zig Zag Border Die

I hope you enjoy this post, please check out and follow myself and The Stamp Doctor on Social Media.


*Links to product in this post are affiliate links which will provide a crafty fund for me, at no cost to you.

Saturday, March 23, 2019

Introduction to Scrap Perfect and How to make a Happy Birthday Shaker Card

Greetings friends and fellow crafters. LeeAnn here with the announcement that I have been invited to join a new design team.
Image may contain: text
There are so many great items available from ScraPerfect, and I hope you will be as happy as I am to use it all.
Today for my project I used the Crafting Pouch, and The Best Glue Ever.
 The first thing I did was to use a Spellbinders die to cut two of the the doily form out of silver Rinea Foil Paper, one for each card.

I then gathered the supplies I would be using to make my shaker element.
The stamp is Starburst Sentiments from Rinea. The shaker form is from MFT. And of course I used The Best Glue Ever to hold it all in place.
 First I stamped the Happy Birthday Starburst. I decided to go with this one, as April is a very busy month for birthday's in my family.
 I glued the stamped panel to my foil doily and added some of the silver bits that remained after cutting the doily out, along with some of the Orange and Yellow glitter bits from ScraPerfect.
I then used the Perfect Crafting Pouch to get rid of the static on the Shaker Cover. I used the Best Glue Ever and glued down the shaker cover, as well as the paper element ring. I added this element first to a panel of cardstock that I used an MFT stencil on with Fossilized Amber and Carved Pumpkin Distress Inks to blend for my background, as I really felt the colors matched my shaker bits and stamped sentiment.
For the second card I used the same idea and used a panel from the DCWV Birthday Wishes Stack 6"x6" pattern paper as my background.

With this last one I decided to add a little more pop by way of 3 die cut balloons in coordinating colors to match the background.

When my project was complete I used the Best Cleaner Ever to clean my stamp, stamp block and stencil. I followed that by wiping everything down with the Perfect Cleaning Cloth.


Listing of products used in this project from ScraPerfect.

Friday, March 22, 2019

In My Thoughts with The Stamp Doctor

Greetings friends and fellow crafters. My weekly prescription from The Stamp Doctor has been filled.


Today, I had some paper piecing fun.
I used the Bear/Bunny Paper Piecing set and cut from both black and cement colored cardsock. I then placed the pieces where they should be using Glossy Accents as my adhesive.
My card base was made using the Oval Pop A Top die, and the Nested Oval die set.
I used pattern paper from American Crafts as the background for this little Panda that I pieced together. This was the closest I could find to simulate bamboo leaves.
The sentiment came from the Happy Day stamp set, and stamped in VersaFine Onyx Black.


I hope you enjoy this post, please check out and follow myself and The Stamp Doctor on Social Media.


*Links to product in this post are affiliate links which will provide a crafty fund for me, at no cost to you.

Wednesday, March 20, 2019

Congratulations from Scrapping For Less and Janes Doodles

Greetings friends and fellow crafters. LeeAnn here today with a Congratulations card I made welcoming a new baby to the family.
 Making this card was challenging for me, I stepped out of the box for myself and did coloring and masking on a one layer card.
I used the Janes Doodles "Noah's Ark" stamp set, and stamped the waves out on Inkadinkado masking paper, and cut it out. I stamped the first set of waves where I wanted them and placed the masking paper over them.  I then stamped the Ark Scene where I wanted it on my card panel.
 Once that was complete I removed the masking paper to see how it appeared the Ark was behind the wave.

 I then finished stamping my waves and started coloring.
Using my Artist Loft alcohol markers, I started coloring my image, using 3 different blues for the water to show depth. To complete my card I cut frame using a die from my stash and added it to the panel, added my panel to my card base and addressed the envelope to mail it off.

Please follow along with  Scrapping For Less on All Social Media Outlets.


Friday, March 15, 2019

Monsterous Wishes from The Stamp Doctor

Greetings friends and fellow crafters. My weekly prescription from The Stamp Doctor has been filled.

Today I chose to use the Stamp and Die set of Champ The Monster. First I stamped the Champ and hat images using Memento Tuxedo Black ink, as I knew I was going to be using my Alcohol markers to color.
I colored up my images and used the matching dies to cut them out.
I searched my stash for a pattern paper that I wanted to use for my background, and found some shimmer cardstock to use for grass. So, using the Grass Edger Die I made a couple of cuts so that I could layer the grass. I stamped the sentiment using VersaFine Onyx Black ink and finished off the project with some strategically placed clear dots.

I hope you enjoy this post, please check out and follow myself and The Stamp Doctor on Social Media.


*Links to product in this post are affiliate links which will provide a crafty fund for me, at no cost to you.